
TL;DR:
- Early identification of equipment failure saves money and maintains pool safety.
- Proper planning, tools, and safety measures are vital for efficient pool equipment replacement.
- Post-installation testing ensures system performance, longevity, and optimal water chemistry.
Replacing pool equipment feels straightforward until you are standing in the Florida heat with a leaking pump, mismatched fittings, and no idea where to start. For homeowners in Orlando and Jacksonville, a broken filter or failing heater is not just inconvenient; it sends water chemistry into chaos, drives up energy bills, and shortens the life of the entire system. The good news is that replacing pool equipment does not have to be a guessing game. Follow a proven, systematic approach and you will get your pool running better than it has in years, without the costly surprises that catch unprepared owners off guard.
Table of Contents
- Assessing your pool equipment: When and why to replace
- Gathering tools, materials, and safety essentials
- Step-by-step guide: Replacing pool equipment efficiently
- Avoiding common pitfalls: Mistakes and troubleshooting
- Testing and verifying your new setup
- A homeowner’s reality: What most guides don’t tell you
- Take the next step: Pool equipment and renovation help in Florida
- Frequently asked questions
Key Takeaways
| Point | Details |
|---|---|
| Know when to upgrade | Identifying faulty equipment early helps avoid costly problems. |
| Prepare thoroughly | Gathering all tools and planning your workspace will make replacements much smoother. |
| Follow expert steps | A systematic, evidence-based process keeps you safe and prevents mistakes. |
| Test before use | Always check your new installation for leaks and proper operation before swimming. |
Assessing your pool equipment: When and why to replace
With your goal in mind, the next step is determining if replacement is really necessary and what equipment should be prioritized.
Most pool owners wait too long. They patch a leaking pump housing with silicone or keep resetting a tripping breaker on an aging heater, hoping the problem disappears. It rarely does. Identifying failure early protects your investment and keeps the pool safe to swim in.
Common signs your equipment needs replacing:
- Your pump makes grinding, screeching, or rattling noises that were not there before
- Water pressure from the return jets has dropped noticeably and backwashing the filter did not fix it
- The filter cycles through pressure spikes faster than it used to, indicating media breakdown inside
- Your heater takes twice as long to warm the pool, or it shuts off mid-cycle
- You are adding chemicals more often because water clarity refuses to hold, even with correct readings
- Visible cracks, corrosion, or mineral scaling on pump housing, filter tank, or heater casing
- Energy bills have crept up without any change in pool usage
Delaying replacement carries real consequences. A failing pump strains the motor, which then draws more electricity and raises utility costs. Clogged or degraded filter media allows fine particles and algae spores to pass through, making chemical treatment far less effective. A malfunctioning heater can short-cycle and damage its heat exchanger, turning a $300 fix into a $1,200 replacement.
Before committing to replacement, do a quick repair versus replace calculation. If the repair cost is more than 50 percent of a new unit’s price, replacement almost always makes better financial sense, especially in Florida where equipment runs year-round and experiences more wear than in colder climates.
A smart place to start is reviewing a pool equipment upgrade checklist designed specifically for Florida homeowners, which helps you prioritize what to tackle first.
Pro Tip: When you pull the old pump, note the existing pipe layout before cutting anything. Good installation practice calls for starting at the pump intake, keeping suction pipe runs straight for at least five pipe diameters, and building in bypass valves for future servicing. Ignoring this step means you will have the same access headaches the next time around.
Gathering tools, materials, and safety essentials
Once you know what needs replacing, gathering the right tools and prepping your workspace is crucial.
Showing up to a job with the wrong wrench or a missing union fitting wastes hours. Florida homeowners should also account for supply chain delays at local pool supply stores, particularly after hurricane season when demand spikes. Order parts a few days early and keep spares of commonly lost items like O-rings, clamps, and union gaskets.
Tools and materials reference table:
| Category | Items needed |
|---|---|
| Plumbing tools | PVC pipe cutter, PVC primer and cement, Teflon tape, slip-joint pliers, pipe wrench |
| Electrical tools | Voltage tester, screwdrivers (flathead and Phillips), wire connectors, conduit fittings |
| Replacement parts | New pump, filter, or heater unit; union fittings; O-rings; PVC elbows and couplings |
| Safety gear | Safety glasses, chemical-resistant gloves, rubber-soled shoes, GFCI extension cord |
| Workspace items | Shop towels, bucket, flashlight or headlamp, camera or phone for documentation |
Workspace preparation checklist:
- Turn off the main power at the breaker panel and verify with a voltage tester before touching any wiring
- Close all isolation valves or gate valves to stop water flow to the equipment pad
- Drain residual water from the pump and filter using the drain plugs
- Clear the equipment pad of debris, leaves, and any stored chemicals
- Lay out all parts in the order you will install them to avoid confusion mid-job
Safety note: Pool equipment pads combine electricity and water in close proximity. Never work on wiring without confirming power is off. If you are not comfortable with electrical connections, stop and call a licensed electrician. Florida electrical code requires GFCI protection on outdoor pool equipment circuits, and improper wiring is a serious shock and fire hazard.
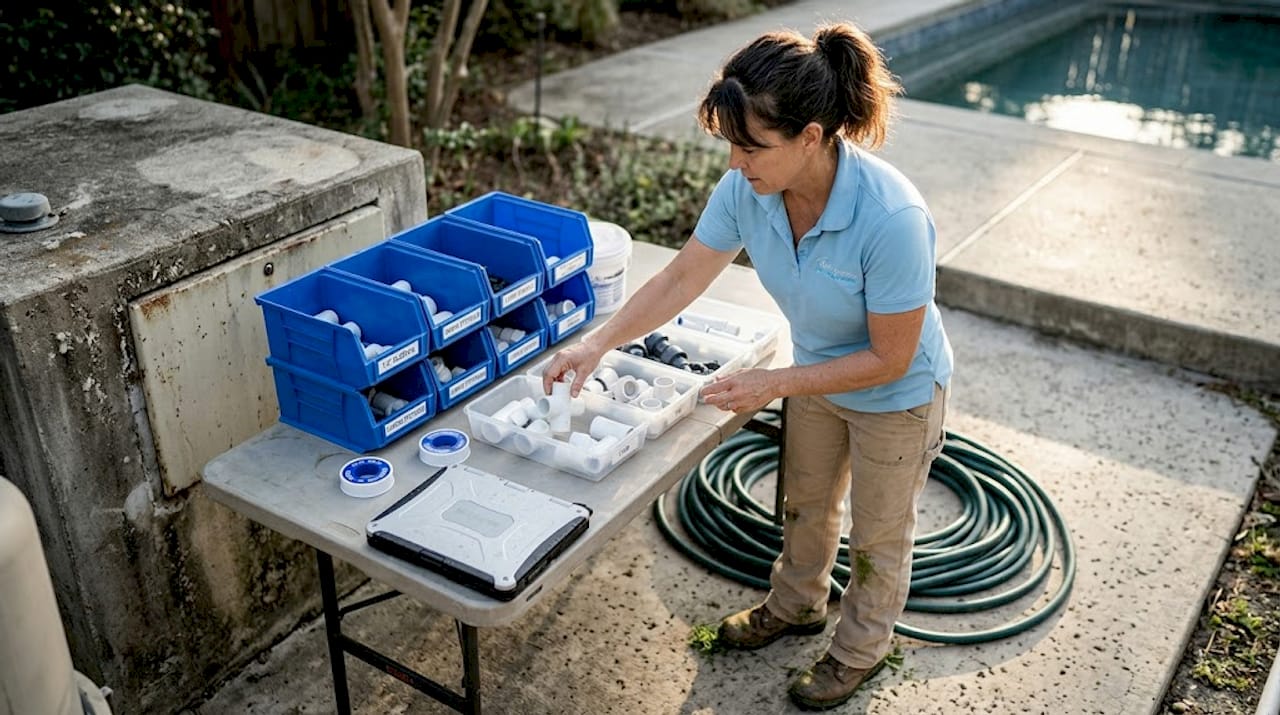
Organizing parts systematically matters more than it sounds. Small fittings disappear quickly on a cluttered pad. Keeping everything in labeled zip-lock bags or a divided parts tray saves real time and prevents the frustrating scenario of driving back to the store for one missing elbow.
Exploring resources on pool equipment upgrades can also help you decide whether to upgrade to variable-speed pumps or high-rate sand filters while you already have the pad open.
Step-by-step guide: Replacing pool equipment efficiently
With everything organized and safety checked, it’s time to begin the actual replacement.
Numbered installation steps:
- Position the new unit on the equipment pad. Confirm it aligns with existing plumbing runs before committing to any cuts. Measure twice, cut once.
- Cut out the old equipment using a PVC pipe cutter. Leave enough pipe stub to attach new unions cleanly. Do not leave ragged or angled cuts.
- Dry-fit all new fittings before applying PVC primer and cement. Test alignment of elbows, unions, and straight runs. This is the step most DIYers skip and then regret.
- Apply PVC primer to both pipe and fitting surfaces, then follow immediately with cement. Hold each joint for 30 seconds and allow the full cure time before pressurizing.
- Reconnect electrical wiring by matching wire colors carefully and using weatherproof connectors. Secure conduit fittings to prevent moisture intrusion.
- Install bypass valves on either side of major equipment if they are not already present. Proper bypass construction is a standard professional step that makes future servicing dramatically faster and safer.
- Lubricate all O-rings with pool-grade silicone lubricant before seating pump lids, filter tank heads, and union connections. Dry O-rings crack within weeks in Florida’s heat.
- Slowly open isolation valves to allow water to fill the system before starting the pump. Rushing this step causes air locks and can damage a new pump motor on its first run.
Step comparison table:
| Step | Estimated time | Common pitfall |
|---|---|---|
| Positioning and dry fit | 30 to 45 minutes | Skipping dry fit leads to misaligned cemented joints |
| Cutting and fitting | 20 to 30 minutes | Angled cuts prevent proper union seating |
| PVC cementing | 30 minutes plus cure | Rushing cure time causes joints to blow under pressure |
| Electrical reconnection | 20 to 40 minutes | Reversed polarity or loose connections create hazards |
| Filling and priming | 15 to 20 minutes | Starting pump dry destroys the seal in under a minute |
Pro Tip: Keep suction pipe runs as straight as possible for at least five pipe diameters before the pump inlet. This is consistent with expert installation guidance and reduces turbulence that causes cavitation, vibration, and premature impeller wear.
For a broader view of the renovation process, the pool renovation checklist walks through how equipment replacement fits into larger remodeling projects.
Avoiding common pitfalls: Mistakes and troubleshooting
Even with careful preparation, some common issues can delay or derail the project, so awareness here saves time and frustration.
Mistakes that show up most often:
- Cementing PVC joints before dry-fitting, creating permanent misalignment that forces you to cut everything out again
- Over-tightening union connections and cracking the collar, which causes slow leaks that are hard to find
- Forgetting to prime the pump before startup, running the motor dry and burning out the seal within minutes
- Installing a pump that is mismatched in horsepower for the existing pipe diameter, creating flow issues and noise
- Skipping the bypass valves because it seems faster, then regretting it the next time a part needs servicing
Troubleshooting common problems:
Pump will not start after installation: Check that power is fully restored at the breaker, confirm wiring connections are secure, and verify the motor thermal overload has not tripped due to a dry start.
Pump runs but produces no flow: Air lock is the most likely cause. Turn off the pump, release the air bleeder valve on the filter, and allow water to completely fill the system before restarting.
New filter produces cloudy water: A new sand or cartridge filter needs a short break-in period. Run it continuously for 24 hours and recheck. If cloudiness persists, check that chemicals are balanced and that the filter is sized correctly for your pool’s volume.
Noisy pump after installation: Vibration noise often points to misalignment between the motor and impeller housing, or to loose mounting bolts. Shut down and recheck all mounting hardware.
When to call a professional: If you have replaced the pump, primed it correctly, and it still loses prime repeatedly, you likely have a suction-side air leak somewhere in the underground plumbing. That requires pressure testing equipment and professional diagnosis. Knowing when to stop and get help is not a failure; it is smart ownership. You can learn more about avoiding costly errors in our guide on pool renovation mistakes.
After any major equipment swap, follow up with your water chemistry immediately. New equipment changes flow rates, and altered flow affects how well your sanitizer distributes throughout the pool. Detailed guidance on pool maintenance steps can help you re-establish proper chemical balance quickly.
Testing and verifying your new setup
With mistakes addressed, the final phase is making sure everything runs perfectly for a safer, more efficient pool.
System startup and verification steps:
- Open all return and suction valves fully before powering on the pump.
- Turn on the pump and watch the pressure gauge on the filter climb to its normal operating range, typically 8 to 15 PSI for most residential systems.
- Walk the entire equipment pad while the system runs and inspect every union, coupling, and connection point for drips or seeps.
- Check the pump lid for air bubbles in the clear strainer basket cover. Steady bubbles after two minutes of operation suggest an air intrusion point that needs attention.
- Run the heater through a full cycle and confirm the target temperature is reached without error codes or unexpected shutdowns.
- Test water chemistry after two hours of full circulation, checking pH, free chlorine, alkalinity, and calcium hardness.
- Return after 24 to 48 hours to recheck all connection points and retest water chemistry, since new equipment can introduce trace metals or change circulation patterns.
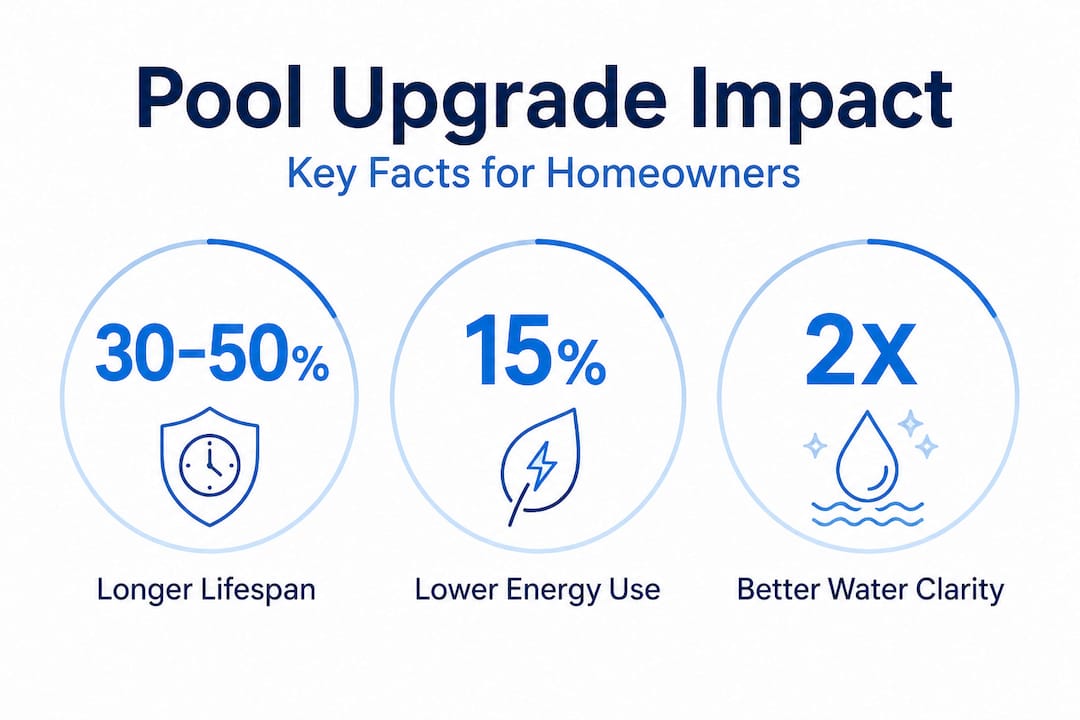
Statistic callout: Properly installed and correctly sized pool equipment can extend system lifespan by 30 to 50 percent compared to equipment that was either installed without attention to pipe alignment or operated without regular verification checks. The first week of operation sets the tone for years of performance.
Do not skip the 48-hour recheck. Florida heat expands and contracts PVC fittings noticeably, and a joint that felt tight during installation can show a small weep after the first full thermal cycle. Catching it early costs nothing. Finding it after a week of water loss under the pad costs significantly more.
For additional guidance on safe system restart after repairs, our resource on how to reopen your pool safely covers everything from pressure testing to chemical startup protocols.
A homeowner’s reality: What most guides don’t tell you
The technical steps above are accurate. Follow them and you will complete the job. But there are layers to this project that written guides rarely address, and they matter more for Florida owners than they do anywhere else.
Florida weather changes your timeline. Summer afternoon thunderstorms roll in fast across Central Florida. Working with uncured PVC cement or live electrical connections during a downpour is dangerous and affects material performance. Plan your work for early morning hours and have a clear stopping point ready if weather turns.
Local supply delays are real. A specific pump model or filter tank may not be in stock at your nearest supply store. Ordering online saves money but can add three to seven days to your timeline. If you are mid-project with the old pump removed and no replacement in hand, that is a week with no pool circulation, which in Orlando’s summer heat invites algae blooms quickly.
Warranty protection often requires professional installation. Many major pump and heater manufacturers void warranties if the unit is not installed by a licensed contractor. Before committing to a full DIY approach, read the warranty documentation carefully. Spending two hours doing the install yourself to save $200 in labor may cost you the full $900 replacement under warranty if the unit fails in year one.
Connecting upgrades to resurfacing creates real savings. If your pool surface is also showing its age, there is a strong case for combining equipment replacement with a full resurfacing project. The equipment pad is already disrupted, water is already drained, and a contractor on-site for surface work can inspect and flag plumbing issues you might have missed. Combining work in one project almost always reduces total labor cost compared to scheduling them separately.
We have seen this scenario many times working with real-life residential upgrades across Orlando and Jacksonville. Homeowners who bundle equipment replacement with resurfacing or tile work consistently report better outcomes and fewer callbacks.
Pro Tip: Before you button everything up, photograph the entire equipment pad setup, including all valve positions, wiring connections, and pipe labels. Store those photos digitally. When a problem appears two years from now, or when a technician visits who did not do the original work, that documentation cuts diagnostic time in half.
Take the next step: Pool equipment and renovation help in Florida
Replacing pool equipment correctly is achievable for a prepared homeowner. But some projects grow once you start pulling things apart, especially in older pools where plumbing surprises are common.

At Classic Marcite, we have been serving Orlando and Jacksonville homeowners since 1988, handling everything from equipment swaps to complete pool transformations. If your project feels more involved than expected, or if you are ready to combine a hardware upgrade with a stunning new pool surface, our team can make that happen efficiently and with lasting results. Explore our full pool renovation process to understand what a professional approach looks like from start to finish. For targeted repairs or equipment-specific help, our pool repair service team is ready to step in and get your pool running right.
Frequently asked questions
What are the signs I need to replace my pool pump or filter?
Loud noises, frequent breakdowns, weak suction, or water that refuses to stay clear are the most reliable indicators that replacement is overdue rather than another repair.
Is it safe to replace pool equipment myself?
Handy homeowners can manage the plumbing portions, but electrical connections require strict safety protocol and may legally require a licensed electrician depending on Florida code and your permit requirements.
How do I avoid leaks after installing new equipment?
Dry-fit all connections before cementing, use Teflon tape on threaded fittings, lubricate O-rings with silicone lubricant, and perform a thorough leak test while the system runs at operating pressure before calling the job complete.
How quickly can I use my pool after replacement?
Run the new system for 24 to 48 hours, verify there are no leaks, and confirm your water chemistry is balanced before anyone gets in. Rushing that window risks both equipment damage and swimmer safety.