
Reopening your pool after repairs should feel exciting, not stressful. Yet many Florida homeowners face cloudy water, stubborn chemical imbalances, or equipment hiccups when they rush the process. The warm, humid climate here demands extra attention to water chemistry and cleaning protocols. This guide walks you through every critical step, from initial cleaning to safety compliance, ensuring your pool is ready for safe use within the expected timeline.
Table of Contents
- Prerequisites: What You Need Before Reopening Your Pool
- Cleaning and Initial Steps After Repairs
- Chemical Balancing After Repairs
- Equipment Inspection and Testing
- Safety and Compliance Checks
- Common Mistakes and Troubleshooting
- Expected Results and Outcomes
- Ready to Restore Your Florida Pool? Choose Classic Marcite
- Frequently Asked Questions
Key Takeaways
| Point | Details |
|---|---|
| Sequential cleaning and balancing | Proper debris removal before refilling prevents contamination and chemical issues. |
| Equipment and safety checks | Inspecting pumps, filters, and safety features ensures compliance and longevity. |
| Water stabilization timeline | Water chemistry typically stabilizes within 3 to 7 days after refilling post-repair. |
| Common pitfalls | Skipping retesting or inadequate cleaning leads to recurring problems and safety risks. |
| Florida code compliance | Meeting local safety standards reduces legal liability and protects users. |
Prerequisites: What You Need Before Reopening Your Pool
Before you start, gather everything you need to avoid mid-process delays. Having the right tools and knowledge upfront makes the entire reopening workflow smoother and more effective.
You’ll need cleaning equipment suited for your pool’s surface. Telescopic poles, leaf nets, wall brushes with soft bristles, and vacuum heads compatible with resurfaced finishes are essential. Basic chemical testing and cleaning tools are essential for proper pool reopening, so invest in a reliable test kit covering pH, total alkalinity, calcium hardness, free chlorine, and cyanuric acid levels.
Confirm your repairs are fully complete with professional sign-off. Premature reopening can damage fresh surfaces or compromise structural integrity. Review your repair documentation and verify all work meets specifications before proceeding with maintenance steps after resurfacing.
Understand Florida’s pool safety regulations before reopening. Familiarize yourself with fencing height requirements, gate latching standards, and electrical grounding protocols. This knowledge prevents costly compliance issues later.
Pro Tip: Schedule your reopening during stable weather. Florida’s sudden temperature swings and heavy rains can disrupt chemical balancing, extending your timeline unnecessarily.
Essential Supplies Checklist
| Category | Required Items |
|---|---|
| Cleaning | Telescopic pole, leaf net, wall brush, vacuum head, algae brush |
| Testing | Multi-parameter test kit or strips, thermometer |
| Chemicals | pH adjusters, chlorine, alkalinity increaser, calcium hardness increaser |
| Safety | Protective gloves, eye protection, chemical storage containers |
Having completed repairs and assembled your supplies, you’re ready to begin the actual reopening process. The next phase focuses on thorough cleaning to prepare your pool for refilling.
Cleaning and Initial Steps After Repairs
Cleaning comes first, always. Skipping or rushing this phase invites problems that will haunt you for weeks. Start by removing every visible piece of debris from the pool bottom and walls using your net and brush.
Focus on eliminating biofilm and algae completely. Biofilm presence in 80% of inadequately cleaned pools causes recurring contamination issues. Use cleaning agents specifically approved for your pool’s finish type, whether it’s plaster, pebble, or aggregate. Never use harsh acids or abrasive tools on newly resurfaced pools.
Flush your filtration system thoroughly before refilling. Backwash sand filters until water runs clear. Clean cartridge filters or replace them if they’re worn. Drain and rinse DE filters completely. This step removes construction dust and debris that accumulated during repairs.
Pro Tip: Florida’s humidity creates ideal conditions for mold and mildew growth around pool equipment during repairs. Inspect pump housings, filter tanks, and plumbing for any signs and clean before restarting systems.
Cleaning Sequence
- Remove all large debris with leaf net and skim surface areas
- Brush walls and floor systematically, working from shallow to deep end
- Vacuum entire pool bottom using appropriate vacuum head for your surface
- Clean skimmer baskets, pump baskets, and all accessible plumbing
- Flush filtration system according to manufacturer specifications
- Inspect drain covers and return fittings for damage or loose components
Allow surfaces to dry if your repair type requires it. Some finishes need specific curing times before water contact. Consult your contractor’s recommendations and follow post-resurfacing cleaning steps precisely.
With your pool spotless and equipment flushed, you’re ready to refill and begin chemical balancing. This next phase requires patience and precision to achieve safe swimming conditions.
Chemical Balancing After Repairs
Water chemistry makes or breaks your reopening success. Test immediately after refilling and establish your baseline readings for pH, total alkalinity, calcium hardness, free chlorine, and cyanuric acid.
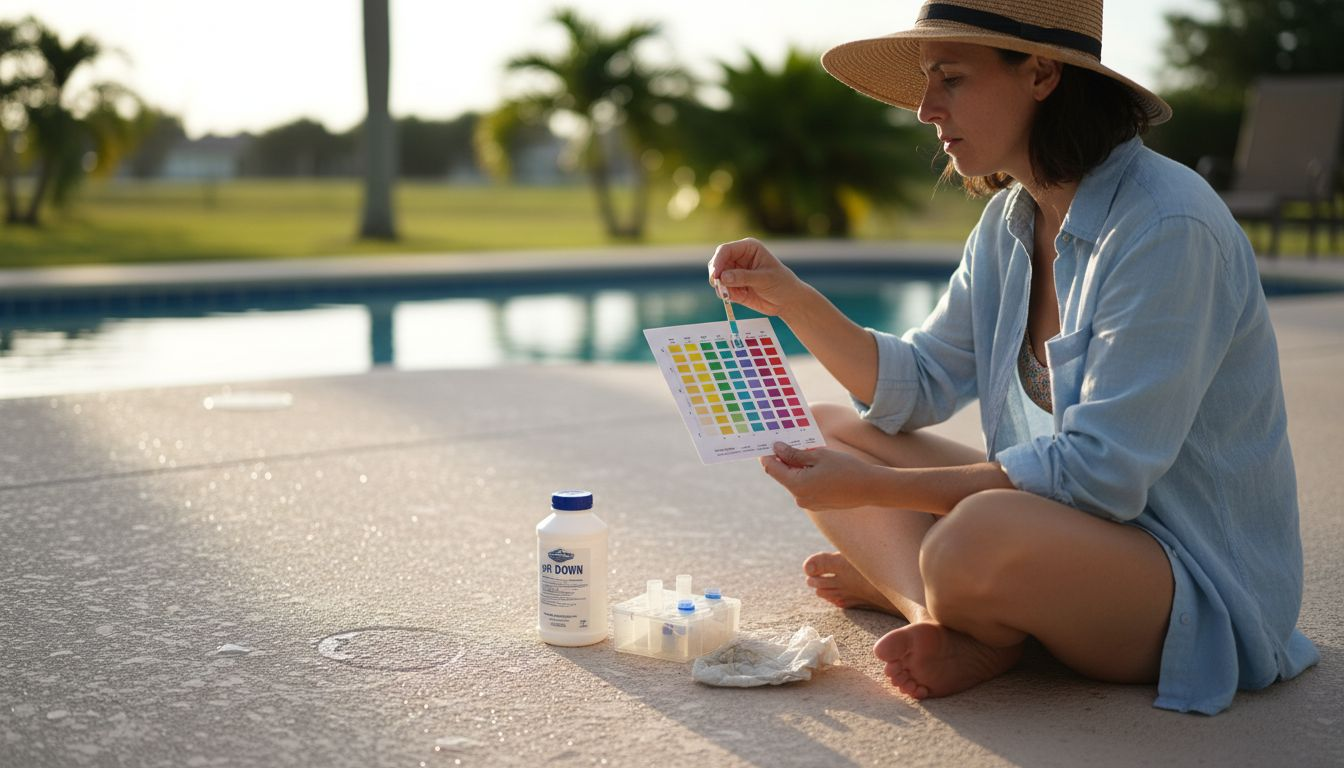
Target these ranges for Florida pools: pH between 7.4 and 7.6, total alkalinity 80 to 120 ppm, calcium hardness 200 to 400 ppm, free chlorine 1 to 3 ppm, and cyanuric acid 30 to 50 ppm. These levels protect both swimmers and pool surfaces while accommodating our climate’s demands.
Add chemicals gradually, never all at once. Dumping large amounts causes localized concentration spikes that can stain surfaces or create unsafe conditions. Dissolve granular chemicals in a bucket before adding to the pool. Broadcast liquid chemicals across the surface while the pump runs.
Water chemistry stabilization takes between 3 to 7 days post-refilling, so plan accordingly. Test daily during this period and make small adjustments as needed. Florida’s heat accelerates chlorine consumption, requiring more frequent monitoring than cooler climates.
Handle common imbalances systematically. Low chlorine responds to shock treatment or increased daily dosing. High pH needs muriatic acid or dry acid additions. Low alkalinity requires sodium bicarbonate. High calcium hardness may need partial water replacement in extreme cases. Follow chemical balancing tips tailored for Florida conditions.
Target Chemical Ranges
| Parameter | Ideal Range | Critical Threshold |
|---|---|---|
| pH | 7.4 to 7.6 | Below 7.2 or above 7.8 |
| Total Alkalinity | 80 to 120 ppm | Below 60 or above 150 ppm |
| Calcium Hardness | 200 to 400 ppm | Below 150 or above 500 ppm |
| Free Chlorine | 1 to 3 ppm | Below 1 or above 5 ppm |
| Cyanuric Acid | 30 to 50 ppm | Below 20 or above 100 ppm |
Retest every 24 hours until readings stabilize within target ranges for three consecutive days. Only then should you consider the pool ready for swimmers. The impact of weather on chemical stability in Florida means summer heat and afternoon storms can require more frequent adjustments.
Once water chemistry stabilizes, shift attention to mechanical systems that keep your pool functioning properly.
Equipment Inspection and Testing
Your equipment works harder than you realize. Post-repair inspections catch problems before they escalate into expensive failures or safety hazards.
Start with your pump and filter. Listen for unusual grinding, squealing, or rattling noises that indicate bearing wear or debris lodged in the impeller. Check all visible connections for leaks or moisture. Verify the pressure gauge reads within normal operating range for your system.
Inspect your heater thoroughly if you have one. Look for cracks in the heat exchanger, corrosion around gas connections, and proper pilot light operation. Test heating cycles to confirm temperature rises as expected without error codes.
Verify your chlorinator or chemical feeder dispenses correctly. Check flow rates, verify tablet dissolution, and ensure no clogs restrict chemical delivery. Test automated systems by running through complete cycles and confirming timer accuracy.
Examine all electrical connections carefully. Look for exposed wiring, loose terminals, or signs of water intrusion in junction boxes. Verify GFCI outlets trip properly when tested. Never ignore electrical issues around water.
Pro Tip: Take photos or videos of your equipment during inspection. This documentation helps track changes over time and provides valuable reference if you need professional service later. It also creates a baseline for equipment inspection after resurfacing that you can compare against future checks.
Equipment Inspection Checklist
- Pump: Check for leaks, unusual sounds, proper pressure readings, clean baskets
- Filter: Verify pressure gauge function, check for cracks, ensure proper backwash operation
- Heater: Inspect heat exchanger, test ignition system, verify temperature control
- Chlorinator: Confirm chemical flow, check for clogs, test dispenser settings
- Electrical: Test GFCI function, inspect wiring condition, verify proper grounding
- Automation: Run complete timer cycles, test remote controls, verify sensor accuracy
With equipment confirmed operational, address the critical safety and compliance requirements Florida law mandates.
Safety and Compliance Checks
Florida takes pool safety seriously, and so should you. Legal requirements exist because they save lives, particularly children’s lives.
Your pool barrier must stand at least 48 inches tall on all sides. Gates require self-closing, self-latching mechanisms that engage automatically every time. The latch must sit high enough that young children cannot reach it from outside the fence. 100% compliance with Florida Building Code for fencing and electrical safety is legally required to reduce drowning and electrocution risks.
Electrical installations near pools face strict grounding and bonding requirements. All metal components within five feet of the water must connect to a common bonding grid. GFCI protection is mandatory for all pool equipment and nearby outlets. Overhead power lines must maintain minimum clearance distances.
Post required signage clearly. Display depth markers at shallow and deep ends. Mount emergency contact numbers and CPR instructions where they’re visible. Keep rescue equipment like life rings and reaching poles accessible.
Failure to comply with Florida’s pool safety code can result in serious hazards and legal penalties.
Schedule a professional safety inspection if you’re uncertain about any compliance aspect. Many municipalities require inspections before reopening after major repairs. Better to identify and fix issues proactively than face citations or liability after an incident. Understanding Florida pool safety codes helps you maintain compliant facilities.
Critical Safety Features
- Barrier fencing: Minimum 48 inches height, no climbable features within 18 inches of top
- Gate hardware: Self-closing, self-latching, latch 54 inches above grade or higher
- Electrical: GFCI protection, proper bonding, adequate clearances from water
- Emergency equipment: Life ring with rope, reaching pole, first aid kit accessible
- Signage: Depth markers, emergency numbers, safety rules, CPR instructions posted
- Drain covers: VGB-compliant, properly secured, no missing or damaged covers
Review Florida pool safety requirements annually as codes update periodically. Staying current protects you legally and ethically.
Understanding common mistakes helps you avoid them during your reopening process.
Common Mistakes and Troubleshooting
Even careful homeowners make preventable errors. Recognizing these pitfalls helps you sidestep frustration and expense.
Skipping chemical retesting ranks as the most frequent mistake. Many assume initial balancing lasts indefinitely. Florida’s climate, bather load, and rainfall all shift chemistry constantly. Test at least weekly during swimming season, daily during the first week after reopening.
Inadequate debris cleaning before refilling creates persistent cloudiness and contamination. That extra 30 minutes spent brushing and vacuuming thoroughly prevents weeks of clarification headaches. Never rush the cleaning phase.
Ignoring early equipment warning signs leads to catastrophic failures. A slight pump noise today becomes a seized motor tomorrow. A small leak now means flooding your equipment pad next week. Address minor issues immediately.
Operating without a detailed checklist causes missed steps. Create a reopening checklist specific to your pool and follow it systematically each time. This simple tool prevents oversights that compromise results.
Attempting complex repairs beyond your skill level costs more than hiring professionals initially. Know your limits. Electrical work, structural repairs, and equipment overhauls require expertise. DIY pride isn’t worth safety risks or code violations. Follow guidance for avoiding pool reopening mistakes by knowing when to call experts.
Common Problems and Solutions
- Cloudy water persists: Increase filtration hours, shock treat, verify filter cleanliness
- Green or yellow algae appears: Brush surfaces, shock with high chlorine dose, run filter continuously
- pH won’t stabilize: Check total alkalinity first, adjust alkalinity before pH
- Chlorine disappears rapidly: Test for high cyanuric acid, check for algae, verify no leaks
- Pump won’t prime: Check water level, clear skimmer blockages, inspect pump basket and impeller
Set realistic expectations for what success looks like and when you’ll achieve it.
Expected Results and Outcomes
Knowing what to expect prevents premature disappointment or unsafe pool use. Your patience during the stabilization period pays dividends in long-term enjoyment and minimal problems.
Water chemical stabilization typically requires 3 to 7 days before safe swimming can resume. This timeline assumes you follow proper procedures and Florida weather cooperates. Extended rain or extreme heat can add days to the process.
Successful reopening shows crystal clear water with no visible particles or cloudiness. Chemical readings consistently fall within target ranges without wild swings. The water feels comfortable, doesn’t irritate eyes or skin, and has no strong chemical odor.
Swimmers should experience no discomfort. Stinging eyes, itchy skin, or breathing irritation indicate chemical imbalance. These symptoms demand immediate retesting and adjustment before anyone swims again.
Long-term maintenance becomes easier after proper reopening. You establish baseline readings and operational norms that guide ongoing care. Regular testing, cleaning, and equipment checks prevent major issues from developing. Following expected pool reopening timelines helps you plan maintenance schedules effectively.
DIY vs Professional Reopening Comparison
| Aspect | DIY Approach | Professional Service |
|---|---|---|
| Cost | $200 to $400 materials | $500 to $1200 complete service |
| Time Required | 15 to 25 hours over 7 days | 4 to 8 hours, completed in 1 to 2 days |
| Risk Level | Moderate to high without experience | Low with licensed contractors |
| Equipment | Must purchase or rent all tools | Professional equipment included |
| Knowledge | Requires research and learning curve | Expert knowledge applied immediately |
| Warranty | No coverage for DIY errors | Service guarantees typically included |
Weigh your comfort level, available time, and budget when deciding between DIY and professional help. Understanding the differences between replastering vs resurfacing impacts helps you make informed decisions about future pool care investments.
Your pool represents significant investment in your home and lifestyle. Protecting that investment through proper reopening procedures ensures years of safe, enjoyable use.
Ready to Restore Your Florida Pool? Choose Classic Marcite
Reopening your pool correctly matters, but so does the quality of the repairs underneath. Classic Marcite has resurfaced over 100,000 pools since 1988, bringing unmatched expertise to every project across Orlando and Jacksonville.

Our specialized pool resurfacing in Florida uses premium materials like Pebble Tec® that withstand our climate’s demands. We handle everything from surface preparation through final chemical balancing, ensuring your pool reopens safely without the stress of DIY troubleshooting. As Central Florida’s largest Pebble Tec® applicator, we understand exactly what your pool needs to look stunning and perform flawlessly for decades. Stay informed with our latest pool resurfacing updates covering techniques and materials that extend pool lifespan. Contact us today for a free estimate and discover why Florida homeowners trust Classic Marcite for professional results that last.
Frequently Asked Questions
How long after repairs can I swim safely?
You should wait until water chemistry remains stable within target ranges for at least three consecutive days. This typically takes 3 to 7 days after refilling, depending on repair type and Florida weather conditions during balancing.
What is the best way to balance pool chemicals after repair?
Test water immediately after refilling to establish baseline readings. Add chemicals gradually in small doses rather than large amounts at once. Retest every 24 hours and make incremental adjustments until pH, alkalinity, hardness, and chlorine stabilize within recommended ranges for three consecutive days.
What Florida pool safety features must I check before reopening?
Verify barrier fencing stands at least 48 inches tall with self-closing, self-latching gates. Confirm all electrical systems have proper GFCI protection and bonding. Check that drain covers meet VGB compliance standards and emergency equipment remains accessible.
How often should I retest pool water post-repair?
Test daily during the first week after reopening while chemistry stabilizes. Once readings remain consistent for three days, shift to testing twice weekly for the first month, then weekly during active swimming season and monthly during cooler periods.
Can I reopen my pool myself or should I hire a professional?
DIY reopening works if you have proper equipment, understand chemical balancing, and can dedicate 15 to 25 hours over several days. Hire professionals if you lack experience, need compliance inspections, want guaranteed results, or prefer to avoid the learning curve and potential costly mistakes.
Why does my pool water stay cloudy after following all steps?
Persistent cloudiness usually indicates inadequate filtration time, insufficient shocking, or filter problems. Run your filter continuously for 48 hours, backwash or clean the filter thoroughly, and shock treat with double the normal chlorine dose. If cloudiness persists beyond 72 hours, test for metals or phosphates that require specialized treatment.
