
Every Florida homeowner tackling a pool remodel quickly discovers that lasting results rely on more than just a fresh coat of finish. Considering Orlando and Jacksonville’s climate and unique water conditions, careful assessment and material selection become the foundation of a successful renovation. Whether you are replacing pool surfaces, updating safety features, or ensuring compliance with local codes, the right approach brings together durability, style, and smarter spending for your backyard retreat.
Table of Contents
- Step 1: Assess Pool Condition And Choose Materials
- Step 2: Prepare Pool Surface And Surroundings
- Step 3: Repair Damages And Clean Thoroughly
- Step 4: Apply New Surface Finish With Care
- Step 5: Inspect, Cure, And Refill The Pool
Quick Summary
| Key Point | Explanation |
|---|---|
| 1. Assess Pool Condition Thoroughly | Examine for cracks, stains, and damage to determine needed repairs and resurfacing solutions. |
| 2. Select Appropriate Resurfacing Material | Choose materials based on pool type and local climate to ensure durability and aesthetic appeal. |
| 3. Prepare Area for Renovation | Clear obstacles and ensure safety barriers are in place to create a secure workspace for renovations. |
| 4. Inspect and Clean Surface Before Resurfacing | Repair damages and deep clean the pool surface to prepare for new finishes, ensuring thorough sanitization. |
| 5. Follow Curing and Chemical Guidelines | Inspect the new surface post-application and monitor chemical balance for a safe swimming environment after refilling. |
Step 1: Assess Pool Condition and Choose Materials
Restoring your pool begins with a comprehensive condition assessment that determines the materials and techniques required for your renovation. Careful inspection helps you understand the extent of repairs needed and select appropriate resurfacing solutions.
Start by thoroughly examining your pool surface for signs of wear such as cracks, stains, roughness, or structural damage. Look closely at tile work, checking for loose or missing tiles and inspecting grout lines. Understanding pool condition requires evaluating critical electrical and safety components that impact overall pool performance and user safety. Pay special attention to areas around drains, skimmers, and metal equipment where corrosion or electrical issues might compromise pool integrity.
Your material selection depends directly on the pool’s current state. Different surfaces like concrete, fiberglass, or vinyl require unique approaches. For concrete pools, options like Pebble Tec finishes provide durability and aesthetic appeal. Consider factors such as water hardness, chemical balance, and local climate when choosing resurfacing materials. Proper water treatment principles will guide your material selection to ensure long term performance.
Here’s a comparison of resurfacing material options for pool renovation:
| Material Type | Durability | Maintenance Level | Visual Appeal |
|---|---|---|---|
| Pebble Tec | Excellent | Low | Natural, textured |
| Epoxy Coating | High | Moderate | Glossy, smooth |
| Fiberglass | Good | Moderate | Sleek, uniform |
| Vinyl Liner | Fair | High | Custom patterns |

Pro Tip: Take multiple high resolution photos of your pool during assessment to help professionals provide more accurate recommendations and cost estimates.
Step 2: Prepare Pool Surface and Surroundings
Preparing your pool area for renovation involves comprehensive surface cleaning and securing the surrounding environment to ensure a safe and efficient remodeling process. This critical step sets the foundation for successful pool transformation and prevents potential complications during renovation.
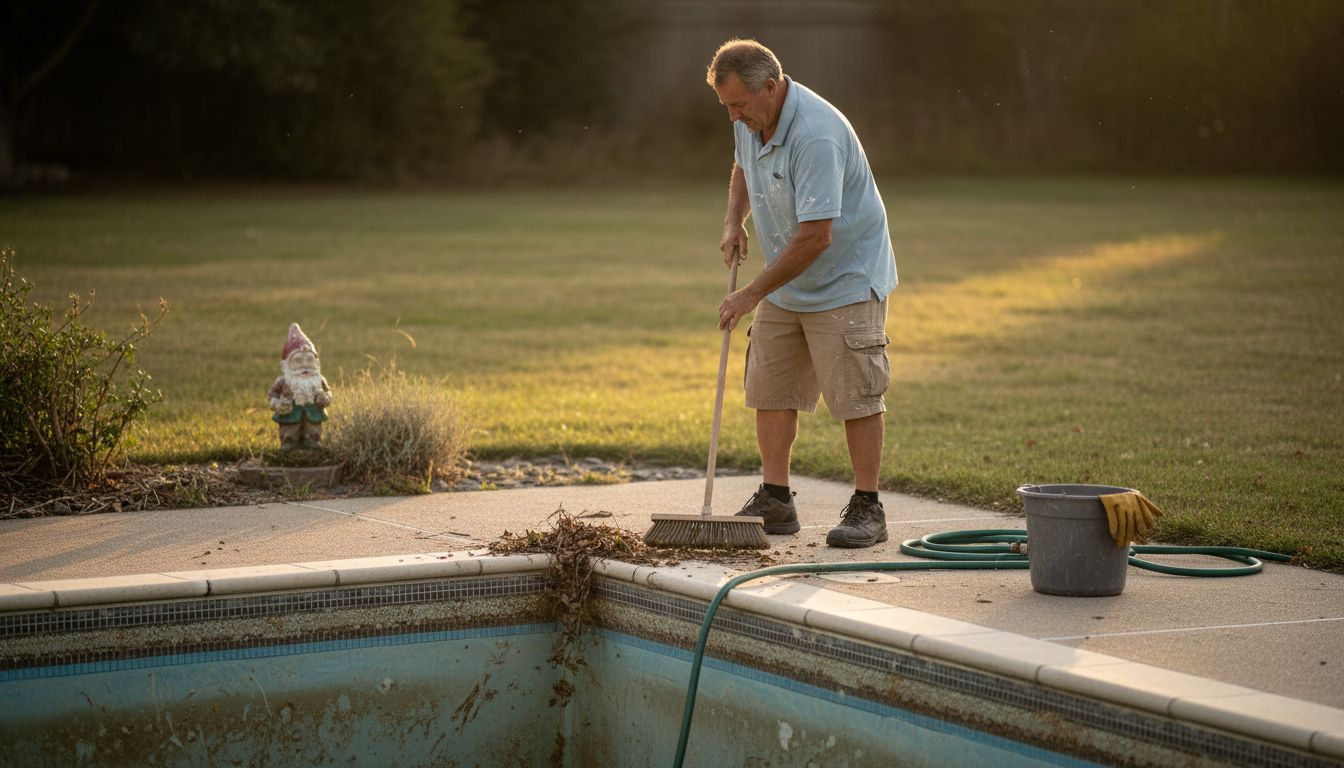
Begin by thoroughly clearing the pool deck and immediate surrounding areas of furniture, potted plants, decorative items, and any potential obstacles. Remove loose debris like leaves, branches, and dirt using heavy duty brooms and pressure washers. Focus on creating a clean workspace that allows full access to the pool surface. When preparing the area, pay careful attention to pool safety requirements for barriers and gates, which are crucial for maintaining a secure work zone. Ensure that temporary fencing or barriers are properly installed to prevent unauthorized access during the renovation process.
Next, inspect the pool surface meticulously for existing damage such as cracks, chips, or uneven areas that might impact the resurfacing work. Remove any loose tiles, repair minor structural issues, and create a smooth surface for new materials. Swimming pool legal fencing standards recommend specific height and security requirements that you should incorporate into your preparation strategy. This includes checking gate mechanisms, ensuring self latching features are functional, and removing any potential climbing hazards near the fence perimeter.
Pro Tip: Photograph the entire pool area before starting work to document the initial condition and help track your renovation progress.
Step 3: Repair Damages and Clean Thoroughly
Repairing and thoroughly cleaning your pool surface is a critical phase of the renovation process that determines the quality and longevity of your final result. This step requires meticulous attention to detail and systematic approach to address surface imperfections and prepare for resurfacing.

Begin by carefully inspecting the entire pool surface for structural damages. Look for cracks, chips, uneven areas, and signs of deterioration. Use specialized repair compounds designed for pool surfaces to fill small cracks and smooth out imperfections. For concrete pools, utilize hydraulic cement or specialized pool repair epoxy that bonds effectively with existing material. When addressing surface damages, inspect pool surfaces and equipment daily to catch potential issues early and prevent further degradation.
After repairs, focus on deep cleaning the pool surface to remove algae, organic matter, and accumulated grime. Use industrial strength pool cleaning solutions and scrub brushes designed for your specific pool material. For thorough sanitization, maintain comprehensive water disinfection protocols that eliminate contaminants and prevent potential health risks. Consider using a pressure washer with appropriate cleaning attachments to remove stubborn stains and prepare the surface for new resurfacing materials. Rinse thoroughly and allow the surface to dry completely before proceeding with the next renovation steps.
Pro Tip: Wear protective gear like rubber gloves and safety glasses when applying repair compounds and cleaning chemicals to protect yourself during the renovation process.
Step 4: Apply New Surface Finish with Care
Applying a new surface finish represents the transformative moment of your pool renovation project where careful technique and precision determine the final aesthetic and durability of your swimming pool. This critical stage requires patient application and meticulous attention to manufacturer specifications and environmental conditions.
Begin by selecting the appropriate surface material compatible with your pool type and local climate conditions. For concrete pools, consider high quality options like Pebble Tec or specialized epoxy based finishes that provide long lasting protection. Carefully review surface application codes to ensure your chosen material meets all safety and performance standards. Mix the surface material precisely according to manufacturer instructions, paying close attention to recommended water ratios, temperature ranges, and application techniques. Work systematically in small sections to maintain consistent coverage and prevent uneven texture or premature drying.
During application, maintain a steady hand and use professional grade tools like trowels and rollers designed specifically for pool resurfacing. Adhere to regulatory surface finishing requirements to guarantee proper installation and prevent future structural complications. Apply the finish in smooth even strokes, working from the pool floor upward to the walls, ensuring complete and uniform coverage. Allow sufficient curing time between layers and follow all manufacturer recommended drying periods before filling the pool with water.
Pro Tip: Schedule your surface application during mild weather conditions with minimal direct sunlight to prevent rapid drying and potential surface imperfections.
Step 5: Inspect, Cure, and Refill the Pool
The final stage of your pool renovation involves carefully inspecting the newly resurfaced area, allowing proper curing time, and methodically refilling the pool to ensure a successful transformation. This critical phase determines the longevity and performance of your renovation work.
Begin with a comprehensive visual and tactile inspection of the new surface. Check for any imperfections such as air bubbles, uneven areas, or potential weak spots. Look carefully at corners, edges, and transition areas between the pool floor and walls. Follow International Swimming Pool Safety Code guidelines to ensure your newly renovated pool meets all safety and performance standards. Pay special attention to the curing process the surface material requires. Different finishes like Pebble Tec or specialized epoxy coatings have unique curing times and environmental requirements. Avoid walking on the surface or exposing it to water during the recommended curing period.
Once the curing process is complete, slowly refill the pool using a gentle water stream to prevent surface disruption. Monitor the water level carefully and test chemical balance before full usage. Check filtration systems, ensure proper water circulation, and verify that all pool equipment functions correctly after the renovation. Verify pH levels, chlorine content, and overall water quality to guarantee a safe and pristine swimming environment.
This quick-reference table highlights pool equipment checks during the final inspection:
| Component | Inspection Focus | Recommended Action |
|---|---|---|
| Filtration System | Check for clear flow | Replace clogged filters |
| Water Circulation | Test pump operation | Adjust for optimal pressure |
| Safety Devices | Confirm alarms/gates | Repair or replace as needed |
| Chemical Balance | Measure pH/chlorine | Adjust levels before use |
Pro Tip: Wait at least 72 hours after refilling before swimming to allow the new surface to fully settle and stabilize.
Transform Your DIY Pool Renovation Into a Professional Masterpiece
Tackling the challenges of pool remodeling on your own can feel overwhelming especially when it comes to repairing damages, choosing the right resurfacing materials like Pebble Tec, and ensuring proper curing for long-lasting results. This guide highlights key pain points such as repairing cracks, managing safety barriers, and achieving a flawless surface finish that truly elevates your pool’s appearance and durability.
Why risk common pitfalls when expert help is just a step away Classic Marcite brings over 30 years of experience resurfacing more than 100,000 pools across Orlando, Jacksonville, and beyond. Our deep knowledge of advanced pool resurfacing materials and meticulous attention to every detail guarantees you a beautifully finished pool that stands up to Florida’s weather and daily use. Let us help you avoid costly mistakes and get stunning results with minimal hassle.

Ready to bring your DIY pool remodeling project to the next level Discover how our comprehensive renovation and remodeling services can turn your vision into reality Visit Classic Marcite now for a free estimate and explore why we are Central Florida’s largest Pebble Tec applicator. Experience the craftsmanship and reliability your pool deserves starting today.
Frequently Asked Questions
How do I assess the current condition of my pool before remodeling?
Start by thoroughly inspecting the pool surface for wear, such as cracks, stains, and roughness. Document any damage with high-resolution photos to provide clear evidence for materials needed and potential repairs.
What materials should I consider for pool resurfacing?
Your material selection will depend on the current surface type of your pool, such as concrete, fiberglass, or vinyl. Research options like Pebble Tec or epoxy coatings to find the best match for durability and aesthetics.
How do I prepare the pool area for renovation?
Begin by clearing the pool deck and surrounding area of all furniture and debris. Inspect the pool surface for existing damage and secure the area with temporary barriers to ensure safety during the remodeling process.
What steps should I take to clean and repair my pool surface?
Carefully inspect the pool for cracks and chips, and fill them with specialized repair compounds. After repairs, deep clean the surface using strong cleaning solutions to remove any grime and algae before applying new materials.
How can I ensure the surface finish is applied correctly?
Mix the surface material according to manufacturer instructions and apply it in small sections for even coverage. Use professional-grade tools and follow all recommended application techniques to achieve a smooth and durable finish.
What should I do after applying the new pool surface?
Conduct a thorough inspection of the new surface for imperfections, and allow for the proper curing time specific to your material. After curing, refill the pool slowly, and test chemical levels to ensure safe swimming conditions.
Recommended
- Remodeling Older Pools For Lasting Beauty And Durability
- Why Renovate Your Pool: Boost Beauty And Value
- Reasons For Pool Remodeling: Improve Safety And Value
- Pool Renovation Process: Transforming Florida Pools
- Pool Refinishing Windermere FL
- Pool Renovation Winter Park FL
- Swimming Pool Remodeling The Villages FL
