
Every Orlando and Jacksonville pool owner who has invested in a fresh resurfacing wants their pool to remain stunning and smooth for as long as possible. The right maintenance approach not only protects your new finish, but also keeps swimming safe and enjoyable. Discover expert steps such as daily brushing and careful equipment inspection designed to maximize durability and enhance the appearance of your beautiful pool.
Table of Contents
- Step 1: Prepare Pool Area For Maintenance Tasks
- Step 2: Balance Water Chemistry For New Surfaces
- Step 3: Clean And Protect Resurfaced Pool Finishes
- Step 4: Inspect Equipment And Spot Potential Issues
- Step 5: Schedule Routine Upkeep For Long-Term Performance
Quick Summary
| Key Insight | Explanation |
|---|---|
| 1. Clear and Organize Workspace | Prepare the pool area by clearing debris and setting up your tools for easy access during maintenance tasks. |
| 2. Balance Water Chemistry | Regularly test and adjust water chemistry after resurfacing to protect the pool’s new finish and maintain safety. |
| 3. Gentle Surface Cleaning | Use appropriate tools for gentle cleaning to preserve the integrity of the new pool surface and prevent damage. |
| 4. Regular Equipment Inspection | Conduct monthly inspections of pool equipment to identify any wear or leaks that could affect performance. |
| 5. Establish a Maintenance Routine | Create a structured schedule for weekly and monthly upkeep tasks to ensure long-term pool performance and prevent costly repairs. |
Step 1: Prepare pool area for maintenance tasks
After resurfacing your pool, proper preparation is key to ensuring smooth maintenance and protecting your recent investment. The initial setup determines how effectively and safely you can perform subsequent care tasks.
Begin by thoroughly clearing the pool area and creating a clean, organized workspace. Protect surrounding surfaces by covering nearby furniture, decking, and landscaping with sturdy drop cloths or plastic tarps. This prevents potential damage from tools, cleaning chemicals, or accidental spills during maintenance.
Organize your maintenance supplies strategically for easy access. Arrange your tools, cleaning equipment, and chemical treatments in a logical sequence near the pool area. Consider setting up a dedicated maintenance station that includes:
- Cleaning brushes and nets
- Chemical testing kits
- Safety gloves and eye protection
- Pool skimmer and vacuum equipment
- Cleaning solutions specific to your new pool surface
Ensure all electrical equipment is safely positioned away from water sources and that you have proper lighting for detailed inspection and maintenance work. Double-check that your pool’s features like filters, pumps, and drainage systems are fully functional and ready for post-resurfacing care.
Pro tip: Keep a dedicated waterproof storage container near your pool to organize maintenance supplies and protect them from moisture and potential chemical exposure.
Step 2: Balance water chemistry for new surfaces
Balancing the water chemistry is a critical step in maintaining your newly resurfaced pool, ensuring the longevity and aesthetic appeal of your investment. Proper chemical management protects the new surface and creates a safe swimming environment.
Start by thoroughly testing your pool water using a comprehensive digital testing kit. Measure the key chemical parameters that impact surface integrity:
- pH levels (ideal range 7.2 to 7.8)
- Total alkalinity (80 to 120 parts per million)
- Calcium hardness (200 to 400 parts per million)
- Chlorine levels (1 to 3 parts per million)
Adjust chemical levels gradually and systematically. Add chemicals in small increments, allowing time between additions for the water to circulate and stabilize. Use precision measuring tools to ensure accurate dosing and prevent potential surface damage from chemical imbalances.
Sudden chemical changes can compromise the integrity of your new pool surface, so patience and careful measurement are crucial.
Monitor the water chemistry weekly during the first month after resurfacing, then transition to a standard monthly testing schedule. Document your measurements to track long-term water balance and identify any emerging trends.
Pro tip: Always add chemicals to water, never water to chemicals, to prevent potential chemical splashes and ensure safer handling.
Step 3: Clean and protect resurfaced pool finishes
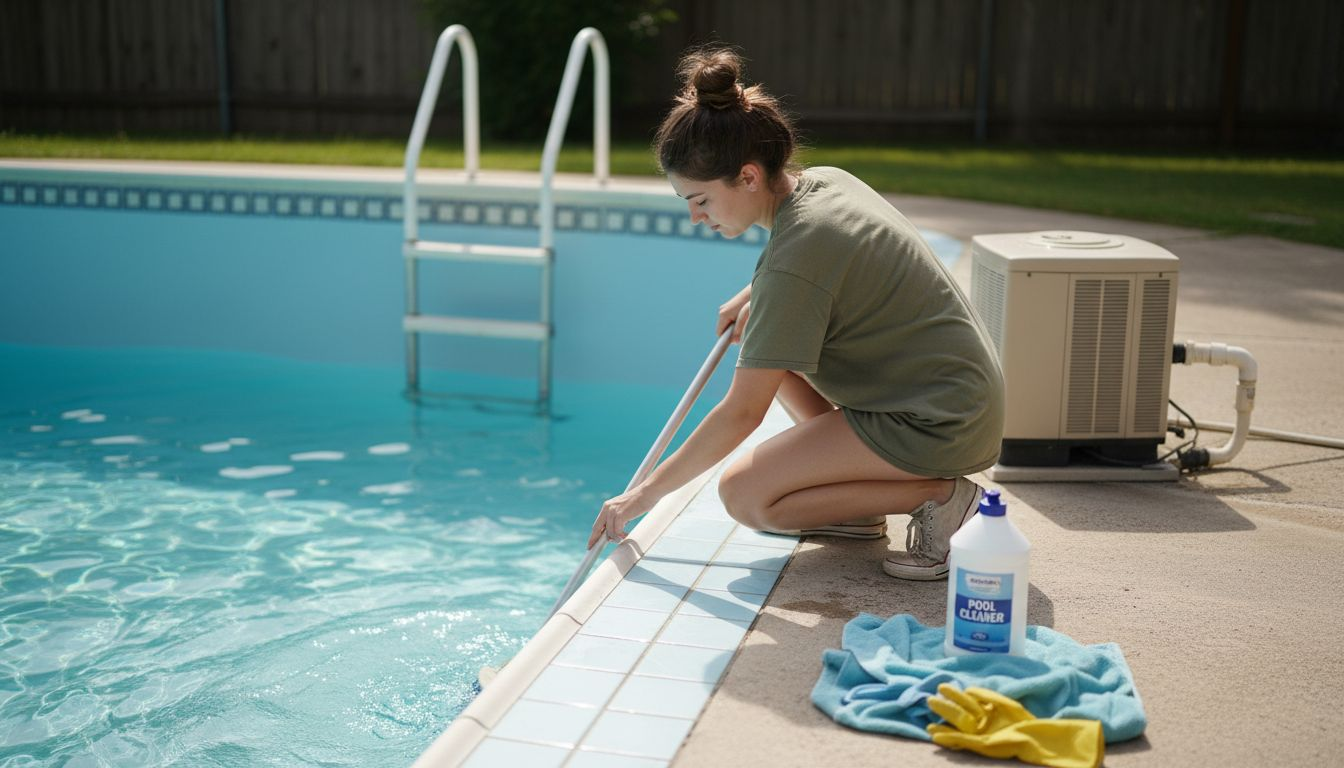
Maintaining the pristine condition of your newly resurfaced pool requires a strategic and gentle approach to cleaning and protection. Daily brushing prevents plaster dust buildup and ensures the longevity of your pool’s beautiful new finish.
Select the right cleaning tools based on your pool’s specific surface type. Use soft-bristled brushes for delicate finishes and slightly stiffer brushes for more robust surfaces. Develop a consistent cleaning routine that includes:
- Gentle daily brushing to remove potential dust and debris
- Careful vacuuming to eliminate settled particles
- Running filtration system continuously during initial weeks
- Avoiding harsh cleaning chemicals or abrasive tools
Protect your investment by treating the new pool surface with the same care you would a delicate piece of artwork.
Implement a systematic approach to pool maintenance that prioritizes gentle cleaning techniques. Continuous filtration helps maintain water clarity and prevents potential surface contamination. Pay special attention during the first month after resurfacing, when the new finish is most vulnerable to damage.
Pro tip: Invest in a high-quality pool brush with soft bristles specifically designed for your pool’s surface type to minimize potential scratching or surface wear.
Here’s a quick reference to common pool surface types and preferred cleaning tools:
| Pool Surface Type | Recommended Brush | Cleaning Chemical Advice |
|---|---|---|
| Plaster | Soft-bristled pool brush | Use mild, non-abrasive solution |
| Fiberglass | Non-abrasive sponge | Avoid harsh solvents |
| Pebble/Stone Finish | Medium-bristled brush | Use pH-neutral cleaners |
| Vinyl | Soft cloth or sponge | Mild, non-chlorine solution |
Step 4: Inspect equipment and spot potential issues
Ensuring the longevity of your newly resurfaced pool requires a comprehensive equipment inspection that goes beyond routine maintenance. Regular checks prevent unexpected equipment failures that could compromise your pool’s new surface and overall functionality.
Conduct a systematic inspection of your pool’s critical components, focusing on these key areas:
- Pump system for signs of wear or leakage
- Filter mechanisms for potential blockages or degradation
- Chlorination equipment for proper functioning
- Plumbing connections and potential stress points
- Electrical components and wiring integrity
Vigilant equipment monitoring is your first line of defense against potential costly repairs and surface damage.
Pay special attention to subtle signs of wear during the initial months after resurfacing. Look for small leaks, unusual noise from equipment, reduced water pressure, or unexpected chemical imbalances. These can be early indicators of potential issues that might compromise your pool’s new finish or overall structural integrity.
Pro tip: Create a digital maintenance log to track equipment performance, noting any changes or irregularities to help identify potential problems before they escalate.
Step 5: Schedule routine upkeep for long-term performance
Maintaining your newly resurfaced pool requires a disciplined and strategic approach to routine maintenance. Regular upkeep prevents costly future repairs and ensures your pool remains in pristine condition for years to come.
Develop a comprehensive maintenance schedule that breaks down tasks into manageable weekly and monthly activities:
Weekly Tasks:
- Skim surface for debris
- Brush pool walls and floor
- Vacuum pool floor
- Test and adjust chemical levels
Monthly Tasks:
- Clean or backwash filters
- Inspect equipment thoroughly
- Check water chemistry comprehensively
- Examine pool surface for any changes
Consistency is the key to preventing minor issues from becoming major, expensive problems.
Track your maintenance activities meticulously using a digital or physical log. This practice helps you monitor your pool’s condition, identify potential issues early, and maintain a consistent care routine that protects your significant pool investment.
To get the best results from your pool maintenance, consider the impact of each task:
| Maintenance Task | Impact on Pool Longevity | Safety Consideration | Optimal Frequency |
|---|---|---|---|
| Water Chemistry Balancing | Prevents surface damage | Reduces harmful residues | Weekly, then monthly |
| Equipment Inspection | Detects issues early | Ensures safe operation | Monthly or as needed |
| Gentle Surface Cleaning | Maintains finish quality | Lowers injury risk | Daily for first month |
| Routine Upkeep Scheduling | Avoids expensive repairs | Maintains water clarity | Weekly & monthly tasks |
Pro tip: Set calendar reminders on your smartphone for each maintenance task to ensure you never miss a crucial pool care activity.
Keep Your Pool Stunning With Expert Resurfacing and Maintenance Support
Maintaining the perfect balance of water chemistry and protecting your resurfaced pool surface are essential challenges every pool owner faces after resurfacing. The article highlights the importance of gentle cleaning, careful chemical adjustment, and equipment inspection to extend the life and beauty of your pool. If you want to avoid costly repairs and enjoy a durable, visually appealing pool finish, professional resurfacing combined with expert guidance is key.

Classic Marcite has been transforming pools in Orlando and Jacksonville since 1988 with top-quality resurfacing solutions like Pebble Tec®. As the largest Pebble Tec® applicator in Central Florida, they understand how expert resurfacing sets the foundation for easier future maintenance and longevity. Visit Classic Marcite to explore comprehensive pool renovation services and get your free estimate today. Protect your investment by choosing trusted craftsmanship and industry leadership that supports your pool’s health long after resurfacing.
Frequently Asked Questions
What preparations should I take before maintaining my newly resurfaced pool?
To prepare for maintenance, thoroughly clear the pool area and protect surrounding surfaces with drop cloths or tarps. Organize your maintenance supplies, including cleaning tools and chemical treatments, for easy access and ensure that all electrical equipment is safely positioned away from water sources.
How do I balance the water chemistry after resurfacing my pool?
To balance water chemistry, start by testing your pool water for key parameters like pH, total alkalinity, and calcium hardness using a digital testing kit. Adjust chemical levels gradually and systematically, waiting for the water to circulate between additions, especially in the first month after resurfacing.
What cleaning routine should I follow for a newly resurfaced pool?
Implement a cleaning routine that includes daily brushing and careful vacuuming to remove debris and prevent plaster dust buildup. Focus on using the appropriate cleaning tools for your pool’s surface type and avoid harsh chemicals to protect the new finish.
How can I inspect pool equipment for potential issues?
Perform a thorough inspection of key components like the pump system, filter mechanisms, and chlorine equipment. Look for signs of wear, leaks, or unusual noises, and document any changes in performance to catch potential problems early, which helps maintain the integrity of your pool’s new surface.
What should I include in a routine upkeep schedule for my pool?
Develop a maintenance schedule that outlines weekly tasks, such as skimming the surface and testing chemical levels, and monthly tasks, like cleaning filters and inspecting equipment. Track these activities meticulously to avoid minor issues from turning into major repairs and ensure the longevity of your pool investment.
Recommended
- Why Pools Need Resurfacing And When To Act
- How To Resurface Pool Deck For Lasting Results
- Pool Resurfacing Timeline: What Florida Owners Need
- Pool Resurfacing Updates 2025: Florida Homeowner Impact
- Pool Refinishing Windermere FL
- Pool Renovation Winter Park FL
- Swimming Pool Remodeling The Villages FL
