TL;DR:
- Proper pool shell preparation creates a stable foundation that prevents cracking and surface failure over time. It involves soil testing, precise leveling, proper drainage setup, and careful excavation to ensure long-term structural integrity. Skipping or rushing these steps can lead to costly repairs and reduced lifespan of the pool finish.
Pool shell preparation is defined as the process of readying the ground, foundation, and structural base on which a pool shell sits, covering soil testing, excavation, base leveling, and drainage setup to create a stable and durable pool structure. Without this groundwork, even the most expensive pool finish will crack, shift, or fail within years. The pool shell preparation process is the single most important phase of any pool installation or resurfacing project, and understanding it helps you ask the right questions before a contractor ever breaks ground.
What is pool shell preparation and why does it matter?
Pool shell preparation is the foundation phase of pool construction. It determines whether your pool stays level, watertight, and structurally sound for decades or starts showing cracks and surface failures within a few seasons. The process covers everything from the first soil test to the final compaction of the base layer before the shell goes in.
Skipping or rushing any part of this phase creates problems that no resurfacing job can fix. A pool shell sitting on unstable soil will shift. A shell with poor drainage will experience hydrostatic pressure buildup. Both scenarios lead to expensive structural repairs that dwarf the cost of doing the prep work correctly the first time.
Classicmarcite has resurfaced over 100,000 pools across Florida and beyond. The most common cause of premature surface failure is not the finish material itself. It is a compromised shell beneath it, almost always traced back to inadequate preparation at the construction stage.
What are the key steps in the pool shell preparation process?
The pool shell installation process follows a clear sequence. Each step builds on the last, and cutting any one of them short creates compounding problems later.
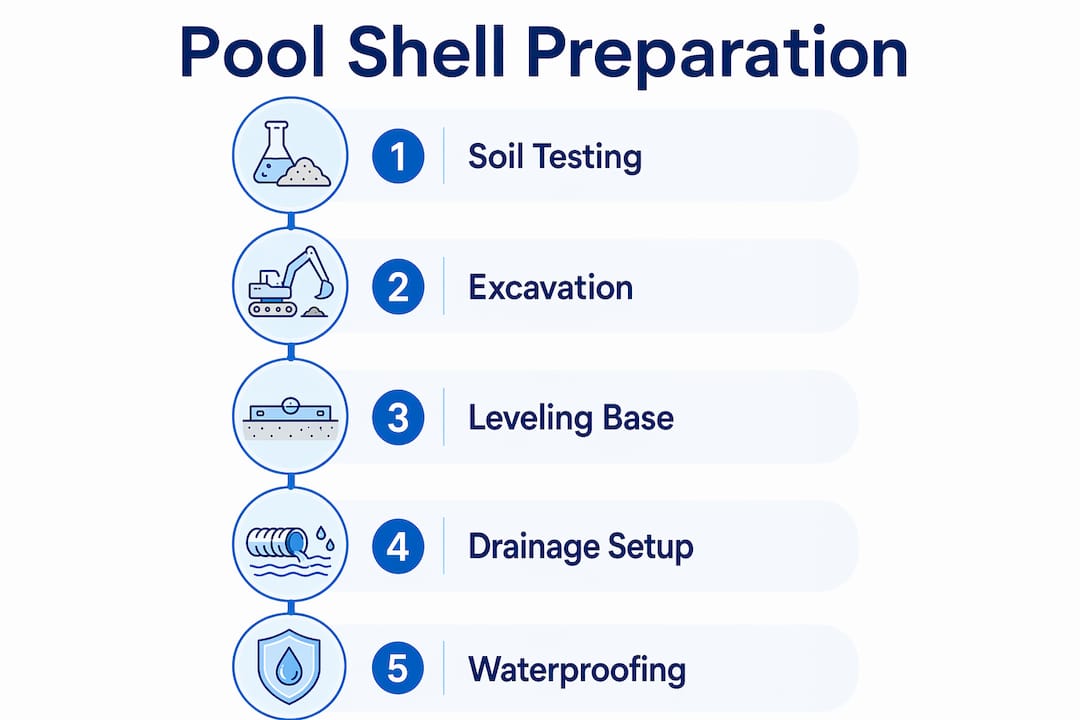
- Site evaluation and soil testing. A professional assesses the soil type, drainage patterns, and site access before any digging begins. Soil testing is essential insurance against settlement issues, since expansive clays behave very differently from rocky substrates and require distinct support strategies. This step takes one to three days and is non-negotiable.
- Permits and compliance. Local municipalities require permits before excavation. Permits typically require 1–3 weeks lead time depending on your jurisdiction. Skipping this step can result in forced demolition of completed work.
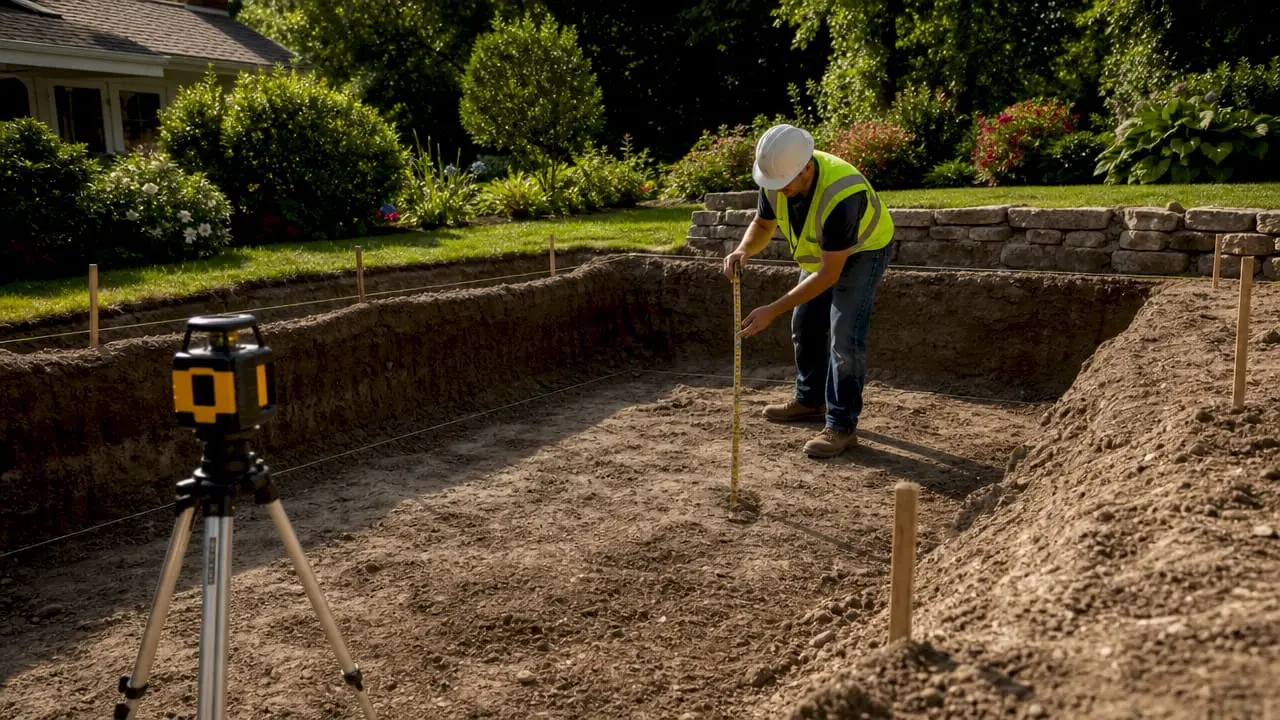
- Marking and excavation. The pool outline is staked and marked precisely according to the design drawings. Excavation follows, with depth and shape guided by the pool type and local soil conditions. This phase usually takes three to five days for a standard residential pool.
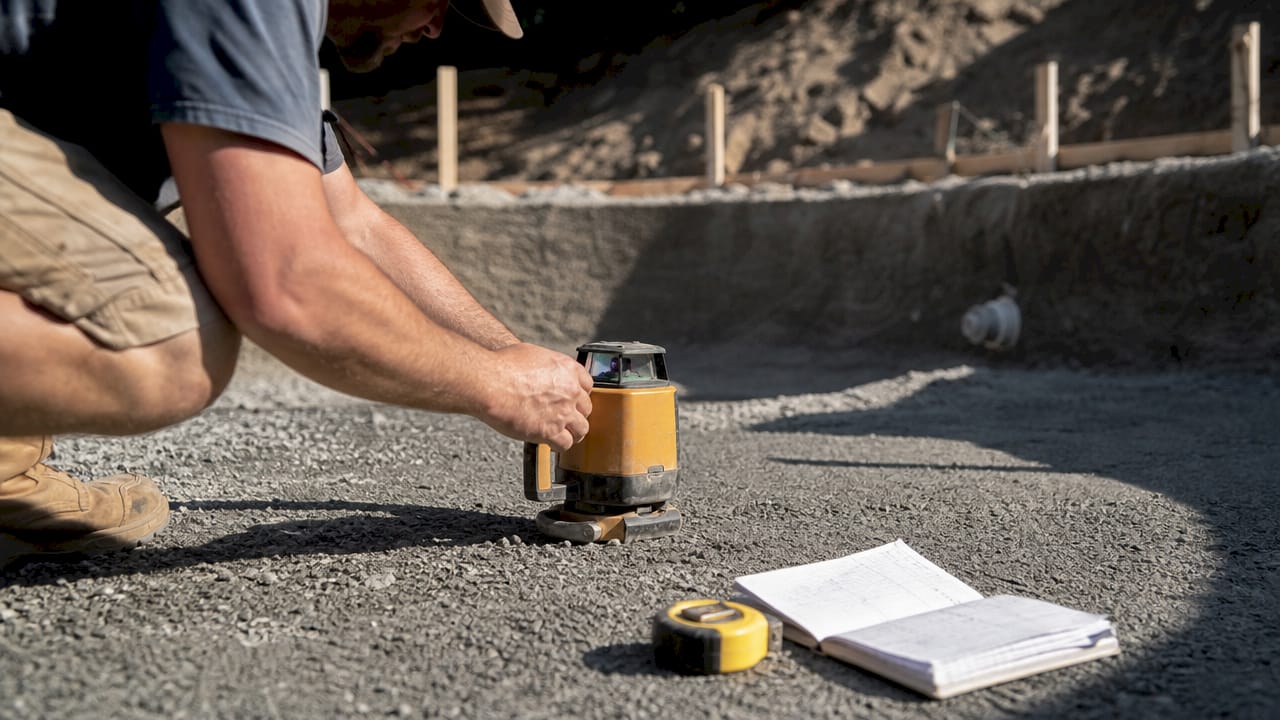
- Sub-base preparation. A base layer of crusher dust or sand is applied and laser-leveled across the excavated area. Proper base preparation involves a 4–6 inch layer of crusher dust or sand, fully compacted to prevent soil movement. Precision here matters more than most homeowners realize. Even millimeter variations in base leveling create finish alignment issues that show up years later.
- Drainage planning. Drainage channels and hydrostatic relief valves are installed before the shell goes in. This step is especially critical in Florida, where groundwater levels are high.
- Final inspection before shell placement. A qualified inspector or experienced contractor walks the site to confirm compaction, drainage, and level accuracy before the shell is lowered or formed in place.
Pro Tip: Ask your contractor to show you the laser level readings from the base preparation. A flat number on paper is not the same as a verified, compacted, and level sub-base.
The complete pool installation typically takes 2–6 weeks, with site preparation and excavation occupying roughly the first week of that timeline.
How does pool shell preparation differ by pool type?
The core steps of site evaluation, excavation, and drainage apply to every pool. What changes significantly is the structural preparation specific to each shell material.
| Pool type | Key preparation difference | Critical detail |
|---|---|---|
| Fiberglass | Pre-formed shell requires precise base leveling | Even small base variations cause visible misalignment in the finished shell |
| Concrete (gunite/shotcrete) | Steel rebar framework placed before concrete application | Rebar must sit 2–4 inches from excavation walls for structural strength |
| Vinyl liner | Excavation plus wall framing before liner installation | Wall panels must be plumb and level; liner tension depends on frame accuracy |
Concrete pools carry the most complex preparation requirements. After the rebar cage is set, gunite or shotcrete is sprayed over it by a trained crew. The nozzle technique during application determines shell integrity. Overlapping layers and consistent rotation prevent air pockets that weaken the structure. After application, concrete pools require a 28-day curing period to reach maximum strength, and the surface must stay moist throughout to avoid cracking. That curing window is not a suggestion. It is a structural requirement.
Fiberglass pools arrive as pre-formed shells, which means the preparation focus shifts almost entirely to base accuracy. A fiberglass shell cannot be adjusted once it is set. If the base is off, the shell is off, and correcting it after the fact means lifting the entire shell and starting over.
Vinyl liner pools sit between the two in complexity. The excavated walls are framed with steel or polymer panels, and the liner is stretched and fitted over them. Any irregularity in the frame transfers directly to the liner surface and shortens its lifespan.
What are the common challenges in pool shell preparation?
Preparation problems fall into three categories: soil issues, drainage failures, and site logistics. Each one is preventable with the right planning.
Soil and structural challenges:
- Expansive clay soils swell when wet and shrink when dry, creating constant movement beneath the shell. Soil testing identifies this risk before excavation begins.
- Rocky substrates require specialized excavation equipment and add cost and time to the project.
- Loose or fill soil provides inadequate support and must be replaced or stabilized before base preparation begins.
Drainage and water pressure:
- Hydrostatic relief valves are necessary in areas with high groundwater to prevent the shell from floating or suffering structural damage known as a pop-out. Florida’s water table makes this a standard requirement, not an optional upgrade.
- Poor surface drainage around the pool allows rainwater to saturate the backfill, increasing lateral pressure on the shell walls.
Backfilling and filling:
- Backfilling must be balanced with simultaneous pool filling to equalize internal and external pressure. Filling the pool with water while backfilling the surrounding soil keeps the shell from shifting or cracking under uneven load. Failing to do this risks catastrophic structural damage.
Site logistics:
- Stripping and stockpiling topsoil before excavation reduces costs by preserving reusable soil for landscaping after the project. Disposing of excavated soil and then buying replacement topsoil is an avoidable expense.
- Heavy equipment access must be planned before work begins. A narrow gate or soft lawn can delay the project by days and add equipment costs.
Pro Tip: Schedule your soil test at least two weeks before your planned excavation date. Results take time, and some soil conditions require engineering solutions that need to be designed before work starts.
How does pool shell preparation affect resurfacing and long-term maintenance?
A well-prepared shell is the reason a quality resurfacing job lasts as long as it should. The connection between preparation and resurfacing is direct: a stable substrate holds the finish material evenly, while an unstable one causes the finish to crack, peel, or delaminate prematurely.
Signs that poor original preparation is causing surface problems include:
- Cracks that follow a pattern consistent with soil movement rather than surface wear
- Sections of finish that peel away in sheets rather than flaking gradually
- Visible bulges or depressions in the pool floor that were not present when the pool was new
- Persistent leaks that do not respond to standard patching
Waterproofing during and after preparation adds a critical layer of protection. A properly waterproofed shell resists water infiltration that would otherwise weaken the bond between the shell and the finish material. Surface preparation before waterproofing follows the same logic as surface preparation in any waterproofing system: a clean, stable, and level substrate is the only foundation that holds long-term.
Maintenance also becomes simpler when the shell is properly prepared. A level, stable pool holds water chemistry more consistently, requires fewer structural repairs, and gives resurfacing materials the best possible conditions to perform at their rated lifespan.
Key Takeaways
Proper pool shell preparation is the single factor that determines whether a pool finish lasts its full rated lifespan or fails years ahead of schedule.
| Point | Details |
|---|---|
| Soil testing is non-negotiable | Identifying soil type before excavation prevents settlement, cracking, and costly structural repairs. |
| Base layer precision drives finish quality | A 4–6 inch compacted base of crusher dust or sand must be laser-leveled before any shell is placed. |
| Pool type changes preparation requirements | Concrete pools need rebar placement and a 28-day cure; fiberglass pools demand near-perfect base accuracy. |
| Backfilling and filling must happen together | Simultaneous backfilling and pool filling equalizes pressure and prevents shell shifting or cracking. |
| Preparation directly affects resurfacing outcomes | A stable, waterproofed shell holds finish materials longer and reduces long-term maintenance costs. |
Why preparation is the part most homeowners underestimate
Most homeowners focus on the finish. They spend hours choosing between Pebble Tec® colors, tile patterns, and coping styles. The preparation phase gets a fraction of that attention, and that is where most long-term problems start.
I have seen pools where the surface finish was flawless on day one and failing by year three. In nearly every case, the root cause was something invisible: a base layer that was not fully compacted, a drainage plan that did not account for seasonal groundwater rise, or backfilling that happened too fast without the pool being filled simultaneously. None of those mistakes are visible until the damage is already done.
The uncomfortable truth is that preparation is the phase where the most critical decisions are made and the least oversight happens. Homeowners are not on site watching the laser level readings. They are not checking whether the rebar is positioned correctly before the gunite crew arrives. They trust the contractor, which is reasonable. But knowing what good preparation looks like gives you the ability to ask the right questions and recognize when corners are being cut.
Investing in a contractor who treats preparation as seriously as the finish itself is the single best decision you can make for your pool’s long-term value. The cost difference between doing it right and doing it fast is small upfront. The cost difference in repairs five years later is not.
— Classicmarcite
Classicmarcite’s approach to pool resurfacing and preparation
Classicmarcite has been resurfacing and renovating pools across Florida since 1988, with over 100,000 pools completed for residential, commercial, and resort clients.

Every resurfacing project Classicmarcite takes on starts with a thorough assessment of the existing shell condition. A surface that looks worn may be hiding structural issues underneath that need to be addressed before any new finish goes on. The team applies professional pool resurfacing techniques using materials like Pebble Tec® to deliver finishes that are durable, weather-resistant, and built to last in Florida’s demanding climate. Whether your pool needs a full renovation or targeted repairs, Classicmarcite brings the preparation expertise that makes the difference between a finish that lasts and one that fails. Request a free estimate to get started.
FAQ
What is pool shell preparation?
Pool shell preparation is the process of evaluating the site, testing the soil, excavating, leveling a compacted base layer, and installing drainage before a pool shell is placed. It creates the stable foundation that prevents cracking, shifting, and surface failure.
How long does pool shell preparation take?
Site preparation and excavation typically take about one week as part of a total installation timeline of 2–6 weeks. Permit approval adds 1–3 weeks before work can begin, depending on the local municipality.
Why is soil testing required before pool installation?
Soil testing identifies whether the ground beneath the pool is expansive clay, rocky, or loose fill, each of which requires a different support strategy. Skipping this step risks serious settlement and structural damage after the pool is built.
What happens if backfilling is done incorrectly?
Backfilling without simultaneously filling the pool with water creates unbalanced pressure on the shell walls. This imbalance can cause the shell to crack or shift, resulting in structural damage that is expensive to repair.
Do I need a hydrostatic relief valve in Florida?
Yes. Florida’s high water table makes hydrostatic relief valves a standard requirement. Without one, groundwater pressure can push the pool shell upward, causing a pop-out that damages the entire structure.
