TL;DR:
- Not all water loss in Florida pools indicates a leak; evaporation and structural issues can mimic leaks.
- Proactive diagnosis, including bucket tests and visual inspections, helps prevent costly repairs and damage.
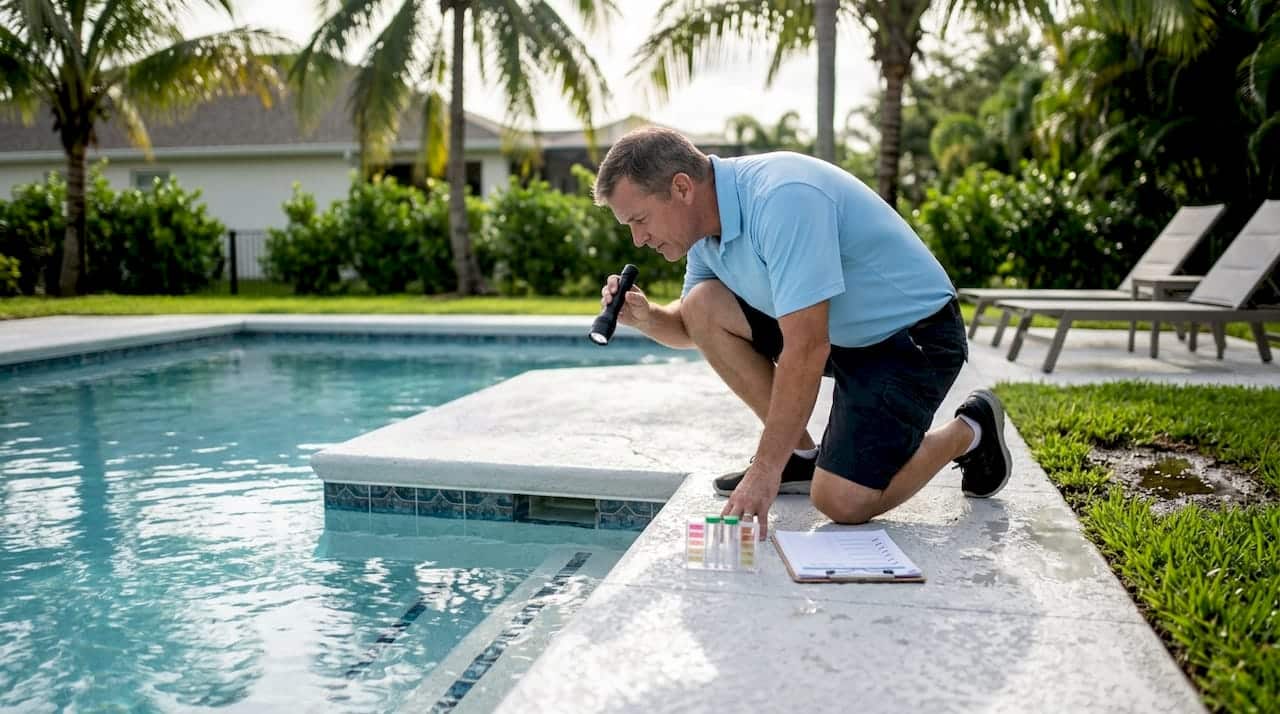
Not every Florida pool losing water has a leak. That fact surprises most homeowners, yet thousands of pools get unnecessary repairs every year because owners skip a simple baseline check. Normal evaporation in Florida runs 0.16 to 0.25 inches per day, thanks to intense sun and warm temperatures. But when water disappears faster than that benchmark, the cost of doing nothing adds up fast. Structural damage, sky-high water bills, and even sinkholes are on the table if a real leak goes unaddressed. This guide walks you through exactly how to tell the difference and what to do next.
Table of Contents
- Common causes and signs of pool leaks in Florida
- Evaporation vs leaks: How much water loss is normal?
- Essential leak detection methods: From DIY to pro-level
- What most people miss: False alarms and sneaky leak scenarios
- The real cost (and danger) of ignoring pool leaks in Florida
- Trusted solutions for Florida pool leak repair
- Frequently asked questions
Key Takeaways
| Point | Details |
|---|---|
| Spot true leaks fast | Recognize normal vs suspicious water loss so leaks never go undetected. |
| Compare detection methods | Use simple DIY tests first, but call professionals for tough or underground leaks. |
| Know Florida’s water loss norms | Evaporation should never exceed a quarter-inch per day in most Florida pools. |
| Beware false positives | Condensation, splash-out, and soil quirks can mislead even experienced owners. |
| Fix leaks promptly | Untreated leaks cause major soil, safety, and property damage—don’t delay repairs. |
Common causes and signs of pool leaks in Florida
With the basics in mind, let’s look at where and how leaks most often occur in Florida pools.
Florida pools deal with heat, frequent thunderstorms, and shifting sandy soil, all of which stress pool structures more than most homeowners realize. Understanding where leaks start helps you know where to look first, and that saves both time and money.
The most frequent leak sources fall into a few key categories:
- Plumbing lines: Underground pipes are responsible for a huge share of leaks. A compromised pipe can lose 50 to 500 gallons per day, which adds up to a staggering amount of wasted water each week.
- Pool shell cracks: Age, soil movement, and freeze-thaw cycles (yes, even in Florida) can crack the shell. These leaks tend to be constant rather than linked to pump operation.
- Skimmers: The plastic fittings connecting your skimmer to the pool wall are a weak point. The bond between the skimmer body and the concrete shell breaks down over time.
- Light fixtures: Pool lights are set into the wall with a conduit that runs to the equipment pad. When the seal fails, water follows that conduit out of the pool.
- Equipment pad: Valves, filters, pumps, and heaters all have fittings that can loosen or corrode.
A useful diagnostic pattern: if water loss is noticeably worse when the pump is running, look at the plumbing first. If the loss is steady regardless of whether the pump is on or off, the shell or fittings are the more likely source. Learn more about why Florida pools lose water and how specific causes connect to repair options.
Sandy soil compounds every leak problem in Florida. When water escapes a pipe or the shell, it saturates the ground around your pool. Sandy soil does not hold that water in place. It erodes, creating voids beneath the pool deck that can eventually cause serious structural movement or cracking of the deck itself.
Air bubbles in your return lines, soggy spots in the yard around the pool, unexplained algae growth, and visible cracks in the tile or plaster are all signs worth investigating. None of these alone confirms a leak, but any one of them is a reason to run the tests we cover in the next section. If tests point to a real problem, understanding how to fix pool leaks will help you approach repairs with a clear plan.
Evaporation vs leaks: How much water loss is normal?
Recognizing leak symptoms is only half the battle. Next is determining whether water loss is actually a leak or just evaporation.
Florida’s climate is unique. High humidity through the summer months reduces surface evaporation somewhat compared to dry desert climates, but long sunny days and year-round swimming still push evaporation rates higher than most homeowners expect.
| Season | Expected daily evaporation | Expected weekly evaporation |
|---|---|---|
| Summer (June to September) | 0.20 to 0.25 inches | 1.4 to 1.75 inches |
| Winter (December to February) | 0.16 to 0.20 inches | 1.1 to 1.4 inches |
| Spring and fall | 0.17 to 0.22 inches | 1.2 to 1.5 inches |
These ranges shift based on wind exposure, pool cover use, and whether a water feature like a waterfall or fountain is running. Aerating features can double or triple your evaporation rate, and many pool owners do not account for that.
How to perform the bucket test:
The bucket test is the primary method for separating evaporation from a real leak. Here is exactly how to do it:
- Fill a 5-gallon bucket with pool water and set it on the first or second step of the pool, or on the pool deck.
- Mark the water level inside the bucket and on the pool wall with tape or a marker.
- Leave the pool running normally for 24 to 48 hours. Do not add water.
- Compare the drop inside the bucket to the drop in the pool.
- If both dropped the same amount, evaporation explains the loss. If the pool dropped significantly more than the bucket, you likely have a leak.
Run this test during a period without rain. Rainfall will add water to the pool and skew your results. If you get rain mid-test, start over. Also check out these Florida pool evaporation tips for strategies that reduce unnecessary water loss through the summer.
Pro Tip: If you suspect the pool leaks only with the pump on, run one test with the pump running and a separate test with the pump off. Comparing those two results will tell you a lot about whether plumbing or the shell is involved. This two-stage bucket test takes an extra day but saves you from misidentifying the source. Keeping up with routine pool repairs prevents small sealing failures from becoming expensive leak sources over time.
Essential leak detection methods: From DIY to pro-level
Now that you know what counts as abnormal water loss, let’s break down how to pinpoint the source with hands-on and expert techniques.
Not every leak requires a professional. But knowing when to stop the DIY work and call in a specialist prevents you from wasting a weekend on a problem you cannot solve with a garden hose and a bucket.
The main detection methods in order of complexity:
- Bucket test: Covered above. Always the starting point. Free, simple, and gives you a reliable baseline.
- Visual inspection: Walk the entire pool looking for cracks in the shell, loose tiles, deteriorated grout, gaps around fittings and lights, and any wet patches in the surrounding soil.
- Dye testing: Dye testing injects specialized dye near suspected areas including skimmers, return fittings, light fixtures, and visible cracks with the pump turned off. If dye gets pulled toward a gap, that confirms a leak path at that point. This is the most useful step-up from the bucket test for pinpointing a location.
- Pressure testing: A plumber or pool tech pressurizes isolated plumbing lines to 20 to 30 PSI and then monitors for a pressure drop. Any drop in pressure identifies a leak somewhere in that line. This is the best method for underground pipes because you cannot see them.
- Electronic leak detection: Professionals use acoustic listening devices and electronic amplifiers to detect the sound of water escaping underground. This avoids destructive digging until the exact location is confirmed.
| Method | Best for | DIY or pro | Approximate cost |
|---|---|---|---|
| Bucket test | Confirming a leak exists | DIY | Free |
| Visual inspection | Shell cracks, fittings, lights | DIY | Free |
| Dye test | Skimmers, lights, visible cracks | DIY or pro | $0 to $150 |
| Pressure test | Underground plumbing | Pro recommended | $150 to $400 |
| Electronic/acoustic | Deep underground leaks | Pro only | $200 to $600+ |
One important caveat about dye testing: DIY food coloring is ineffective for small leaks. Professionals use concentrated, slow-dispersing dyes that behave predictably in water and give a clear result. Food coloring disperses too quickly to show a reliable flow pattern around a micro-leak.
Combining methods dramatically improves accuracy. A bucket test tells you there is a problem. A dye test points you to a suspect area. A pressure test confirms whether the plumbing lines are holding. Running all three in sequence gives you and your repair tech a clear picture before any digging or patching begins. For a detailed look at the full repair sequence, the step-by-step leak repair workflow covers what happens after detection. You can also review common repair examples to understand typical fix scenarios for Florida pools.
What most people miss: False alarms and sneaky leak scenarios
Before moving to repairs, it is important to consider challenges that can trip up even careful pool owners.
Florida throws some genuinely confusing curveballs at the leak detection process. Jumping to an expensive repair based on a misread situation wastes money and does not solve the actual problem.
Scenarios that mimic a leak but are not one:
- Splash-out: High-use pools, especially with kids or attached spas with jets running, lose surprising amounts of water this way. Some busy residential pools lose a quarter inch per day through splash-out alone.
- Backwash cycles: Every time you backwash a sand or DE filter, you discharge water. Many homeowners forget to account for this in their weekly water level monitoring.
- Rainfall measurement error: Rain adds water, then excess water gets displaced through the overflow or skimmer. The net result can look like rapid loss after a storm when the pool is simply self-balancing.
- Condensation on equipment: A sweating pump or filter can create a wet area around the equipment pad that looks like a leak but is just surface moisture in Florida’s humidity.
Condensation can mimic leaks, micro-porosity in the shell requires acoustic or tracer methods, and sandy soils can reduce acoustic detection accuracy in some situations. This last point matters because professionals sometimes need to reposition acoustic sensors or combine methods when sandy soil absorbs too much sound.
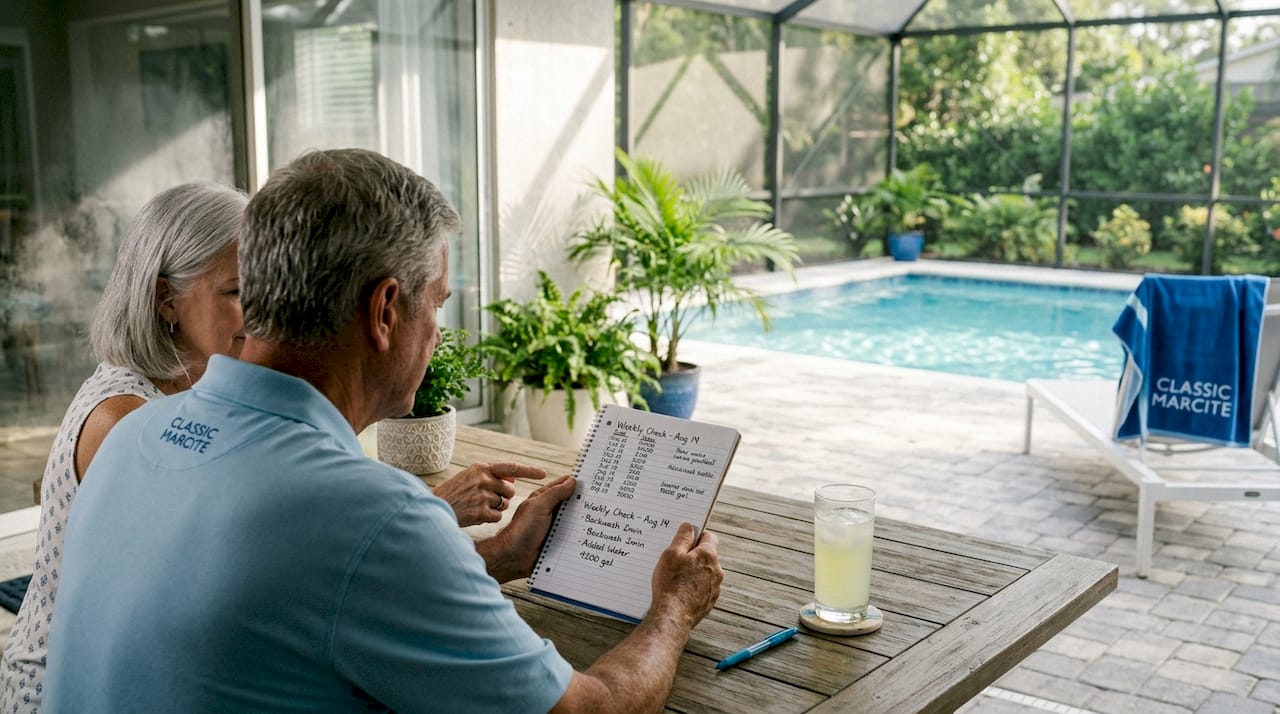
Micro-leaks are the other tricky scenario. A hairline crack in a fitting or a small defect in the shell surface might lose only a half inch of water per week. That is enough to raise your water bill, damage the soil over time, and slowly erode pool chemistry, but it may not show clearly on a basic bucket test. Documenting your water level at the same time each day for a week gives professionals much more useful data than a single observation.
Pro Tip: Take photos of water levels, wet spots, and any cracks you find. Write down the dates and conditions, like whether it rained, whether the pool was heavily used, and whether the pump was running. This log speeds up the diagnostic process significantly and helps avoid repeat service calls. Check the Florida pool inspection tips resource to understand what pros look for during a formal inspection.
The real cost (and danger) of ignoring pool leaks in Florida
Having seen how tricky leaks can be, it is vital to understand why proactive action saves far more than just water.
After working with pools across Central Florida and Jacksonville for decades, we have seen the full range of what a neglected leak can do. The pattern is almost always the same. A homeowner notices the water level dropping. They top it off. They top it off again. After a few weeks, it feels normal to add water every few days. That habit is quietly masking structural damage that grows worse with every refill.
Untreated leaks cause soil erosion, voids, and sinkholes in sandy soil, which is exactly what Florida’s sandy substrate is vulnerable to. A void under a pool deck does not announce itself. The first visible sign is often a deck crack or a section of coping that shifts. By that point, you are looking at deck repairs on top of the original leak repair, and potentially shotcrete or structural work on the shell.
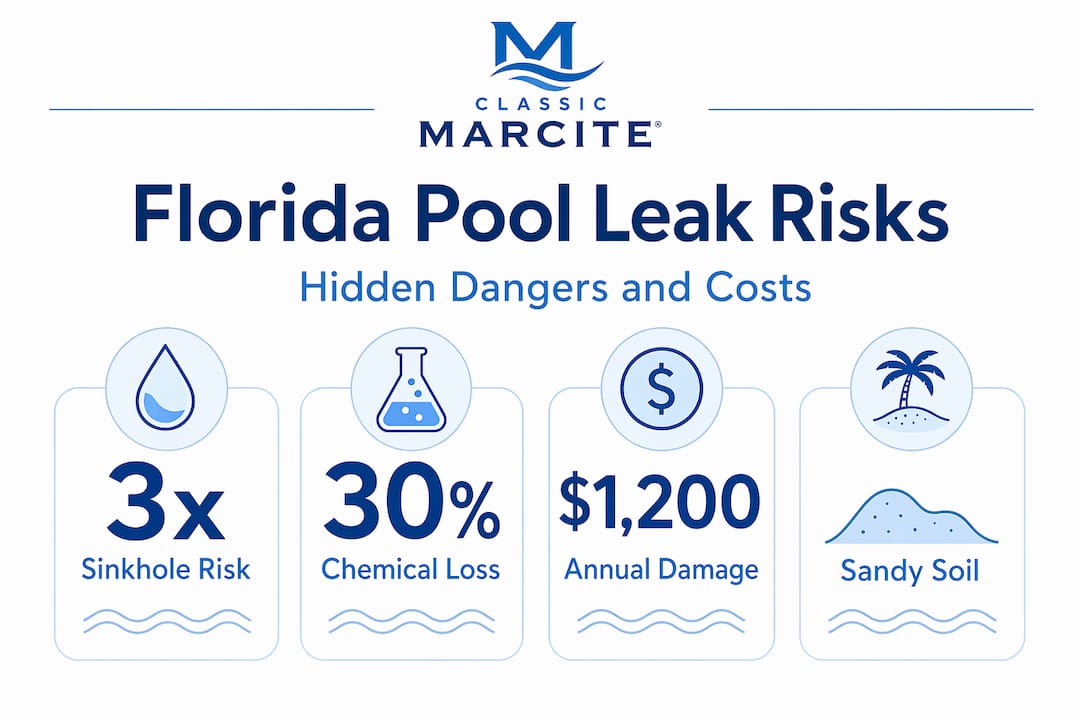
Water chemistry is another hidden cost. When you constantly add fresh water to compensate for loss, you dilute the sanitizers, throw off pH balance, and increase the demand on your chlorine system. Over time this accelerates surface deterioration, especially in older marcite or plaster finishes that are already near the end of their lifespan.
We always recommend that owners of pools more than ten years old baseline their plumbing with a pressure test, even if no obvious symptoms have appeared. Plumbing joints settle, pipe collars degrade, and small defects take years to become visible water loss. Catching a developing leak before it becomes active water loss costs a fraction of repairing the damage that follows. Keeping up with routine pool maintenance and scheduled inspections is the single most effective thing a property manager or homeowner can do to protect their investment.
The mindset shift we encourage is moving from “I’ll wait until the problem is obvious” to “I’ll confirm the baseline and stay ahead of it.” Florida’s environment is simply too aggressive for a passive approach to pool care.
Trusted solutions for Florida pool leak repair
If your bucket test results or water bill are telling you something is wrong, the next step is getting a professional set of eyes on your pool before the situation grows.

At Classic Marcite, we have been diagnosing and resolving pool issues across Orlando and Jacksonville since 1988, with more than 100,000 pools serviced. Our Florida pool repair service covers everything from pinpointing the leak source to completing a lasting fix on plumbing, fittings, tile, or the pool shell itself. If your pool surface has reached the point where micro-porosity or shell degradation is contributing to water loss, our pool resurfacing options using premium materials like Pebble Tec® can address the root cause and give your pool a durable, beautiful finish built for Florida’s demanding conditions. Get a free estimate and see what a professional pool leak fix looks like from start to finish.
Frequently asked questions
How do I know if my pool leak is in the plumbing or the pool shell?
If water loss increases when the pump is running, the source is likely plumbing. If loss is consistent regardless of pump operation, suspect the shell or a static fitting.
What is the easiest DIY step to confirm a pool leak in Florida?
The bucket test is the simplest method to distinguish evaporation from an actual leak. Place a filled bucket on the pool step, mark both levels, and compare after 24 to 48 hours.
How much water loss means I should call a leak detection pro?
Call a professional if loss exceeds 0.25 inch per day, or if your bucket test points to a leak but dye testing and visual inspection do not reveal a clear source.
Why is Florida’s sandy soil a bigger risk for neglected leaks?
Sandy soil erodes quickly when saturated. Persistent leaks in Florida’s sandy ground can create voids beneath the pool deck that lead to structural cracking, settlement, and in severe cases, sinkholes.
Is food coloring a good substitute for pool leak detection dye?
Food coloring is not effective for small leaks because it disperses too quickly in water. Professionals use concentrated, slow-moving dyes that clearly show whether water is being drawn toward a breach.