TL;DR:
- Pool crack repair involves diagnosing, sealing, and reinforcing breaks to prevent water loss and structural damage. Proper identification of crack type and severity ensures the right materials and techniques are used, with professional help needed for significant or active leaks. Regular inspection, water balancing, and soil monitoring help prevent new cracks and maintain pool integrity over time.
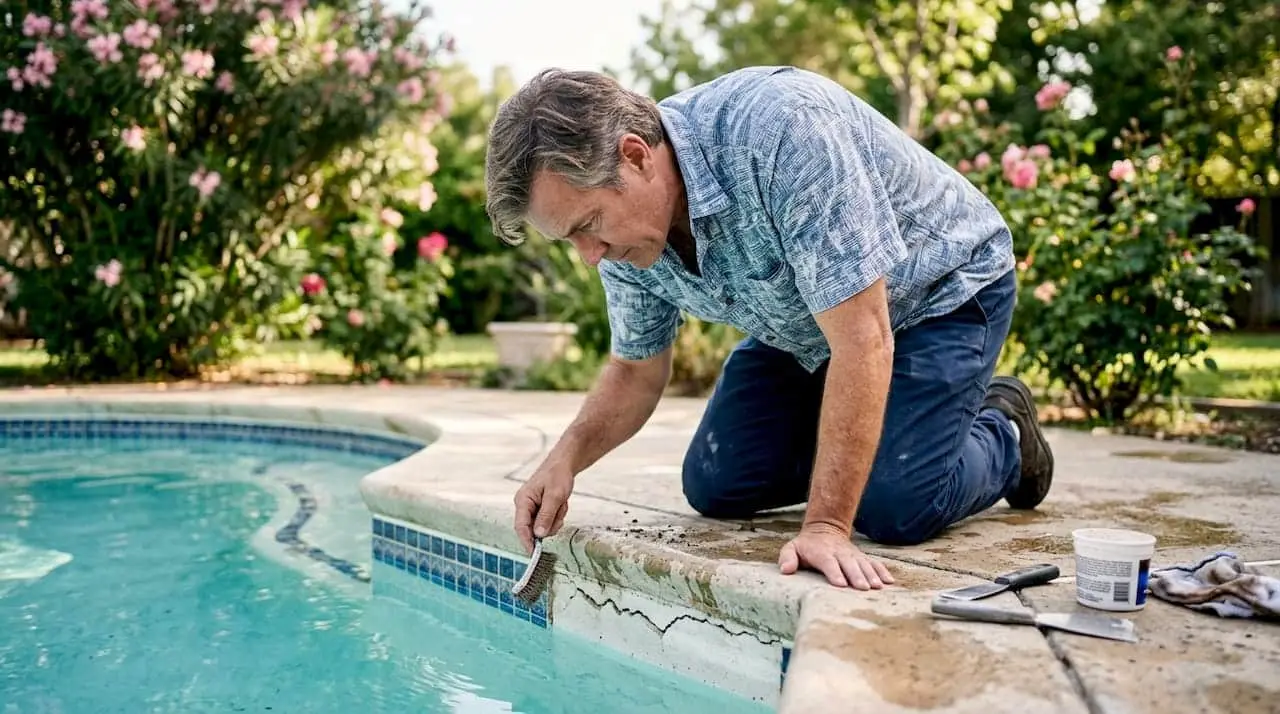
Pool crack repair is defined as the process of diagnosing, sealing, and reinforcing breaks in a pool shell to stop water loss and prevent structural damage. A crack left untreated does not stay small. It widens, allows water to erode the surrounding soil, and can compromise the entire pool shell. This pool crack repair guide covers everything you need: how to read a crack, which materials actually work, a step-by-step repair process, and the maintenance habits that keep new cracks from forming. The right technique depends entirely on the crack type, so diagnosis always comes first.
How to identify types and severity of pool cracks
Not every crack signals a crisis, but every crack deserves a close look. Pool cracks fall into three categories: hairline, surface, and structural. Each requires a different response.
Hairline cracks are thin lines in the plaster or finish layer. They run less than 1/16 inch wide and do not leak or grow. Hairline cracks under 1/16 inch are generally considered normal for concrete pools and can be managed with basic DIY repairs. They are a cosmetic issue, not a structural one.
Surface cracks go deeper than the finish but stop short of the shell. They may allow minor seepage and often appear after years of thermal expansion and contraction. Florida pools face this constantly due to temperature swings between seasons.
Structural cracks penetrate the full shell. They are the ones that demand immediate attention. Cracks wider than 1/8 inch usually indicate structural issues needing professional evaluation to prevent large-scale damage such as soil erosion and foundation movement. That measurement is your clearest field test.
Use these signs to assess severity before touching any repair material:
- Width: Measure with a coin or feeler gauge. Anything at or above 1/8 inch is a red flag.
- Water loss: Water loss exceeding 1/4 inch per day is a strong indicator of structural leaks requiring professional intervention.
- Crack direction: Horizontal cracks often point to soil pressure. Vertical cracks may indicate settling.
- Growth over time: Mark the ends of a crack with a pencil. Check it weekly. A crack that grows is a structural crack.
- Soil erosion near the pool: Soft or sunken ground beside the pool wall signals water escaping underground.
Pro Tip: Drop a few drops of food dye near a crack while the pump is off. If the dye gets pulled into the crack, water is actively leaking through it.
Understanding why pools crack in Florida gives you an edge when assessing severity. Soil movement, tree roots, and ground settling are common culprits in the region.
What tools and materials do you need for crack repair?
Gathering the right materials before you start saves you from a half-finished repair. The tools and compounds you need depend on whether the crack is above or below the waterline.
| Category | Item | Best Use |
|---|---|---|
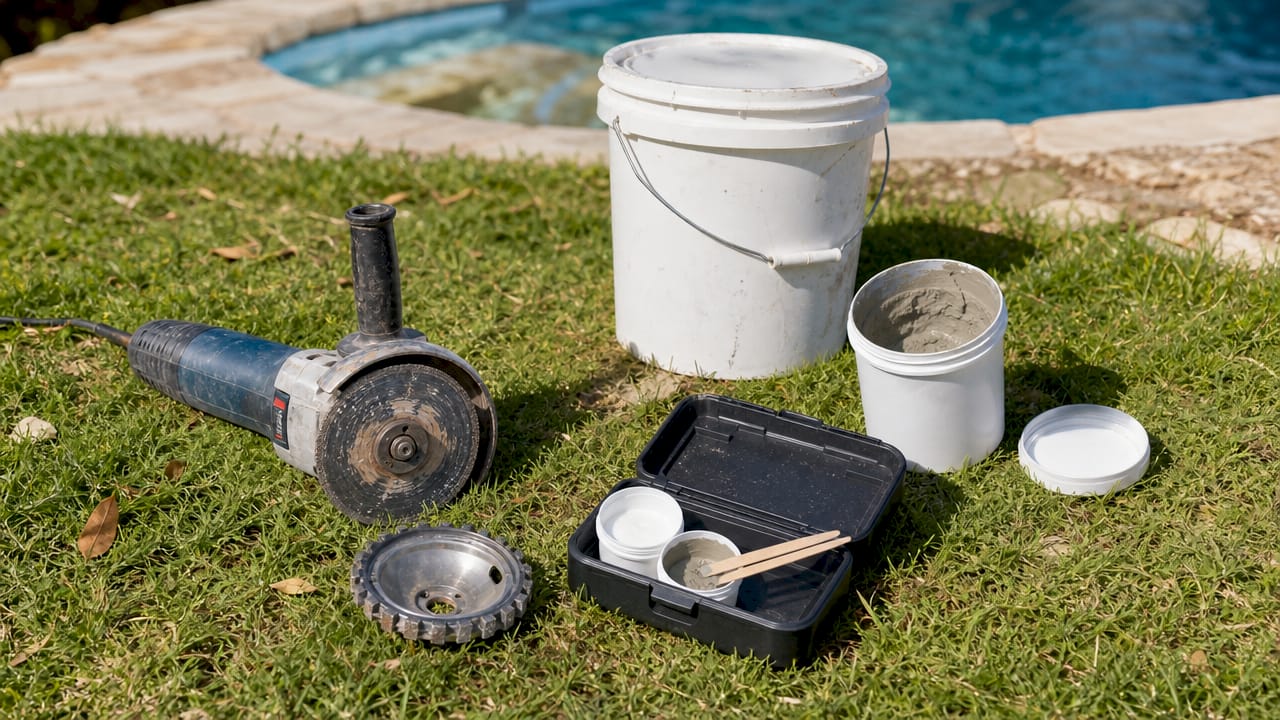
| Cutting tools | Crack chaser blade, angle grinder | Routing a U-shaped groove along the crack |
| Cleaning tools | Wire brush, pressure washer | Removing algae, dirt, and loose material |
| Injection tools | Epoxy injection kit, caulking gun | Filling structural cracks at depth |
| Patching compounds | Hydraulic cement, epoxy putty | Dry and wet surface repairs |
| Underwater sealants | Polyurethane foam injection kit | Active leaks without draining |
| Safety gear | Gloves, goggles, respirator | Protecting against dust and chemical exposure |
The material choice is where most homeowners go wrong. Standard hardware-store silicone is ineffective for underwater pool cracks. Specialized underwater-curing epoxy putty or polyurethane foam injection kits provide a permanent, watertight bond. These products react with moisture to cure underwater, which is exactly what you need for a crack below the waterline.
For above-waterline repairs on a drained pool, hydraulic cement works well for active seeps, and two-part epoxy compounds bond directly to concrete for a hard, lasting fill. Always read the cure time on the label. Rushing this step is the most common reason repairs fail within a season.
Safety equipment is not optional. Grinding concrete generates silica dust, which is a serious respiratory hazard. Wear a rated respirator, not just a dust mask, along with eye protection and chemical-resistant gloves when handling epoxy compounds.
Step-by-step pool crack repair process
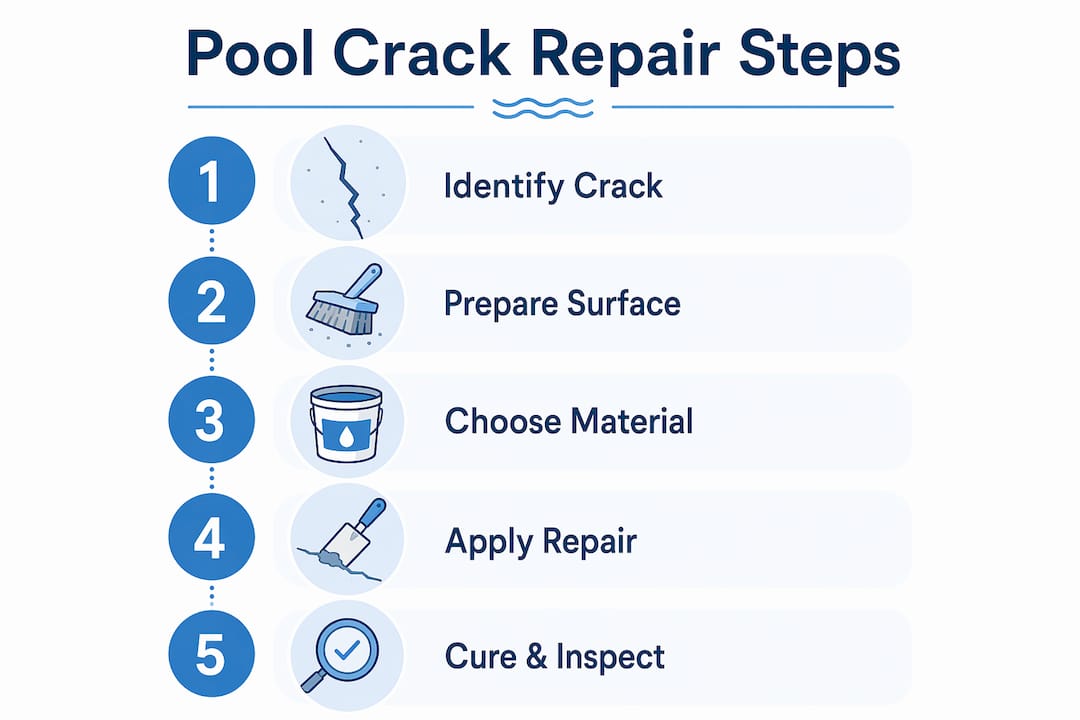
A clean, methodical process separates a repair that lasts years from one that fails in months. Follow these steps in order.
- Assess and mark the crack. Confirm the crack type and boundaries before cutting anything. Mark the full length with a grease pencil.
- Lower or drain the water. Draining the pool or lowering the water level below the crack is necessary for dry surface repairs. If you are using an underwater product, you can skip this step, but dry repairs bond more reliably.
- Route the crack. Use a crack chaser blade to cut a U-shaped groove along the crack before applying any compound. This groove enhances bonding strength and gives the repair material more surface area to grip. A V-shaped cut is less effective because it narrows at the bottom.
- Clean the surface. Remove all algae, dirt, and loose material with a wire brush and pressure washer. Surface preparation that removes unsound material is critical for a lasting fix. The repair compound must bond to sound concrete, not to debris or old sealant.
- Apply the repair compound. For hairline and surface cracks, pack hydraulic cement or epoxy putty firmly into the groove. For structural cracks, use an epoxy injection kit. Epoxy injection is a highly effective method for structural crack repair because it bonds concrete at depth and creates a watertight seal. For active leaks, polyurethane foam injection expands on contact with water and fills the void completely.
- Stitch significant structural cracks. For cracks that show movement or are wider than 1/4 inch, stitching adds critical reinforcement. ‘Stitching’ cracks with steel rebar inserted across the crack adds tensile strength and prevents the crack from reopening due to pool shell movement. This step requires drilling perpendicular holes across the crack and setting rebar with epoxy grout.
- Smooth and finish. Once the compound cures, grind or sand the patch flush with the surrounding surface. Apply a finish coat that matches the existing plaster or interior surface. Mismatched finishes are not just cosmetic. They can indicate a difference in material hardness that leads to edge cracking later.
- Refill and test. Refill the pool slowly. Mark the water level and check it over 24 hours. If you lose more than 1/4 inch per day, the repair did not seal the leak fully.
Pro Tip: Mix only as much two-part epoxy as you can use in five minutes. Most formulas begin to harden quickly, and working with partially cured material produces a weak bond.
For homeowners who want a detailed walkthrough before starting, Classicmarcite’s DIY crack repair steps covers the process with Florida-specific considerations.
Small surface cracks can often be repaired by skilled DIY homeowners using off-the-shelf patching kits, but electrical or large structural repairs require licensed professionals. Pool light niches and bonding wires run near cracks in many older pools. Do not grind near electrical conduit without confirming the circuit is off and the area is safe.
Maintenance tips to prevent cracks from returning
Repairing a crack is only half the job. The other half is keeping new cracks from forming and making sure the repair holds.
- Inspect monthly. Walk the perimeter of the pool and look for new lines in the plaster. Catching a hairline crack early costs far less than addressing a structural one later. Check the common repair examples that Florida pool owners face most often.
- Balance water chemistry weekly. Ignoring pool water balance accelerates plaster erosion and increases crack risk. Keep pH between 7.2 and 7.6, total alkalinity between 80 and 120 ppm, and calcium hardness between 200 and 400 ppm. Aggressive water eats plaster from the inside out.
- Use dye testing quarterly. Squirt pool dye near any suspicious area with the pump off. Movement toward the surface confirms a leak. This test costs almost nothing and catches problems before they grow.
- Monitor the soil around the pool. Soft spots, sinkholes, or settled decking near the pool edge signal water escaping underground. Address soil issues before they undermine the shell.
- Schedule a professional inspection every two to three years. A licensed pool technician can identify stress fractures and early-stage structural movement that are invisible to the untrained eye.
Pro Tip: Run a bucket test to separate evaporation from a real leak. Fill a bucket with pool water, set it on a step, and mark both water levels. After 24 hours, compare the drop. If the pool lost more water than the bucket, you have a leak.
Plaster lifespan directly affects how often cracks appear. Older plaster surfaces become porous and brittle, making them far more prone to cracking under normal pool chemistry and temperature stress.
Key takeaways
Effective pool crack repair depends on correctly identifying the crack type first, then selecting the right material and method for a lasting seal.
| Point | Details |
|---|---|
| Identify crack type first | Hairline cracks under 1/16 inch are cosmetic; cracks over 1/8 inch need professional evaluation. |
| Match material to location | Use underwater-curing epoxy or polyurethane foam for submerged cracks; hydraulic cement for dry repairs. |
| Prep the surface thoroughly | Route a U-shaped groove and remove all debris before applying any repair compound. |
| Know your DIY limits | Surface cracks suit skilled homeowners; structural, electrical, and active-leak repairs require licensed professionals. |
| Maintain chemistry and inspect regularly | Weekly water balancing and monthly visual checks extend repair life and prevent new cracks. |
What I’ve learned from watching homeowners tackle pool cracks
The single most common mistake I see is skipping the diagnosis step. A homeowner spots a crack, buys a tube of sealant, and fills it in. Six months later, the crack is back, wider, and now there is a soft spot in the deck beside it. The sealant masked a structural problem that kept moving underneath.
The second mistake is using the wrong product. Standard silicone and general-purpose caulk do not bond to wet concrete. They peel out within weeks. Epoxy injection and polyurethane foam exist specifically for pool environments, and they work because they are engineered for moisture-rich, chemically treated surfaces.
The third mistake is underestimating surface prep. I have seen professional-grade epoxy fail because the installer skipped the wire brush step. The compound bonded to algae and old sealant, not to the shell. Prep is not the exciting part, but it is the part that determines whether the repair lasts two months or twenty years.
My honest advice: if the crack is wider than 1/8 inch, growing, or causing measurable water loss, call a professional before touching it. The cost of a professional assessment is a fraction of the cost of a full shell repair caused by a DIY fix that held the crack open while water continued to erode the soil beneath it. For everything else, the steps in this guide give you a solid foundation. Do the diagnosis, get the right materials, prep the surface, and take your time with the cure.
— Results
Professional pool crack repair and resurfacing with Classicmarcite
When a crack goes beyond what a patching kit can fix, the pool surface itself often needs attention.

Classic Marcite has resurfaced over 100,000 pools across Orlando, Jacksonville, and beyond since 1988. The team handles everything from targeted pool crack repairs to full interior resurfacing using materials like Pebble Tec®, which is built to resist the thermal stress and chemical exposure that cause cracking in the first place. If your pool has reached the point where patching is no longer enough, professional pool resurfacing restores structural integrity and gives you a surface that lasts. Contact Classicmarcite for a free estimate and find out what your pool actually needs.
FAQ
What is the difference between a surface crack and a structural crack?
A surface crack stays within the plaster or finish layer and does not affect the pool shell. A structural crack penetrates the full shell, often causes measurable water loss, and requires professional repair.
Can I repair a pool crack without draining the pool?
Yes. Underwater-curing epoxy putty and polyurethane foam injection kits bond in wet conditions and seal active leaks without draining. Dry repairs bond more reliably, but underwater products are a practical option for minor cracks.
How do I know if my pool crack is leaking?
Use the dye test: add a few drops of pool dye near the crack with the pump off. If the dye moves toward the crack, water is escaping. Water loss exceeding 1/4 inch per day also confirms an active leak.
When should I call a professional instead of doing it myself?
Call a professional when the crack is wider than 1/8 inch, shows signs of growth, causes daily water loss above 1/4 inch, or runs near electrical components like pool light niches. These situations carry structural and safety risks that DIY repairs cannot address reliably.
How long does a pool crack repair last?
A properly prepped and applied epoxy injection repair can last many years. Surface patch repairs using hydraulic cement or epoxy putty typically last several seasons when the surface is clean, the groove is properly routed, and water chemistry is maintained consistently.
