
Most American pool owners in Orlando and Jacksonville face the challenge of keeping their decks both beautiful and safe amid Florida’s harsh sun and rain. A worn pool deck can quickly become slippery, unsightly, and even dangerous for families. With over 60 percent of local pool surfaces showing early signs of damage within five years, it’s clear that expert resurfacing matters. This guide reveals vital steps for achieving a reliable and attractive pool deck through tested professional techniques.
Table of Contents
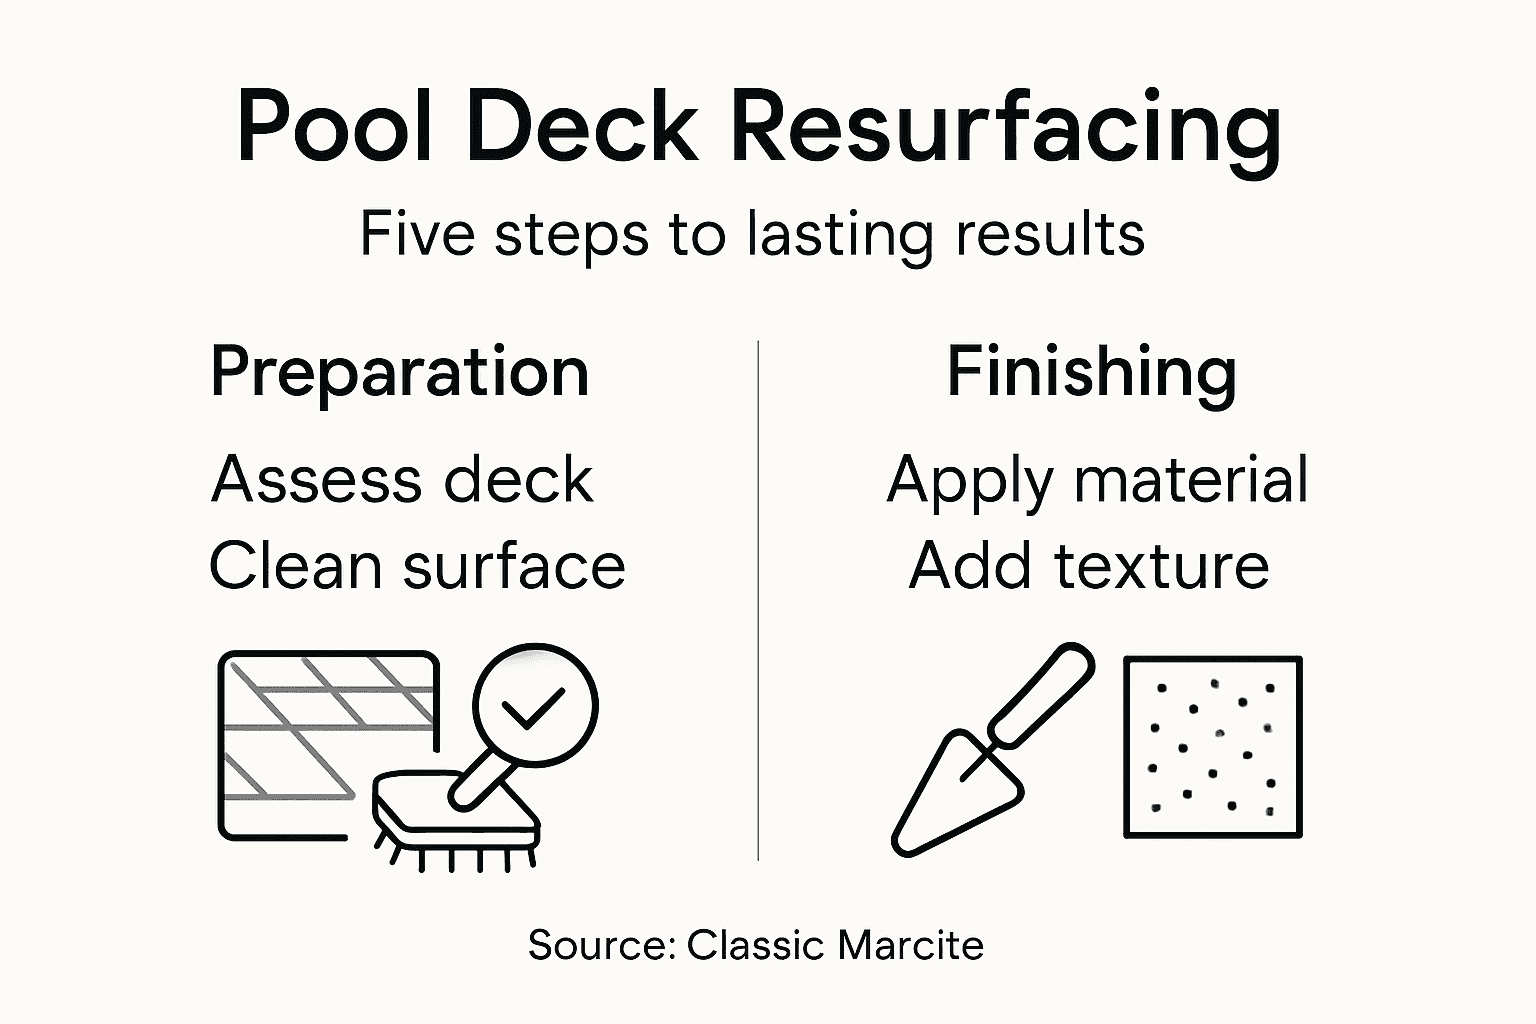
- Step 1: Assess And Prepare Pool Deck Surface
- Step 2: Clean And Repair Damaged Areas
- Step 3: Apply Bonding Agent And Resurfacing Material
- Step 4: Texture And Finish The Resurfaced Deck
- Step 5: Verify Quality And Cure The Surface
Quick Summary
| Key Point | Explanation |
|---|---|
| 1. Assess Surface Thoroughly | Inspect the pool deck for cracks and wear, ensuring a robust foundation for resurfacing. Identify all damage before proceeding with repairs. |
| 2. Clean and Repair Diligently | Use a pressure washer to remove all dirt and debris and apply appropriate concrete repair products to ensure surface integrity. |
| 3. Apply Bonding Agent Properly | Choosing a suitable bonding agent is crucial for adhesion; follow manufacturer instructions for application to avoid future issues. |
| 4. Texture for Safety and Aesthetics | Incorporate slip-resistant textures while finishing the surface to enhance both safety and visual appeal. Choose methods based on desired outcomes. |
| 5. Monitor Curing Conditions | Maintain proper humidity and temperature to ensure the deck cures correctly, preventing cracks and ensuring longevity of the surface. |
Step 1: Assess and prepare pool deck surface
Preparing your pool deck surface is a critical first step in achieving a professional resurfacing result that will stand up to Florida’s challenging climate. A thorough assessment helps prevent future issues and ensures your new surface will look great and last for years.
Start by conducting a comprehensive visual and tactile inspection of your pool deck. Look for signs of wear like cracks, chips, uneven areas, or surface deterioration. Pay special attention to deck inspection techniques that help identify potential structural weaknesses. Check the entire surface systematically walk the entire perimeter and surface area. Note any areas with significant damage that might require additional repair before resurfacing.
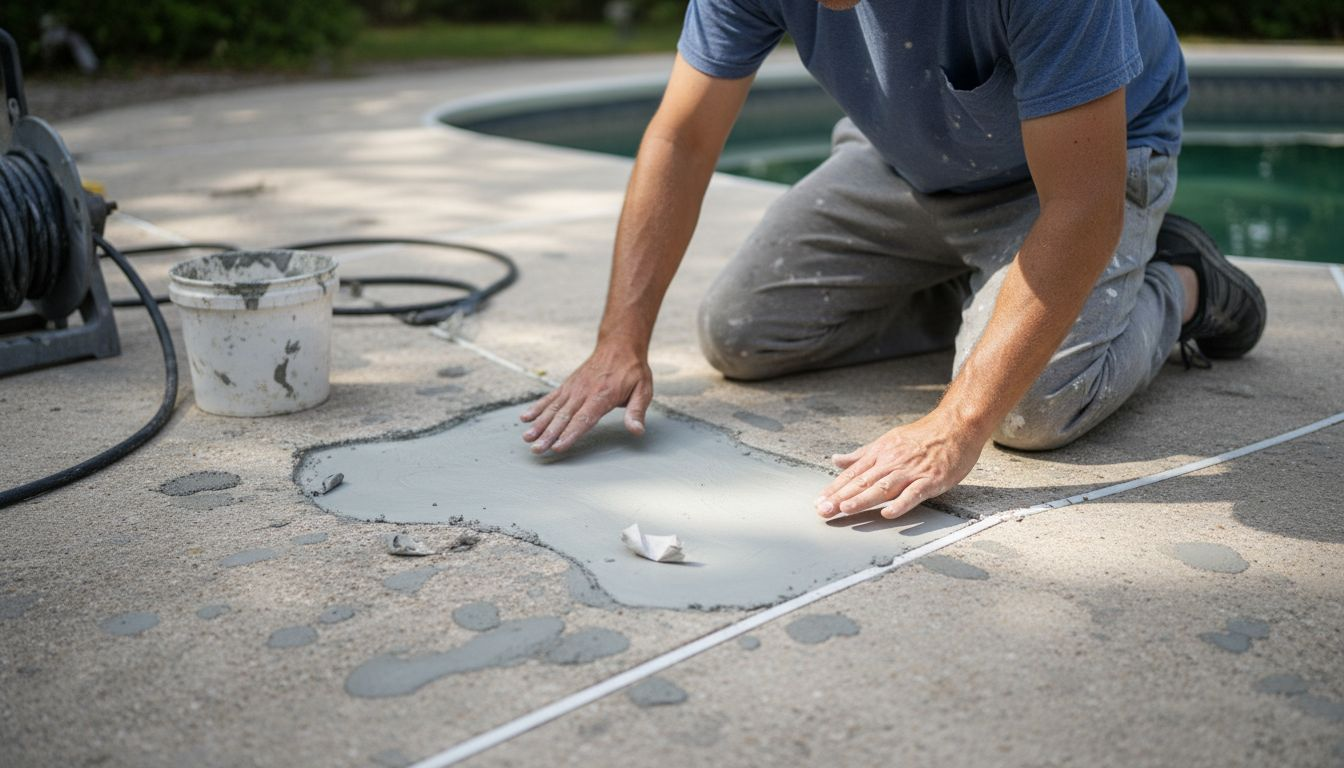
While inspecting, remove all debris, loose material, and dirt. Clean the surface thoroughly using a pressure washer with appropriate pressure settings to avoid damaging the underlying concrete. This process will help reveal the true condition of your pool deck and provide a clean surface for proper adhesion of new resurfacing materials. Repair small cracks and patch any significant damage before proceeding to the next stages of preparation.
Here’s a summary of common pool deck surface issues and recommended preparation actions:
| Surface Issue | Recommended Preparation Action | Benefit of Action |
|---|---|---|
| Cracks | Fill with concrete patch compounds | Prevents water infiltration |
| Chips | Patch and smooth with repair mortar | Creates stable surface |
| Uneven areas | Grind or level with overlay | Reduces tripping hazards |
| Dirt and debris | Remove using pressure washing | Improves material adhesion |
| Mold or algae | Treat with cleaning solution | Enhances safety and aesthetics |
Pro tip: Schedule your pool deck assessment during dry weather conditions to ensure accurate damage identification and optimal surface preparation.
Step 2: Clean and repair damaged areas
Addressing surface damage and thoroughly cleaning your pool deck are essential steps in preparing for a successful resurfacing project. By carefully addressing every crack and cleaning every surface area, you can ensure a strong foundation for your new pool deck finish.
Begin by cleaning pool deck surfaces using a pressure washer with appropriate pressure settings. Remove all debris, dirt, algae, and loose materials that could interfere with the resurfacing process. Focus on eliminating any contaminants or mold growth that might compromise the new surface adhesion. For concrete cracks and damaged areas, use specialized concrete repair products designed to fill and seal small imperfections. Larger cracks or structural damage might require professional assessment to determine the best repair strategy.
After cleaning and initial repairs, allow the surface to dry completely. Inspect the deck again to ensure all repairs have been completed properly and the surface is smooth and ready for the next stages of resurfacing. Remove any remaining dust or loose particles with a stiff brush or industrial vacuum to create an optimal surface for new materials.
Pro tip: Use a concrete patching compound specifically rated for outdoor pool deck areas to ensure maximum durability and water resistance.
Step 3: Apply bonding agent and resurfacing material
Applying the bonding agent and resurfacing material is a critical stage that determines the long term success of your pool deck renovation. This process requires precision and careful attention to ensure a strong adhesion and smooth final surface.
Begin by selecting a high quality concrete bonding agent specifically designed for exterior surfaces. Bonding agent application requires a clean and slightly roughened surface to maximize adhesion. Use a roller or brush to apply the bonding agent evenly across the entire surface. Ensure complete coverage but avoid pooling or excessive thickness. Allow the bonding agent to become tacky but not completely dry before applying the resurfacing material.
Once the bonding agent is prepared, mix your chosen resurfacing material according to manufacturer specifications. Apply the material using a squeegee or trowel in consistent strokes to create an even layer. Work systematically across the deck surface to prevent uneven spots or missed areas. Pay special attention to maintaining a uniform thickness and smooth out any potential air bubbles or imperfections during application.
Pro tip: Work during moderate temperatures and avoid direct sunlight to prevent rapid drying that could compromise the bonding and finishing process.
Step 4: Texture and finish the resurfaced deck
The final step in pool deck resurfacing is creating a textured finish that balances safety and aesthetic appeal. This crucial stage transforms your newly resurfaced deck from a basic surface to a professional looking area that enhances your outdoor space.
Concrete surface texturing involves carefully creating patterns that provide slip resistance and visual interest. Choose your texture method based on your desired look and functional requirements. Common techniques include broom finishing for a classic textured appearance or using specialized tools to create swirl patterns. Work systematically across the surface using consistent pressure and motion to ensure an even finish. For optimal results, apply the texture while the resurfacing material is still slightly soft but beginning to set.
This table compares popular pool deck texturing methods:
| Texturing Method | Appearance Style | Slip Resistance Level | Suitable Conditions |
|---|---|---|---|
| Broom Finish | Linear textured | High | Most outdoor settings |
| Swirl Pattern | Curved decorative | Moderate | When aesthetics matter |
| Stamped Concrete | Patterned surfaces | Variable | Professional install |
After creating the initial texture, allow the surface to cure according to manufacturer recommendations. Avoid walking on the deck or exposing it to water during the initial curing period. Once fully cured, consider applying a sealant to protect the new surface and enhance its durability against Florida’s intense sunlight and occasional harsh weather conditions.
Pro tip: Test your texturing technique on a small inconspicuous area first to perfect your method before applying it to the entire deck surface.
Step 5: Verify quality and cure the surface
The final verification process is crucial to ensuring your pool deck resurfacing investment delivers long lasting results. This stage involves carefully monitoring the surface as it cures and conducting comprehensive quality checks to confirm the work meets professional standards.
Surface curing techniques require maintaining specific environmental conditions to develop optimal concrete strength and durability. Monitor temperature and humidity levels closely during the initial 48 to 72 hour curing period. Keep the surface consistently moist but not waterlogged. Use plastic sheeting or specialized curing compounds to prevent rapid moisture evaporation. Look for uniform color development and check for any signs of cracking or uneven texture that might indicate improper curing conditions.
Conduct a thorough visual and physical inspection of the entire deck surface. Test the surface by gently pressing in multiple areas to ensure consistent hardness and adhesion. Check for any small imperfections or areas that might need touch up. Remember that proper curing is essential for developing the full strength and longevity of your newly resurfaced pool deck.
Pro tip: Take photographs of the surface during different stages of curing to document the process and create a baseline for future maintenance comparisons.
Expert Pool Deck Resurfacing Solutions for Lasting Beauty and Safety
If you are facing challenges like cracks, chips, or uneven surfaces that risk your pool deck’s durability and safety, you need a trusted partner to ensure perfect preparation, repair, and finishing. The detailed steps in “How to Resurface Pool Deck for Lasting Results” highlight the importance of thorough cleaning, bonding agent application, and professional texturing to withstand Florida’s harsh weather conditions. Protect your investment and elevate your outdoor space by choosing proven resurfacing techniques with high-quality materials.

Discover how Classic Marcite brings decades of expertise in pool deck resurfacing to Orlando and Jacksonville homeowners. We specialize in durable finishes like Pebble Tec® that not only enhance visual appeal but also provide lasting water resistance and slip resistance. Don’t wait for minor damage to become costly problems. Request your free estimate today and experience the industry leader’s craftsmanship and dedication. Learn more about our comprehensive pool resurfacing and repair services designed to keep your pool deck safe and stunning year-round.
Frequently Asked Questions
What initial steps should I take to assess my pool deck before resurfacing?
To assess your pool deck, conduct a thorough visual and tactile inspection for any signs of wear, such as cracks, chips, or uneven surfaces. Remove debris and thoroughly clean the area before taking note of any significant damage that needs repairs prior to resurfacing.
How do I clean my pool deck for resurfacing?
Use a pressure washer to clean your pool deck, ensuring you remove dirt, loose materials, and any mold or algae. Focus on keeping the surface clean and free of contaminants that could affect the adhesion of the new materials.
What materials should I use for repairing cracks before resurfacing?
Utilize concrete patch compounds specifically designed for outdoor use to fill small cracks and imperfections. For larger cracks or structural issues, you may need to seek professional assistance to ensure proper repair methods are applied.
How can I ensure proper adhesion of the resurfacing material?
Apply a high-quality concrete bonding agent to the clean and slightly roughened surface before laying down the resurfacing material. Ensure that the bonding agent becomes tacky but not entirely dry to promote strong adhesion.
What texturing techniques can I use for my resurfaced pool deck?
You can choose from several texturing methods, such as broom finishing for a classic look or swirl patterns for a decorative touch. Apply the texture while the resurfacing material is still slightly soft, ensuring consistent pressure and motion for an even finish.
How do I verify the quality of my resurfaced pool deck?
Conduct a visual and physical inspection of the deck after it has fully cured. Look for uniform color, consistent hardness, and check for any imperfections that may require touch-ups to ensure long-lasting results.
