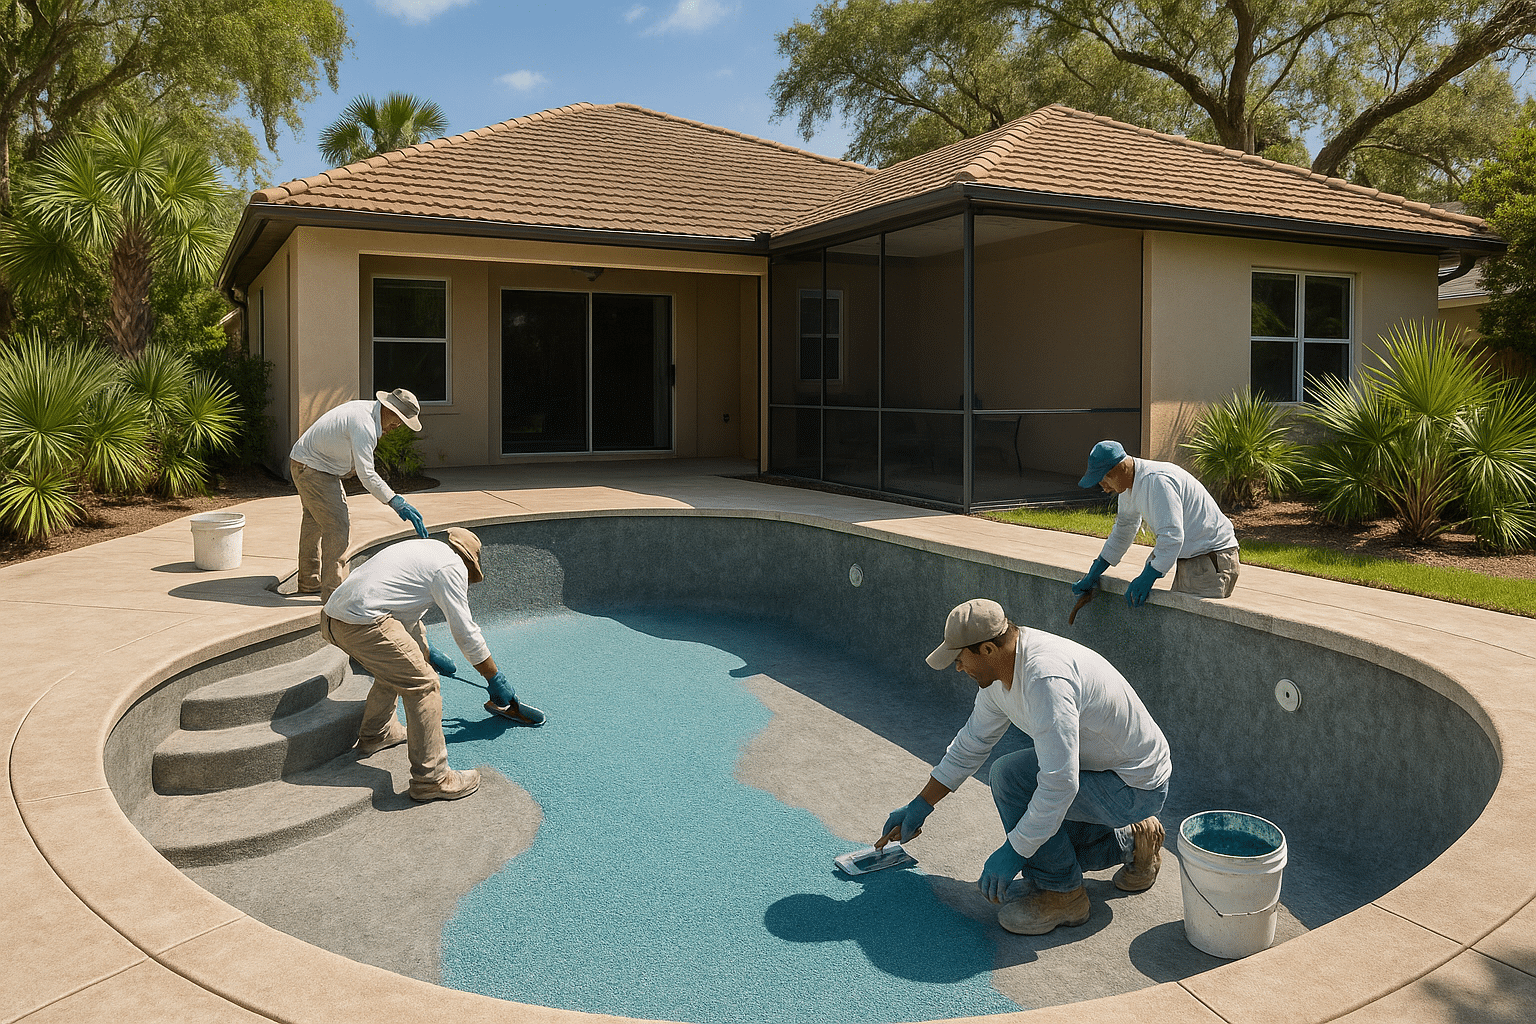
TL;DR: Most pool resurfacing projects take 7 to 14 calendar days from draining to swimming, depending on pool size, finish type, condition of the shell, and Central Florida weather. The active crew work is typically 5 to 7 days; the rest is curing and water-chemistry startup. Planning around that full window — not just the construction days — is the key to a smooth project.
One of the first questions homeowners ask us is simple: “How long will I be out of my pool?” The honest answer is 7 to 14 calendar days for most projects — but understanding why helps you plan smarter and avoid being caught off guard.
Below is a phase-by-phase breakdown of exactly what happens, how long each step takes, and what can push a project longer.
The Short Answer: 7 to 14 Calendar Days
Once your pool shows the warning signs that resurfacing is overdue, the project itself moves quickly when planned well. Most resurfacing projects take about 5 to 10 calendar days from drain to balanced water, with the exact window depending on pool size, finish type, weather, and how much repair work is discovered once the old surface is exposed.
“Calendar days” is the key phrase. Crew members work on-site for a portion of that window; the rest of the time your pool is curing, filling, or having its water chemistry stabilized. Both phases matter equally to the final result.
Phase-by-Phase Timeline
Phase 1 — Pre-Project Inspection (Day 0)
Before any crew touches the pool, a qualified contractor inspects the shell — looking for cracks, structural damage, or repairs that need to happen before the new finish goes on. Skipping or rushing this step is how surprise costs appear mid-project.
At Classic Marcite, we do a thorough walkthrough at the free estimate stage so that scope and timeline are accurate before work begins. Every crew member who shows up is a direct Classic Marcite employee — not a subcontractor — which means the same trained eyes that quoted your project are the ones doing the work.
Phase 2 — Drain and Surface Removal (Days 1–2)
The pool is drained first. Draining typically takes one to two days depending on the size of the pool and the efficiency of the draining equipment.
Once empty, the old surface is chipped and blasted away. This is noisy, labor-intensive work. If you work from home, these are the days to plan for the most noise on-site.
Phase 3 — Shell Prep and Structural Repairs (Days 2–4)
With the shell exposed, the crew grinds the surface smooth, patches cracks, and addresses any structural issues. The entire drain and prep process can take 4 to 5 days, or longer for more in-depth jobs.
This is the phase most likely to surface unexpected repairs — hairline cracks, delaminated bond coat, corroded fittings. A reputable contractor tells you what they find and adjusts the scope accordingly. If a company gives you a firm completion date before doing prep, be skeptical.
Tip: Larger pools with complex shapes, water features, or steps naturally take longer than smaller, simpler pools.
Phase 4 — Tile and Coping (Days 4–6, if included)
If your project includes waterline tile replacement or coping work, this happens after prep and before the finish is applied. Tile installation is detailed work — because of its delicacy, it can take up to a week to complete on larger pools. Simpler tile replacements run 2 to 3 days.
Classic Marcite handles tile and waterline replacement as part of a full renovation scope, so these trades are coordinated into the same project schedule rather than requiring a separate contractor visit.
Phase 5 — New Finish Application (Days 5–7)
Once the shell is clean, repaired, and prepped, the new finish goes on. The material you choose directly affects both the application time and the curing requirements:
- Standard plaster / marcite: Fastest application. The pool can typically begin filling within 24 hours of application.
- Quartz blend: Mid-range application timeline. More durable and stain-resistant than standard plaster.
- Pebble finishes (Pebble Tec®, Pebble Sheen®, Pebble Fina®, Beadcrete®): The most precise application. According to Pebble Technology International, authorized applicators use a pneumatic spray applicator to shoot the pebble material onto the pool surface, then immediately hand-trowel it to secure the mixture before exposing the aggregate. This two-day exposure process requires skilled hands and adds to the application window — but the resulting finish is significantly more durable.
Classic Marcite is the largest Pebble Tec® applicator in Central Florida and is also licensed to install Pebble Sheen®, Pebble Fina®, and Beadcrete® — finishes that require trained, authorized crews, not general laborers.
Phase 6 — Filling the Pool (Days 7–9)
Here is something many homeowners do not know: fresh cementitious finishes must cure underwater, not in open air. The pool needs to begin filling immediately after application — any delay can cause the surface to dry unevenly, crack, or develop white spots.
The average-sized residential pool typically fills in about 24 hours, though larger pools can take up to 48 hours depending on water pressure and pool volume.
Phase 7 — Chemical Startup and Curing (Days 8–14+)
Filling the pool is not the finish line — it is the start of the most critical window for your new surface. The National Plasterers Council (NPC) defines a startup procedure as the 28-day process of caring for a new pool plaster finish after the pool is filled with water. During this time, you need to test water regularly, maintain chemical balance, brush the pool to remove plaster dust, and avoid using automated wheeled equipment.
Why does this matter so much? Pool plaster will immediately start hydrating when mixed, and 86% of the cement in the plaster will cure within the first 28 days. The NPC startup protocol exists because improper water chemistry during this window can cause scaling, discoloration, and permanent surface damage that no amount of later maintenance can reverse.
For Pebble Tec® specifically, Pebble Technology International recommends waiting at least 14 days before heating the water, and cautions that drastically changing water temperature on an uncuring finish can cause delamination.
When can you swim? After refilling, most homeowners can enter the pool approximately 7 to 10 days later — once water chemistry is stabilized and the surface has had adequate time to firm up. Swimming too early can damage the finish and irritate skin.
What Can Extend Your Timeline?
Even experienced crews with perfect planning can encounter factors outside their control:
- Florida weather: Rain or high humidity can delay surface application and slow curing. Afternoon thunderstorms — a daily reality in Central Florida summers — can push application days by 24 hours at a time.
- Hidden shell damage: Cracks, osmosis blisters, or structural flaws that only appear once the old surface is removed add repair time before the finish can go on.
- Pool size and shape: Larger pools, or pools with features like sun shelves, spas, grottos, or complex step configurations, simply require more labor hours at every phase.
- Finish type: Pebble finishes involve a more intricate application and exposure process than standard plaster, adding 1 to 2 days to the application phase.
- Seasonal demand: Summer is the busiest scheduling window. Projects booked in fall or early spring often have more scheduling flexibility and slightly faster start dates.
Resurfacing Only vs. Full Renovation: Different Timelines
The phases above describe a standard interior resurfacing. If your project includes additional scope — pool deck resurfacing, equipment replacement, plumbing repairs, or a full pool remodel — each scope item adds days. A complete renovation including deck work, tile, coping, and a new finish can run 3 to 4 weeks in total.
Understanding the full cost picture is part of planning well. See our guide to pool resurfacing cost in Central Florida for a detailed breakdown of what drives pricing across finish types and renovation scopes.
How to Plan Around Your Project
A few practical steps make the experience smoother:
- Book in the off-season if possible. Late September through March tends to offer the most scheduling flexibility and avoids the Florida summer storm window.
- Block out two full weeks on your calendar even if your contractor estimates 10 days. Weather and repair discoveries are common; building buffer time in is smart risk management.
- Arrange your water source. Refilling a large pool can use 20,000+ gallons. Some homeowners rent a water truck to speed this phase; others use a garden hose with a hose filter to protect the new surface from contaminants.
- Plan for the startup phase. For the first 7 to 10 days after filling, someone needs to brush the pool surface at least twice daily and test water chemistry regularly. If you cannot do this yourself, arrange for a pool service company to handle startup chemistry — though note that Classic Marcite does not offer weekly maintenance service and recommends coordinating this separately.
- Do not rush reopening. The first days set the tone for how the surface looks and performs for years. Treat the first week after filling as a protection phase, not a race to reopen.
The Classic Marcite Difference
With more than 100,000 pools resurfaced since 1988 and 1,000+ projects completed every year across Central Florida and Northeast Florida, Classic Marcite runs tightly coordinated project schedules. Because every crew member is a direct employee — not a subcontractor — we control quality and timing at every phase. You will know who is on-site, what they are doing, and what comes next.
Ready to find out exactly what your project involves? Request a free estimate and we will walk your pool, identify any prep or repair work, and give you a realistic timeline specific to your pool — before any commitment is made.
Recommended Reads
- How Much Does Pool Resurfacing Cost in Central Florida? (2026 Pricing Guide)
- 7 Warning Signs Your Pool Needs Resurfacing