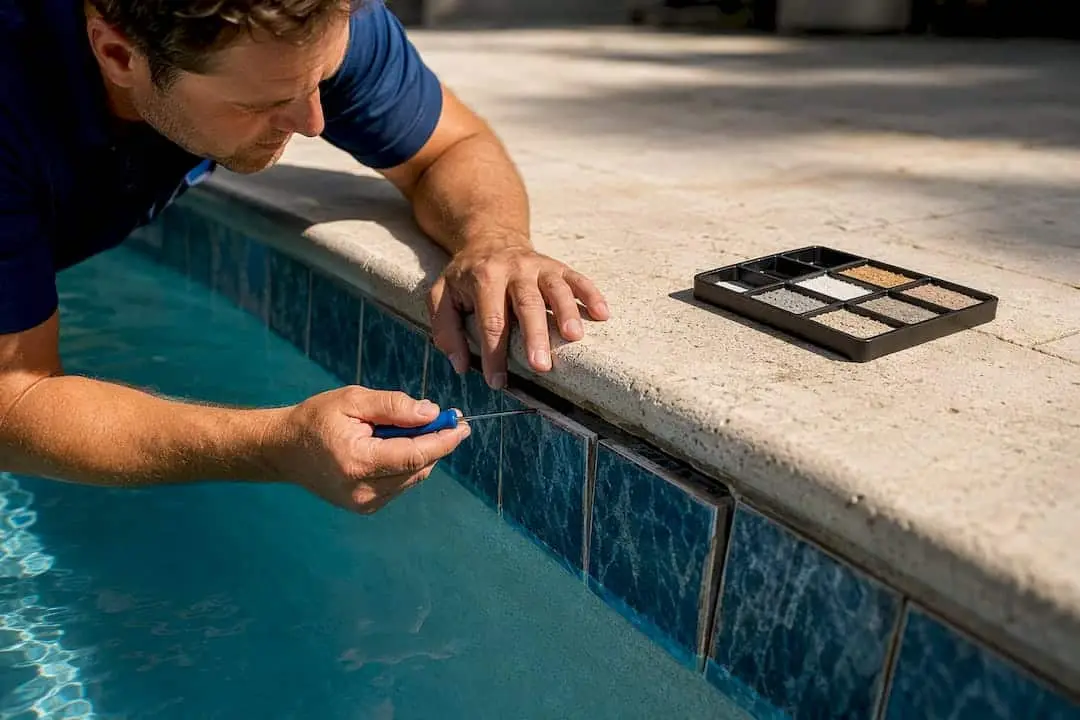
Waterline tile popping almost always traces back to one of three things: failing adhesive or grout, water working behind the tile, or movement in the deck or bond beam. The fix depends entirely on which one is happening. Inspect and photograph every loose or missing tile before you touch anything, and skip the cosmetic quick patch if you see wide cracks, hollow sounds across multiple tiles, or soggy decking nearby.
TL;DR:
- Waterline tile popping is primarily caused by failing adhesive or grout, water infiltration behind tiles, or movement in the deck or bond beam.
- Structural issues like wide cracks or hollow sounds during tapping indicate movement or water intrusion, not simple surface wear.
- Proper inspection includes photographing damage, tap and dye tests, water level monitoring, and avoiding DIY drain-downs to prevent further damage.
- Repairs should match the damage scope, with spot fixes for impact-related loosening and full resurfacing for recurring or structural failures.
- Use water-resistant, polymer-modified thin-set and epoxy grout in submerged areas, and ensure proper cure times to guarantee long-lasting repairs.
Table of Contents
- What Causes Waterline Tile Popping
- Signs Your Pool Waterline Tile Issues Are Structural
- How to Inspect Pool Waterline Tile Damage Before Calling a Pro
- Repair Options for Pool Tiles That Are Falling Off
- What Materials Actually Hold Up at the Waterline
- Preventing Waterline Tile Problems Before They Start
- Inside a Professional Waterline Tile Repair
- What a Pool Renovation Pro Wants You to Know
- Getting Your Waterline Tile Fixed the Right Way
- Sources
What Causes Waterline Tile Popping
Most waterline tile failures come down to something pushing or pulling the tile away from a surface it was never fully bonded to in the first place.
Beam shear is the big one. When the expansion joint between the pool deck and coping hardens or fails, the deck can no longer flex independently from the shell. Every time the ground shifts, even slightly, that movement transfers straight into the tile line, and tiles start popping in a pattern rather than at random. A failing expansion joint is one of the most common root causes of repeated tile loss, and repairs that skip this step tend to fail again within a season.
Other frequent culprits include:
- Mesh-backed tile installed below the waterline without a submerged-use rating, which traps water behind the tile face.
- Grout or adhesive breakdown from aggressive water chemistry or filling the pool before the mortar cured.
- Poor substrate prep, where tile was set over old, unstable material instead of sound concrete.
- Thermal expansion, freeze-thaw cycling in cooler climates, and gradual ground settlement around the shell.
Signs Your Pool Waterline Tile Issues Are Structural
A single tile popping off after a pool toy smacks into it is cosmetic. A cluster of tiles loosening near a crack is not. Here’s how to tell which one you’re dealing with:
- Crack width. Cracks wider than a small noticeable gap, especially vertical ones running from the waterline (https://www.jdesigns.com/blog/pool-tile-cracks-and-failure-causes-risks-and-repair-options), point toward shell or bond-beam movement rather than surface wear.
- Sound. Tap the tile and surrounding grout with a small hard object. A hollow or “drummy” sound means the tile has already separated from the substrate, even if it looks intact.
- Pattern. Several adjacent tiles failing together, rather than one isolated spot, usually means the problem is behind the tile, not on it.
- Substrate condition. Crumbling concrete, exposed or rusted rebar, or a soggy patch of decking near the pool signals water intrusion that has been active for a while.
How to Inspect Pool Waterline Tile Damage Before Calling a Pro
Start by documenting everything. Photograph each loose or missing tile, mark the locations, and note whether the damage is spreading.
- Tap test: Run a screwdriver handle or similar object along the tile line. A solid tap sounds sharp; a hollow tap means the bond has already failed.
- Dye test: A few drops of dark food coloring near a suspected crack can reveal whether water is actively moving through it.
- Bucket/evaporation check: Compare water loss inside a marked bucket against the pool’s own water level over 24 hours to rule out a broader leak feeding the tile problem.
- Moisture notes: Flag any spot on the deck that stays damp longer than the surrounding concrete.
Avoid draining the pool yourself. Dropping the water level can add pressure on a compromised shell and create a bigger problem than the tile itself.
Pro Tip: Note the date of your last resurfacing or tile job before you call anyone. A technician can often narrow down the cause faster once they know how old the substrate work actually is.
Repair Options for Pool Tiles That Are Falling Off
Not every popped tile needs a contractor crew. The scope of repair should match the scope of the actual damage.
- Spot repair: An isolated tile knocked loose by impact, with a solid, dry substrate underneath, can often be reset with underwater epoxy or a small thin-set patch.
- Partial reset: For a cluster of tiles, the process involves removing the failed tiles, cleaning the area down to sound concrete, back-buttering each tile fully, and setting them with a polymer-modified thin-set rated for submerged use, followed by waterproof or epoxy grout.
- Structural repair: Recurring failures, wide or vertical cracking, or a consistently soggy substrate usually mean the bond beam, deck separation, or a broader resurfacing job needs attention, not another round of patching.
Curing time matters more than most owners expect. LATICRETE’s guidance puts premium grout cure windows at 10 to 14 days at 70°F depending on the product. Refill too soon and the bond can fail before it ever fully sets, undoing the entire repair.
What Materials Actually Hold Up at the Waterline
The materials matter as much as the labor. Portland cement grout, the standard choice for interior tile work, breaks down faster in a submerged, chemically treated environment than most homeowners assume.
- Polymer-modified thin-set with full back-buttering eliminates the air pockets that create hollow spots, giving each tile complete contact with the substrate instead of a few contact points.
- Epoxy grout in the Spectralock family resists the chemical exposure and constant moisture that breaks down standard grout, which is why LATICRETE’s technical guidance calls for it in submerged applications rather than standard cementitious grout.
- Mechanical profiling and waterproof membranes give new tile a stable, water-resistant base instead of bonding directly over old, potentially compromised concrete.
- Mesh-backed tile should carry a submerged-use certification under TCNA/ANSI standards. Standard mesh-backed tile absorbs water and fails faster below the waterline.
LATICRETE’s own technical datasheet also calls for removing old grout to a stable depth and power-washing joints clean before regrouting, a step many DIY patches skip entirely.
Preventing Waterline Tile Problems Before They Start
A little routine attention goes a long way toward keeping tile from popping in the first place.
- Keep water chemistry inside the recommended range for pH and alkalinity. Chemistry swings are a leading contributor to grout deterioration over time.
- Inspect the expansion joint between coping and deck at least once a year, and reseal it with a flexible, pool-rated sealant before it hardens and cracks.
- Do a tap test along the waterline every few months. Loose grout caught early is a five-minute fix, not a five-tile problem.
- Respect cure times after any repair. Refilling early is one of the most common reasons a repaired section fails again within months.
Inside a Professional Waterline Tile Repair
A properly run repair starts before anyone touches a tile. A qualified crew inspects the bond beam, coping, and substrate soundness, runs leak testing where needed, and documents the scope of damage with photos before quoting the job.
From there, the workflow generally follows a consistent sequence:
- Remove failed tile and old mortar down to sound, stable substrate.
- Profile the surface and apply a waterproofing membrane if the substrate history calls for it.
- Back-butter new tile with polymer-modified thin-set for full contact.
- Use epoxy grout in submerged joints where longevity matters most.
- Cure per manufacturer specification, then pressure test before returning the pool to normal use.
If the crew finds wide cracking, a failed expansion joint, or a soft, water-damaged substrate during that inspection, the recommendation often shifts from a tile-only fix to broader structural work or resurfacing. That’s not upselling. It’s the difference between a repair that lasts and one you’ll be paying for twice. Classic Marcite has worked on more than 100,000 pools across Central Florida since 1988, and as the region’s largest Pebble Tec® applicator, offers free estimates for owners who want a documented, professional read on what’s actually happening below their waterline.
What a Pool Renovation Pro Wants You to Know
Cosmetic quick patches feel like the cheaper option, right up until the same tiles pop again six months later, and now you’re paying for two repairs instead of one. Movement and water intrusion don’t stop because a tile got glued back on.
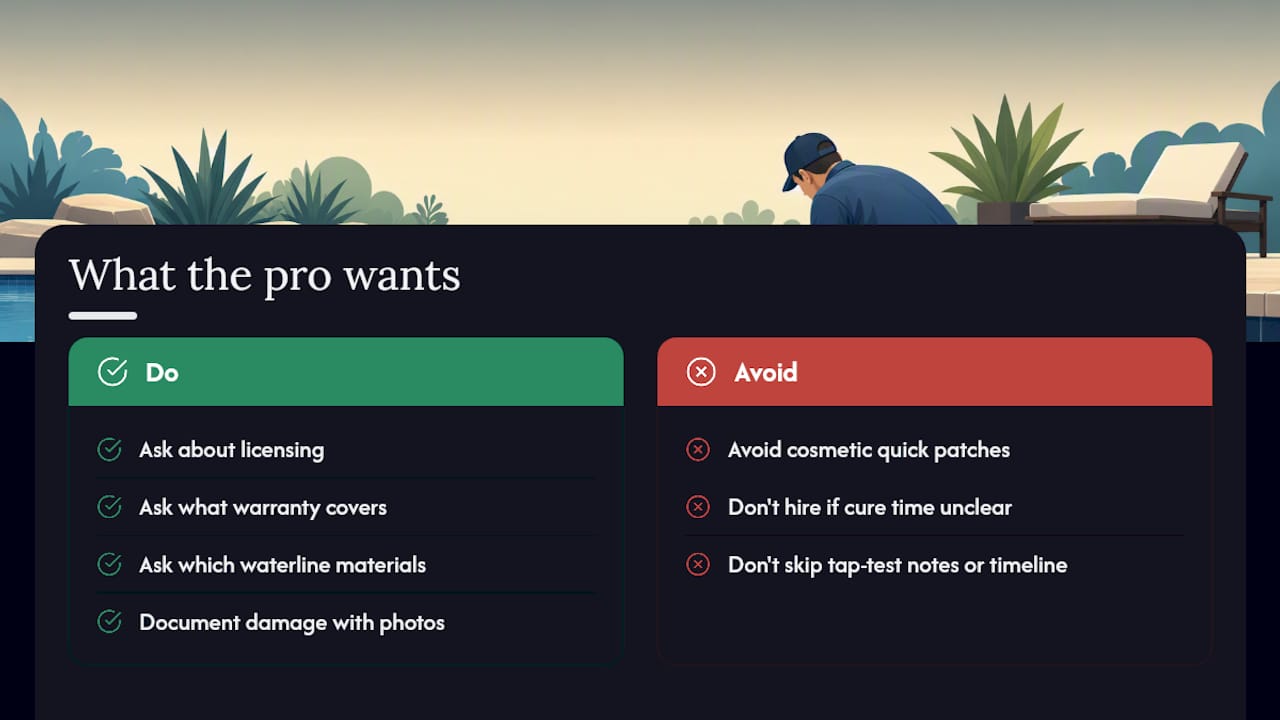
Before hiring anyone, ask about licensing, what warranty covers the repair, exactly which materials they’re using at the waterline, and how long they’ll have you wait before refilling. A contractor who can’t answer the cure-time question clearly is not someone I’d trust with a bond-beam repair.
Document the damage yourself first. Photos, tap-test notes, and a rough timeline of when tiles started falling give any technician a faster, more accurate read on the actual cause instead of just the symptom you’re seeing at the surface.
— Results
Getting Your Waterline Tile Fixed the Right Way
Waterline tile problems rarely stay contained to a handful of tiles. Classic Marcite’s crews spend most repair calls tracing the popping back to its actual source, whether that’s a hardened expansion joint, water working behind the shell, or a substrate that never got proper prep the first time around.

An inspection typically covers the bond beam, coping, and substrate condition, followed by a written estimate that spells out whether you’re looking at a spot repair, a partial reset, or something closer to a full pool resurfacing job. For owners across the Orlando and Jacksonville area, that assessment costs nothing and gives you a real basis for comparing repair scope against replacement. If the damage points toward structural work rather than a tile-only fix, Classic Marcite’s pool repair services cover both ends of that spectrum under one crew instead of passing you between specialists. Request a free estimate to get a clear assessment on what your waterline tiles need before damage worsens due to ongoing chemical exposure.
Sources
- Pool tile cleaning and repair services (USAPoolIndustry)
- LATICRETE technical guidance on tiled swimming pools and grout performance
- Pool waterline tile repairs: bonding to old substrates and avoiding hollow spots
