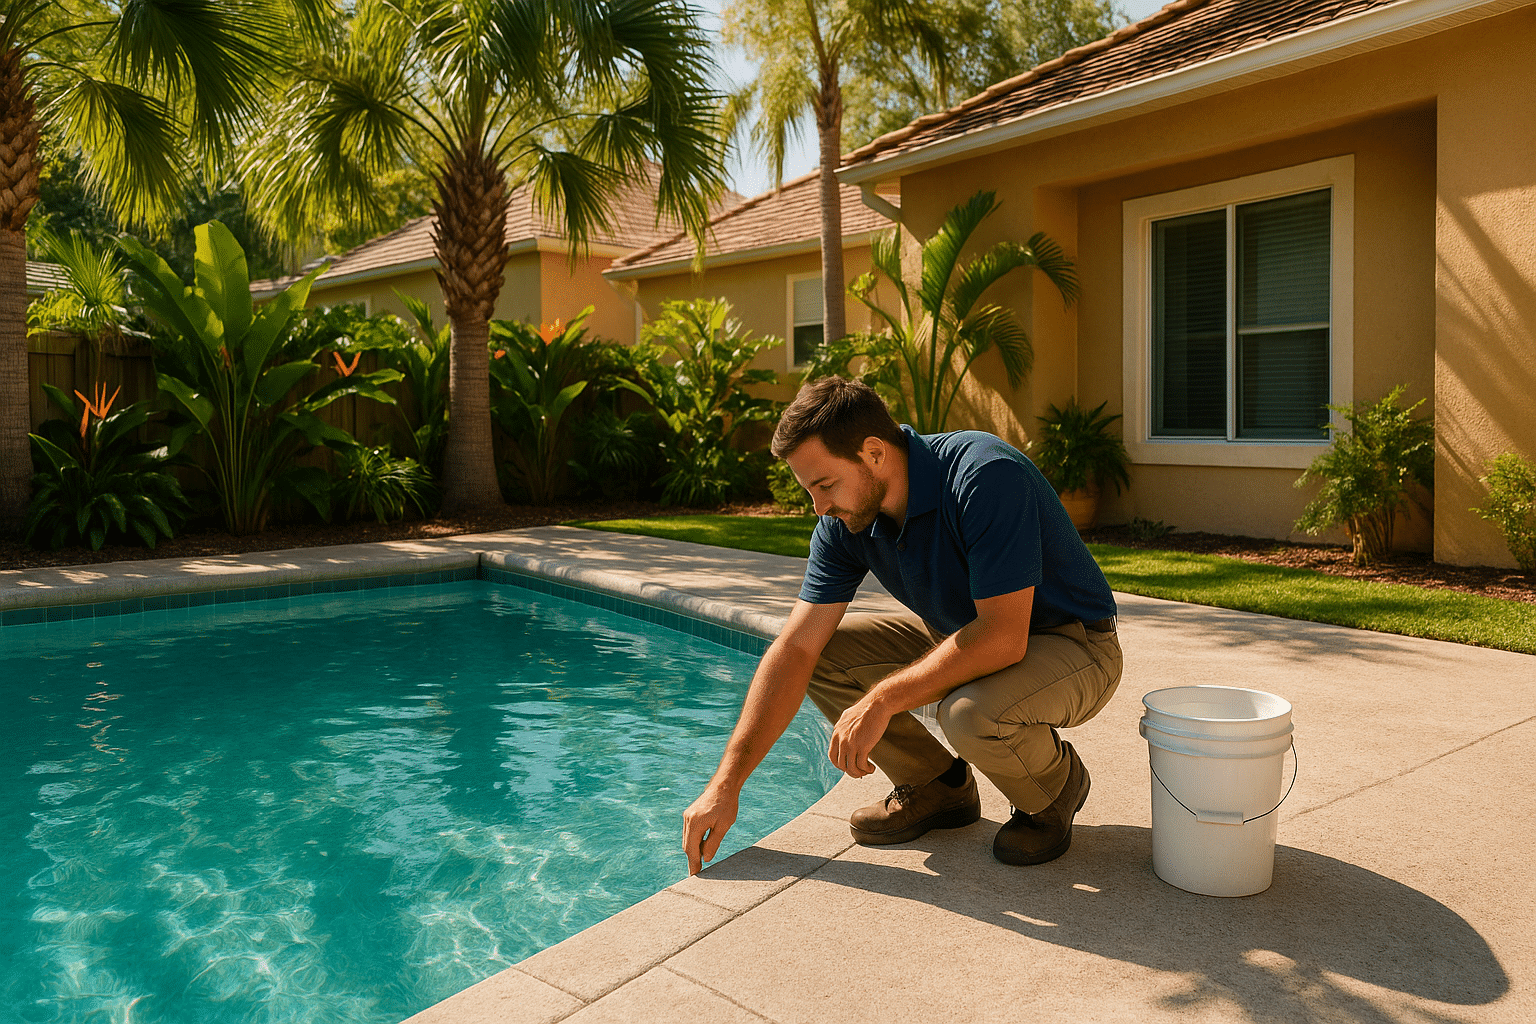
TL;DR: Normal pool evaporation is about a quarter-inch per day — anything more could be a leak. Start with the DIY bucket test to confirm water loss, then use dye testing to narrow down the location before calling a pro. Catching a leak early can save thousands in structural repairs to your pool shell, deck, and even your home’s foundation.
Your pool lost two inches of water this week. Was it the Florida heat, or is something more serious going on? Knowing the difference between normal evaporation and an actual leak is the first and most important step — and you can figure it out yourself before spending a dime.
This guide walks you through every stage: confirming a leak, locating it, understanding repair options, and knowing when to hand it off to a professional.
Why Acting Fast Matters
Water seeping into the ground from a pool leak can cause shifting soil and foundation problems, potentially leading to cracks in the pool shell and uneven deck surfaces. In Florida, heavy rain already stresses the soil — a pool leak compounds that risk of erosion and ground movement significantly.
The cost gap between early and late action is steep. A leak that costs a few hundred dollars to fix early can grow into repairs costing $3,000 to $8,000 or more if left untreated. A persistent leak also throws off your water chemistry, forcing you to add more chemicals to replace what washes away with the escaping water.
Step 1: Know What Normal Water Loss Looks Like
Before diagnosing a leak, establish your baseline. Residential pools in direct sun lose, on average, about a quarter-inch of water per day to evaporation during hot weather. Wind, low humidity, heated pools, and water features all push that number higher.
In humid climates like Central Florida, daily evaporation typically falls between ⅛ and ¼ inch. If you are consistently losing more than a quarter-inch per day on top of what evaporation alone would explain, a leak is the likely culprit. Losing more than ½ inch per day is a strong red flag that warrants immediate investigation.
Also watch for these warning signs alongside high water loss:
- Soggy or perpetually wet soil around the pool or equipment pad
- Cracks or sinking sections on the pool deck
- Air bubbles or dirt blowing through the return jets
- A water bill that has crept up without explanation
- Constantly needing to re-balance your pool chemistry
- Visible cracks, rough patches, or peeling plaster on the pool interior
Step 2: Run the Bucket Test
The bucket test is the standard DIY method for separating evaporation from a genuine leak. It requires no special tools and takes less than five minutes to set up.
What you need: A clean 5-gallon bucket, a waterproof marker or piece of waterproof tape, and 24 hours of patience. Do not run this test during or immediately after rain, as precipitation will skew the results.
- Fill the bucket. Fill a clean 5-gallon bucket with pool water, leaving about 1–2 inches of space at the top. Filling it nearly full ensures the water surface in the bucket is exposed to similar wind and sun as the pool surface — which gives you an accurate evaporation comparison.
- Place it on the pool steps. Set the bucket on the first or second pool step so it sits partially submerged in pool water. This keeps the water temperatures in the bucket and the pool roughly equal, preventing temperature-driven measurement errors.
- Mark both water levels. Use a waterproof marker to mark the water level on the inside of the bucket and the pool’s water level on the outside of the bucket. Both marks go on the same bucket — this is your comparison tool.
- Turn off the autofill. If your pool has an automatic water fill system, switch it off for the duration of the test. An autofill will mask any water loss and invalidate results.
- Leave it alone for 24 hours. Avoid swimming and do not run the pool pump during the test period, so the water stays calm and undisturbed.
- Compare the marks. After 24 hours, look at both marks. If the pool water level has dropped more than the bucket water level, your pool is losing water beyond what evaporation alone can explain — you likely have a leak. If both dropped equally, the loss is normal evaporation.
Pro tip: Run the test a second time with the pump running. If the pool loses more water with the pump on, the leak is likely in the plumbing or equipment lines. If it loses more with the pump off, the leak points to the shell itself — a crack, fitting, or the main drain.
Step 3: Visually Inspect the Most Common Leak Locations
Once you have confirmed a leak, do a thorough walkthrough of the most leak-prone areas before calling anyone. Pool leaks concentrate in predictable spots where the shell is penetrated by fittings or plumbing, or where two different materials meet.
Check these areas first:
- Skimmer-to-wall joint. This is the single most common pool leak location. Thermal expansion and contraction, plus long-term sealant degradation, cause the plastic skimmer to separate from the concrete pool wall. Look for a visible gap or crack right at that junction.
- Return jets and fittings. Inspect each return jet faceplate and any visible fittings for cracks, loose hardware, or deteriorated gaskets.
- Underwater light niches. Light housings penetrate the shell and are a frequent leak point. Look for cracks in the niche or a failed conduit seal.
- Main drain. Inspect the drain cover and the surrounding plaster for cracks or separation.
- Pool shell surface. Walk the entire perimeter and look for visible cracks in the plaster, particularly at steps, corners, and the waterline. A rough or deteriorating surface can also allow water to migrate through a porous shell.
- Deck-to-pool joint. The expansion joint where the coping or deck meets the pool is a common infiltration point, especially in older pools.
- Equipment pad. Check around the pump, filter, valves, and any visible plumbing fittings for drips or water staining.
Step 4: Do a Dye Test to Pinpoint the Crack or Gap
If you spotted a suspicious area during your visual inspection, a dye test can confirm whether it is actually leaking. You can buy pool-specific dye test kits (phenol red works well) at any pool supply store, or use dark food coloring in a squeeze bottle.
- Turn off the pump and wait for the water to go completely still — any current will give a false reading.
- Carefully approach the suspect area without disturbing the water (use a snorkel and mask if it is below the waterline).
- Slowly squeeze a small amount of dye directly next to the crack, gap, or fitting.
- Watch the dye closely. If it drifts lazily and disperses, there is no leak at that point. If the dye is drawn toward or sucked into the surface, water is escaping there — you have found your leak.
- Note the exact location and photograph it before moving on to the next suspect area.
Step 5: Isolate Equipment and Plumbing Leaks
If the bucket test confirmed a leak but your visual inspection and dye testing of every accessible fitting, skimmer, light, and drain came up clean, the leak is likely underground in the plumbing. This is the point where DIY methods reach their limit.
Professionals isolate each plumbing line — suction, return, main drain, skimmer — plug them individually, and pressurize each one with air using a compressor. A line that cannot hold pressure has a breach. Once the compromised line is identified, electronic listening equipment (hydrophones or geophones) is used to pinpoint the exact location of the leak underground, without digging a single hole until they know exactly where to look.
Underground plumbing leak detection and repair is not a DIY procedure. Incorrect pressure testing can damage plumbing lines and make a fixable problem much worse.
Step 6: Repair — Match the Fix to the Cause
Not all pool leaks are repaired the same way. The right fix depends entirely on where the leak is and what caused it.
Minor Shell Cracks and Plaster Deterioration
Small surface cracks in plaster can sometimes be patched with hydraulic or epoxy pool putty applied underwater. However, patching is a temporary measure if the underlying plaster is aging, porous, or failing broadly. A pool with widespread plaster deterioration needs resurfacing — not just spot repair. If you are seeing multiple warning signs of surface failure alongside the leak, a full interior resurfacing may be the more cost-effective long-term solution.
Skimmer Leaks
A gap between the skimmer and the pool wall is often repaired with pool-grade hydraulic putty or two-part epoxy. In cases where the skimmer itself is cracked or badly deteriorated, replacing the skimmer entirely is the proper fix — patching a cracked plastic skimmer body rarely holds long-term.
Fitting and Return Jet Leaks
Leaking return fittings and jet faceplates are usually repaired by replacing the gasket, o-ring, or the fitting itself. These are relatively straightforward repairs for a licensed pool professional.
Underwater Light Niche Leaks
A failed light niche seal may be repairable by replacing the conduit plug and resealing the niche. If the niche shell itself is cracked, more extensive repair is needed.
Underground Plumbing Leaks
Once pressure testing and acoustic listening locate the breach, the repair typically involves excavating precisely to the failed pipe segment, cutting out the damaged section, and installing a new coupling. Modern repair techniques minimize the amount of deck or landscape that needs to be disturbed.
Step 7: Address the Root Cause, Not Just the Symptom
A repaired crack in aging plaster will likely reopen. A patched skimmer in a pool with overall structural movement will spring new leaks nearby. Once the immediate leak is fixed, have a professional evaluate the overall condition of the shell, fittings, and plumbing so you understand what you are working with.
If your pool interior is 10–15 years old or older and showing multiple issues — staining, roughness, cracking, or peeling alongside leaks — it is worth discussing whether a full pool renovation makes more financial sense than a series of escalating spot repairs. Classic Marcite offers free, no-obligation estimates and can walk you through the full picture during an on-site visit.
Common Mistakes to Avoid
- Running the bucket test in the rain. Rain adds water to the pool but not the bucket, making the pool look like it is gaining water and masking real loss.
- Leaving the autofill on during the test. An automatic fill system will top the pool off and hide any measured water loss entirely.
- Swimming during the test window. Splash-out is significant and will produce a false positive leak reading.
- Skipping the pump on/off comparison. This single step tells you whether the leak is in the plumbing (pump on) or the shell (pump off) and saves hours of searching in the wrong place.
- Patching plaster without addressing water chemistry. Aggressive or imbalanced water will eat through a fresh patch just as fast as it degraded the original surface. Fix the chemistry first.
- Assuming wet soil is just irrigation. Persistently wet soil or grass that is greener in one spot near the pool or equipment pad is a classic sign of an underground pipe leak. Do not ignore it.
- Delaying professional help for underground leaks. Every day an underground pipe leak runs, it washes soil away from beneath your pool shell and potentially toward your home’s foundation. The longer it runs, the more expensive the collateral damage.
When to Call a Professional
Call a licensed pool professional immediately if:
- The bucket test confirmed a leak but dye testing found nothing visible
- You see sunken, eroded, or washed-out soil near the pool or equipment pad
- The pool deck is cracking or settling
- Air bubbles or dirt are coming through the return jets
- You are losing more than an inch of water per day
- The water level stabilizes at a consistent depth (often near a fitting or light niche — a sign the shell is leaking to that exact point)
Classic Marcite’s crews handle pool interior resurfacing and complete structural repairs across Orlando, Central Florida, Jacksonville, and Northeast Florida. If a leak has exposed underlying surface damage, we can assess whether a targeted repair or a full interior renovation is the right call — and give you an honest, transparent estimate either way. Contact us for a free on-site estimate.
Recommended Reads
- Rough Pool Surface? Here’s Why It Happens and How to Fix It
- Quartz vs. Plaster Pool Finish: Pros, Cons, and What Lasts Longer in Florida
- Why Is My Pool Plaster Peeling? Causes, Types of Damage, and How to Fix It
Sources
- angi.com
- poolguardusa.com
- poolsbybradley.com
- budsspas.com
- canadianleakdetection.com
- libertyhomeguard.com