TL;DR:
- Pool waterline tile protects the area where water meets the pool wall from deterioration. Proper material choice and installation, especially waterproofing and movement joints, ensure long-lasting durability. Maintaining water chemistry with gentle cleaning prevents buildup and keeps the tiles looking clean.
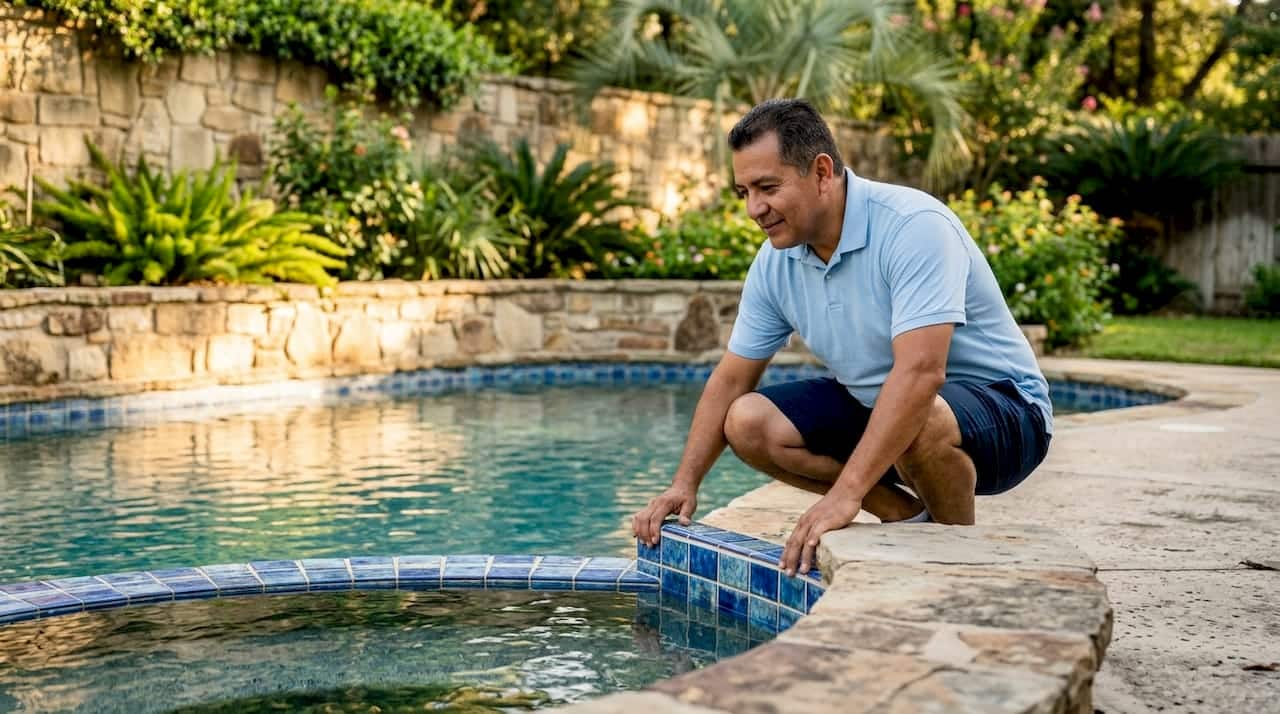
Pool waterline tile is defined as a band of durable, non-porous tile installed at the pool’s splash zone, where water meets the pool wall. It acts as a protective barrier against the constant wet-dry cycling that degrades bare plaster surfaces over time. Without it, that zone cracks, stains, and deteriorates faster than any other part of the pool. With it, your pool holds its structure and its looks for years longer. This guide covers pool waterline tile explained from material selection through installation, maintenance, and design so you can make a confident, informed decision.
What materials are best for pool waterline tile?
The three most common materials for waterline tiles for pools are ceramic, porcelain, and glass mosaic. Each performs differently, and choosing the wrong one for your situation costs you money and time.
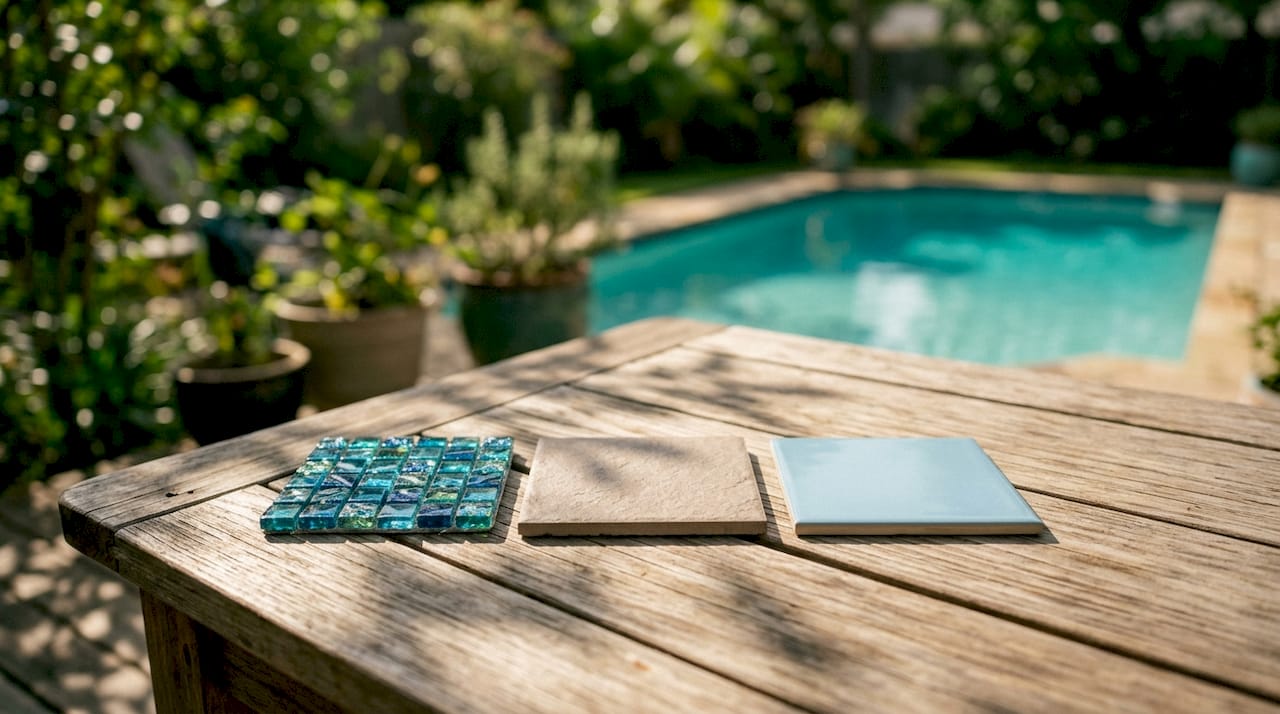
Porcelain is the most practical choice for most residential pools. It absorbs very little water, resists staining, and holds up well against pool chemicals. It comes in a wide range of colors and finishes, and its density makes it less prone to cracking under temperature swings. For Florida homeowners dealing with year-round sun and heat, porcelain is a reliable baseline.
Glass mosaic tiles deliver a luminous, jewel-like depth that porcelain cannot match. Light passes through the glass and reflects off the pool water, creating a visual effect that is genuinely striking. The tradeoff is installation precision. Glass tiles require polymer-modified thinset adhesives distinct from ceramic to maintain a bond in the constant wet-dry pool environment. That means a more skilled installer and a higher labor cost.
Ceramic tiles are the most affordable option but carry the highest water absorption rate of the three. They work in mild climates with stable water chemistry, but they are more vulnerable to freeze-thaw damage and chemical staining over time. In most cases, spending a little more on porcelain is worth it.
Sizing and format: mosaics vs. standard tiles
Tile size affects both the look and the maintenance burden. Small mosaic tiles, typically 1×1 or 2×2 inches, create a fine-grained texture and curve easily around pool walls. Larger format tiles, such as 4×4 or 6×6 inches, give a cleaner, more contemporary look but require a flatter substrate to install correctly.
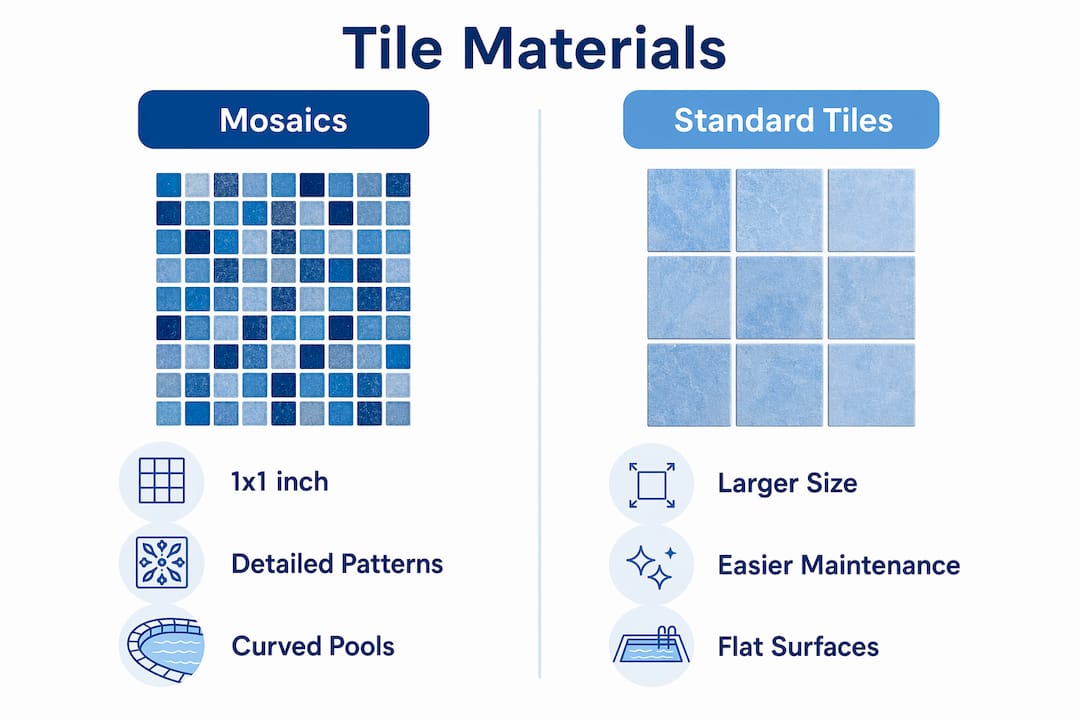
| Format | Best for | Key consideration |
|---|---|---|
| 1×1 or 2×2 mosaic | Curved pools, detailed patterns | More grout lines, more cleaning surface |
| 4×4 standard | Straight-wall pools, modern look | Requires very flat substrate |
| 6×6 or larger | Lap pools, commercial settings | Least flexible, needs precise prep |
Avoid smooth, glazed tiles on pool steps or ledges. The glaze becomes slippery when wet. Textured finishes or bullnose-edged tiles are the right call for any surface where someone might stand or step.
Pro Tip: When reviewing tile samples, wet them and hold them at the angle they will sit on the pool wall. The color and reflectivity shift significantly when wet, and what looks right dry may look wrong in the water.
You can also review pool renovation materials to compare tile options alongside other surface choices for a complete picture.
How is pool waterline tile installed for durability?
Installation quality determines whether your tile lasts 5 years or 25 years. The tile itself is almost secondary. Installation failures often stem from inadequate substrate flatness, waterproofing, and neglecting movement joints, which causes cracks regardless of tile quality.
A proper pool tile installation guide follows this sequence:
- Surface preparation. Clean the pool shell thoroughly. Pressure wash to remove algae, oils, and loose material. Acid wash if the plaster surface has mineral deposits or contamination. Prime the substrate before applying any adhesive.
- Waterproofing membrane. Apply a waterproofing membrane to the prepared surface and allow it to cure fully. Waterproofing membrane application and curing are non-negotiable steps to prevent leaks and tile delamination over time.
- Thinset selection. Use a polymer-modified thinset matched to your tile type. Glass tile needs a high-grab, white, water-resistant adhesive. Ceramic and porcelain use a different modified thinset formula. Using the wrong adhesive is one of the most common and costly installation errors.
- Full mortar coverage. Back-butter each tile and press it into the thinset to achieve full coverage. Air pockets under tiles trap moisture and accelerate failure.
- Movement joints. Install flexible sealant or backer rod at all corners and transitions. Movement joints with flexible sealants accommodate structural shifts and temperature changes, preventing cracks at the waterline.
- Grout selection and application. Epoxy grout provides superior stain resistance and longevity compared to cementitious grout. It resists pool chemicals and does not absorb water. The downside is that it requires experienced hands to apply cleanly without leaving haze on the tile face.
- Cure time and water chemistry. Allow 24–48 hours after filling before adjusting water chemistry. Rushing this step causes grout haze and adhesion problems that are expensive to fix.
Pro Tip: Ask your installer to show you the thinset coverage on a test tile before they commit to the full run. Pull a tile off the wall after pressing it. You want 95% or more of the back covered in adhesive, with no dry spots.
Rushing grout and adhesive cure times or skipping primer are the two fastest routes to premature tile failure. Patience during installation is not optional.
What maintenance keeps pool waterline tiles clean?
Most waterline tile issues are caused by water chemistry imbalance, evaporation, and filtration problems, not by the tile itself. That is the single most important thing to understand about pool tile maintenance tips. Fixing the chemistry fixes most of the visible problems.
Routine care for waterline tiles comes down to a few consistent habits:
- Brush gently and often. A soft pool brush used weekly prevents scale and biofilm from bonding to the tile surface. Aggressive scrubbing with abrasive pads scratches the glaze and opens the surface to staining.
- Balance water chemistry weekly. Keep pH between 7.2 and 7.6, total alkalinity between 80 and 120 ppm, and calcium hardness between 200 and 400 ppm. High calcium hardness is the leading cause of white scale deposits on waterline tiles.
- Use the right cleaner for your tile type. Glass tiles need a pH-neutral cleaner. Porcelain tolerates slightly stronger products. Avoid acid-based cleaners on grouted surfaces unless you are specifically treating calcium scale and know what you are doing.
- Watch for grout failure. Crumbling, discolored, or missing grout is a sign the system is failing. Water gets behind the tile and accelerates delamination. Address grout problems early before they become a full retile job.
- Call a professional for persistent staining. If gentle cleaning and chemistry correction do not resolve the buildup, the issue may be deeper. A professional can assess whether faded or stained pool tiles need restoration or replacement.
Pro Tip: Mid-tone grout colors, such as gray or warm beige, hide minor residue far better than white or very dark grout. White grout shows every calcium streak. Black grout shows every white mineral deposit. Mid-tone is the practical choice.
For a full breakdown of grout options and their performance in Florida pools, the pool tile grout guide covers the specifics in detail.
How do color and design choices affect pool aesthetics?
Tile color is not just a style decision. It directly affects how clean your pool looks day to day. Waterline tile colors like mid-tone blues and blue-grays make pool water appear clearer by minimizing contrast with typical residue and scale. That is a practical advantage, not just an aesthetic one.
Here is how design choices play out in practice:
- Blue and aqua shades enhance the perceived clarity of the water and mask minor mineral buildup. They are the most forgiving color family for maintenance.
- White and light gray tiles look crisp when clean but show scale and calcium deposits immediately. They work well in pools with very consistent water chemistry management.
- Patterned mosaics create visual interest but need calmer surrounding surfaces to avoid a busy, cluttered look. Pair a detailed mosaic band with a simple deck and coping material.
- Pool shape matters. Curved pools benefit from small mosaic tiles that follow the contour without cutting. Rectangular lap pools suit larger format tiles with clean, straight grout lines.
- Match the full palette. The waterline tile should connect visually with the pool deck, coping, and surrounding hardscape. A tile that looks perfect in isolation can clash with a travertine deck or a concrete coping.
| Color family | Water clarity effect | Maintenance visibility |
|---|---|---|
| Mid-tone blue or blue-gray | High perceived clarity | Low, hides minor scale |
| White or light cream | Neutral | High, shows deposits clearly |
| Dark navy or charcoal | Dramatic, moody look | Moderate, shows white scale |
| Aqua or teal | Bright, tropical feel | Low to moderate |
Viewing angle also matters. A tile that reads as a rich cobalt blue from the pool deck may look nearly black when viewed from inside the water. Test samples in both conditions before committing.
Key Takeaways
Pool waterline tile protects the pool’s most vulnerable zone and its material, installation system, and color all determine how long it lasts and how good it looks.
| Point | Details |
|---|---|
| Material selection | Porcelain suits most pools; glass mosaic adds depth but needs expert installation. |
| Installation system | Substrate prep, waterproofing, and movement joints matter more than tile quality alone. |
| Grout choice | Epoxy grout outperforms cementitious grout in chemical resistance and longevity. |
| Maintenance root cause | Most tile buildup comes from water chemistry imbalance, not tile defects. |
| Color strategy | Mid-tone blues and blue-grays hide residue and make water appear cleaner. |
What installers know that most homeowners miss
The tile you pick is the least important decision in a waterline tile project. That is not what most homeowners expect to hear, but it is consistently true. The installation system underneath the tile, specifically the substrate preparation, waterproofing membrane, and movement joint placement, determines whether the tile lasts a decade or fails in two years.
I have seen beautiful glass mosaic tiles installed over a poorly prepped shell start popping off within 18 months. The tile was flawless. The adhesive was wrong, the substrate was not flat, and there were no movement joints at the corners. The result was an expensive retile job that could have been avoided entirely with proper prep.
The second thing homeowners consistently underestimate is water chemistry’s role in tile appearance. Most “dirty tile” calls are actually chemistry calls. When calcium hardness runs too high and pH drifts up, white scale forms on the tile surface within weeks. No amount of scrubbing fixes it permanently if the chemistry stays off. Correct the water, and the tile often cleans up with a simple brush.
My honest recommendation: invest in a mid-tone porcelain or glass tile in a blue or blue-gray family, hire an installer who uses epoxy grout and can show you their waterproofing process, and commit to weekly water chemistry checks. That combination outperforms any premium tile installed carelessly and left to fend for itself.
— Classicmarcite
Professional pool tile and resurfacing services by Classicmarcite
Classicmarcite has resurfaced more than 100,000 pools across Florida since 1988, including residential pools, commercial properties, and resort facilities. That depth of experience shows up in every waterline tile project, from substrate preparation through final water chemistry setup.

If your waterline tile is scaling, cracking, or simply overdue for an upgrade, Classicmarcite’s team handles the full scope: surface prep, waterproofing, tile installation, and grout selection. For homeowners in Central Florida, the pool resurfacing service in Winter Park covers complete tile and finish work with free estimates. For a broader look at what a full renovation includes, the pool remodeling service page outlines every option available.
FAQ
What is pool waterline tile and why does a pool need it?
Pool waterline tile is a band of non-porous tile installed at the pool’s splash zone to protect the shell from wet-dry cycling damage. Without it, bare plaster at the waterline cracks, stains, and deteriorates significantly faster.
What tile material is best for pool waterlines?
Porcelain is the best choice for most residential pools because of its low water absorption and chemical resistance. Glass mosaic is a strong second option for aesthetics but requires a polymer-modified thinset and experienced installation.
How do I clean pool waterline tiles without damaging them?
Use a soft pool brush weekly and keep water chemistry balanced, particularly calcium hardness below 400 ppm. Most buildup dissolves with gentle brushing once chemistry is corrected; avoid abrasive pads or acid cleaners on grouted surfaces.
How long does pool waterline tile last?
Properly installed waterline tile with epoxy grout and correct water chemistry can last 15–25 years. Tile installed without waterproofing, movement joints, or proper adhesive often fails within 5 years.
What causes white scale on pool waterline tiles?
White scale is calcium carbonate deposited when pool water has high calcium hardness or elevated pH. Correcting water chemistry stops new scale from forming, and a pumice stone or calcium-specific cleaner removes existing deposits without damaging the tile.