
Florida weather can turn a once-pristine pool deck into a faded, cracked surface faster than you expect. For homeowners in Orlando and Jacksonville, keeping your pool deck safe and attractive means paying close attention to every detail, from basic cleaning to expert sealing choices. By following a professional approach that starts with thorough surface assessment and targeted repairs, you set the stage for a strong, beautiful deck that lasts through every summer gathering.
Table of Contents
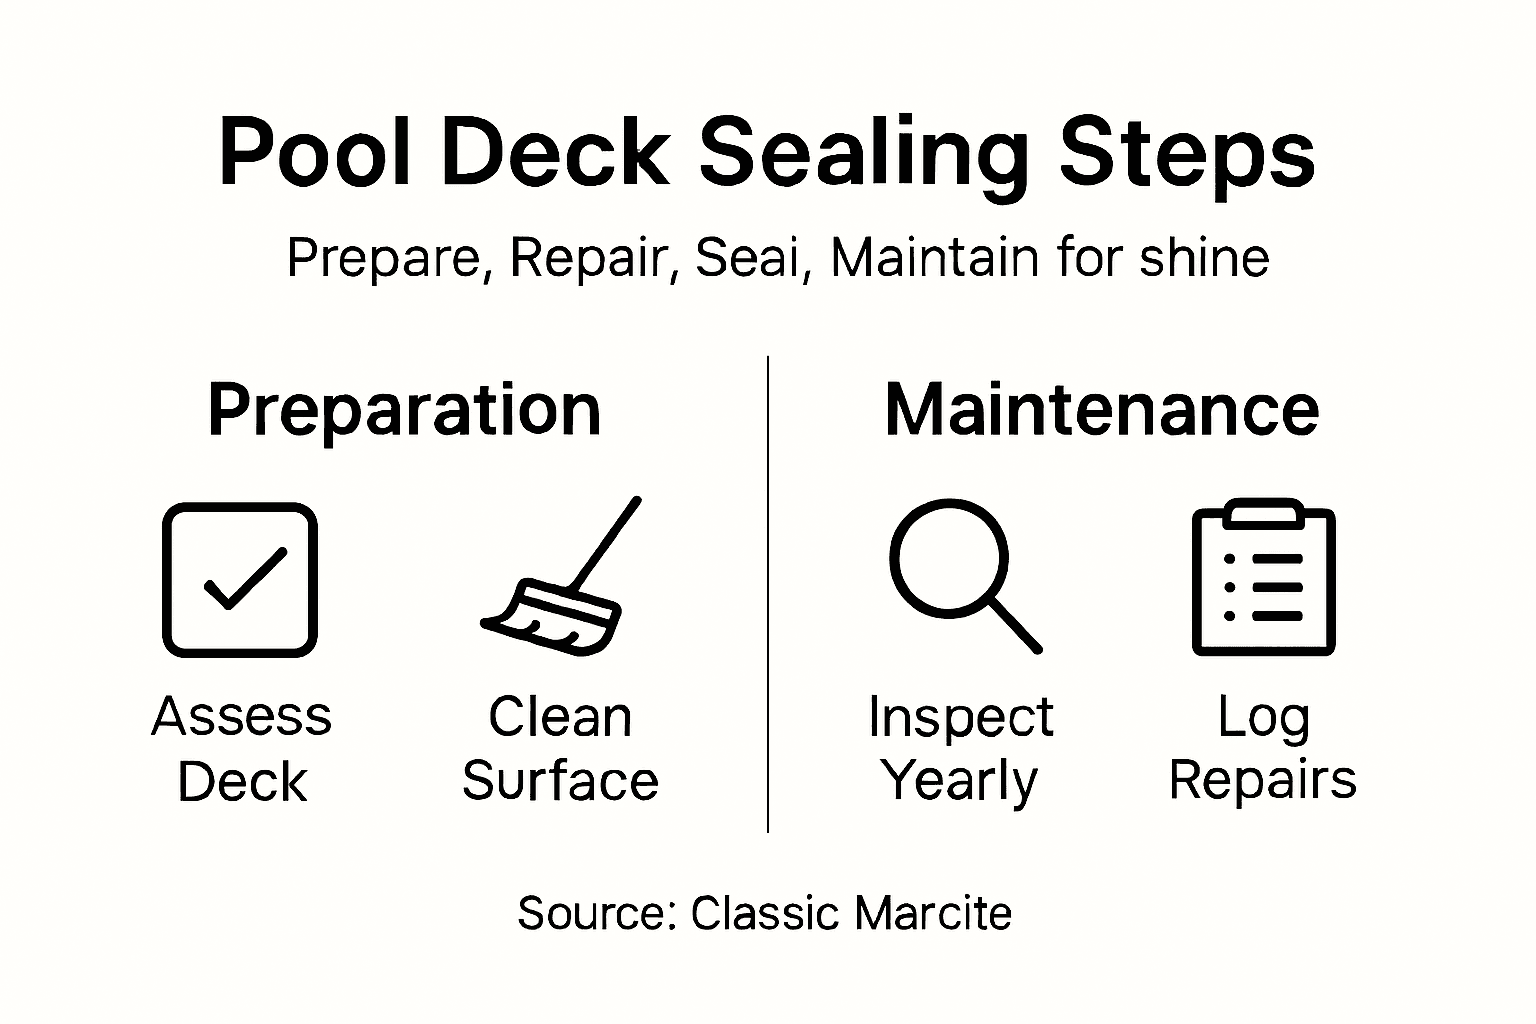
- Step 1: Assess and Clean the Deck Surface
- Step 2: Repair Cracks and Surface Flaws
- Step 3: Select and Prepare the Sealer
- Step 4: Apply the Sealer Evenly
- Step 5: Inspect and Maintain the Finished Surface
Quick Summary
| Key Takeaway | Explanation |
|---|---|
| 1. Thoroughly Clean the Deck | Use a power washer to remove dirt and old sealant for optimal sealing results. Dry the surface completely before sealing. |
| 2. Repair Cracks Properly | Identify and fix cracks using the appropriate materials to prevent further damage and ensure a smooth surface. |
| 3. Select the Right Sealer | Choose a sealer based on deck material and environmental conditions for maximum effectiveness and durability. |
| 4. Apply Sealer Evenly | Use consistent, overlapping strokes to apply the sealer, maintaining a wet edge for a professional finish. |
| 5. Implement Regular Maintenance | Inspect and clean the deck regularly to maintain its appearance and prolong the sealer’s effectiveness. |
Step 1: Assess and Clean the Deck Surface
Before sealing your pool deck, you need a thorough inspection and comprehensive cleaning to ensure a successful application. A well-prepared surface is critical for long-lasting protection and a professional finish.
Start by carefully examining the deck’s structural integrity using a systematic approach. Look for key indicators of potential issues:
- Loose or damaged deck boards
- Signs of wood rot or decay
- Cracks or significant surface irregularities
- Areas with existing water damage or mold
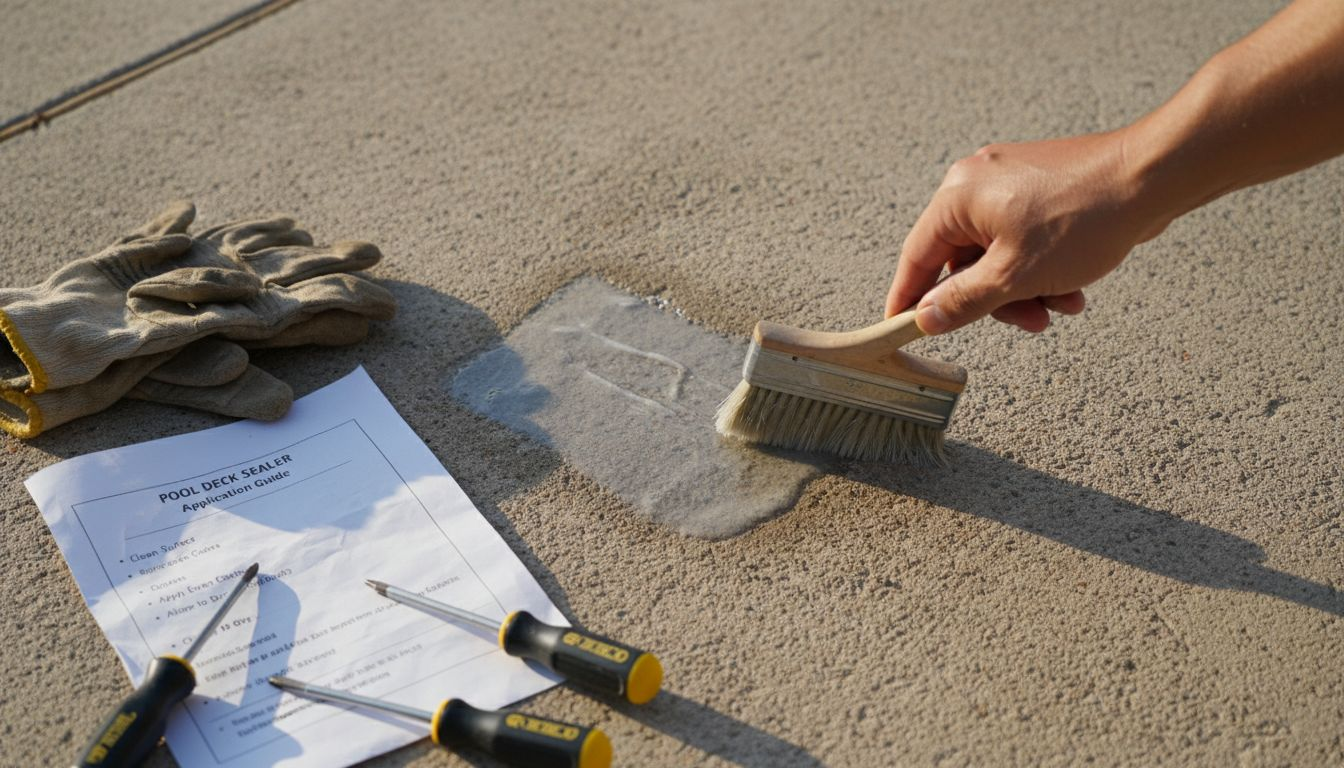
Once you’ve assessed the structural condition, begin the cleaning process with a power washer set at medium pressure. This will remove dirt, algae, and old sealant residue effectively. Work systematically from one end of the deck to the other, maintaining a consistent distance to prevent surface damage.
Thorough cleaning and assessment are the foundation of a successful pool deck sealing project – never rush this critical preparation stage.
Pro tip: Allow the deck surface to dry completely for 24-48 hours after power washing to ensure optimal sealing conditions.
Step 2: Repair Cracks and Surface Flaws
Repairing cracks and surface imperfections is a critical step in preparing your pool deck for sealing. Proper repair ensures a smooth, durable surface that will protect your deck from future damage and enhance its overall appearance.
Begin by thoroughly cleaning out any existing cracks using a wire brush or specialized crack cleaning tool. Pay close attention to identifying and addressing structural crack patterns that could compromise the deck’s integrity. Your repair approach will depend on the crack type and severity:
- Hairline cracks (less than 1/4 inch wide): Use flexible concrete crack sealant
- Wider cracks (1/4 to 1/2 inch): Employ epoxy-based repair compounds
- Significant structural cracks: Consider professional assessment
Apply the repair material carefully, ensuring complete filling and smoothing of the crack. Use a putty knife or trowel to create an even surface that blends seamlessly with the surrounding deck material. Allow sufficient curing time as recommended by the manufacturer before proceeding to the next step.
Properly repaired cracks prevent water intrusion and protect your pool deck from further deterioration.
Pro tip: Choose repair materials specifically designed for exterior concrete surfaces to ensure maximum durability and weather resistance.
Step 3: Select and Prepare the Sealer
Choosing the right sealer is crucial for protecting your pool deck and achieving the desired aesthetic finish. Your selection will depend on multiple factors including the deck’s material, desired appearance, and environmental conditions.
Start by evaluating sealer types for concrete surfaces that match your specific needs. Consider these key characteristics:
- Penetrating sealers for maximum protection
- Acrylic sealers for enhanced color and gloss
- Epoxy-based sealers for maximum durability
- Water-based options for easier application
- Solvent-based sealers for deeper penetration
Pay close attention to the environmental application conditions. Ideal sealing requires specific temperature and humidity ranges. Avoid applying sealers in direct sunlight or when temperatures are below 50°F or expected to drop significantly within 24 hours.
Here’s how common pool deck sealer types compare in use and durability:
| Sealer Type | Main Benefit | Typical Application Area | Durability (Years) |
|---|---|---|---|
| Penetrating Sealer | Deep protection | High-moisture surfaces | 5–7 |
| Acrylic Sealer | Enhanced color/gloss | Decorative decks | 2–4 |
| Epoxy-Based Sealer | Heavy-duty durability | High-traffic zones | 6–10 |
| Water-Based Sealer | Low VOC, easy cleanup | Residential decks | 2–3 |
| Solvent-Based Sealer | Deeper penetration | Exposed outdoor areas | 3–5 |
Proper sealer selection and application can extend your pool deck’s lifespan by years, protecting your investment.
Pro tip: Always purchase slightly more sealer than you calculate to account for potential absorption and uneven surfaces.
Step 4: Apply the Sealer Evenly
Applying pool deck sealer requires precision and patience to achieve a professional, long-lasting finish. Your technique will directly impact the deck’s protection and visual appeal.
Follow professional sealer application techniques carefully to ensure uniform coverage. Select the right application tools based on your sealer type:
- Rollers for broad, even coverage on large surfaces
- Sprayers for hard-to-reach areas and intricate details
- Brushes for edges and tight corners
- Microfiber applicators for smooth, streak-free application
Work in small sections to maintain a wet edge and prevent uneven application. Apply the sealer using consistent, overlapping strokes in a single direction. Avoid puddling or excessive buildup by using thin, uniform coats. Allow each coat to dry completely before applying the next layer, following the manufacturer’s specific drying time recommendations.
Consistent application is the key to a professional-looking, well-protected pool deck surface.
Pro tip: Test your application technique on a small, inconspicuous area first to ensure even coverage and desired finish.
Step 5: Inspect and Maintain the Finished Surface
Protecting your newly sealed pool deck requires ongoing attention and periodic maintenance to preserve its appearance and protective qualities. Regular inspections will help you catch potential issues before they become significant problems.
Conduct annual deck safety evaluations to ensure long-lasting performance. Your maintenance routine should focus on these critical areas:
- Check for signs of wear or early surface degradation
- Inspect sealer integrity and coverage
- Look for new cracks or potential moisture issues
- Clean the surface regularly to prevent dirt buildup
- Remove any organic debris that could compromise the seal
Monitor the sealed surface throughout different seasons, paying special attention to areas with high foot traffic or direct sun exposure. Reapply touch-up sealant in spots showing signs of wear, typically every 2-3 years or as recommended by the manufacturer.
Below is a maintenance action timeline for a newly sealed pool deck:
| Task | Frequency | Purpose |
|---|---|---|
| Surface Cleaning | Monthly | Prevent dirt and mold buildup |
| Deck Inspection | Annually | Spot cracks or sealer breakdown |
| Touch-Up Sealer | Every 2–3 years | Maintain protective barrier |
| Debris Removal | As Needed | Stop organic material damage |
Consistent maintenance is the key to extending your pool deck’s lifespan and keeping it looking professionally sealed.
Pro tip: Keep a maintenance log to track your deck’s condition and seal performance, which helps you anticipate future repair needs.
Protect Your Pool Deck with Expert Resurfacing and Sealing Solutions
Sealing your pool deck is essential to prevent cracks, water damage, and surface degradation while enhancing its shine and durability. If you want to go beyond just the basic sealing steps covered in the article like proper cleaning, crack repairs, and sealer selection Classic Marcite offers professional pool deck resurfacing and sealing services tailored to Florida’s climate. Our experienced team uses premium materials such as Pebble Tec® to provide long-lasting protection that you can trust.

Don’t leave your pool deck vulnerable to early wear or costly repairs. Visit Classic Marcite today to explore our comprehensive pool resurfacing and deck repair options. Act now to get a free estimate and give your pool area the durable, beautiful finish it deserves.
Frequently Asked Questions
What is the first step in sealing a pool deck?
Before sealing your pool deck, it is essential to assess and clean the deck surface thoroughly. Start by inspecting the structural integrity and then use a power washer to remove dirt, algae, and old sealant residue.
How do I repair cracks in my pool deck before sealing?
To repair cracks in your pool deck, first clean out the cracks with a wire brush. Use flexible concrete crack sealant for hairline cracks or epoxy-based compounds for wider cracks, ensuring a smooth finish before sealing.
What type of sealer should I use for my pool deck?
Choose a sealer based on your needs, such as penetrating sealers for deep protection or acrylic sealers for enhanced color and gloss. Evaluate the deck material and environmental conditions to make the right selection that fits your situation.
How can I ensure even application of the sealer on my pool deck?
Apply the sealer using rolling, spraying, or brushing techniques suitable for your project. Work in small sections with consistent overlapping strokes to maintain a wet edge and prevent uneven application.
How often should I inspect and maintain my sealed pool deck?
Inspect your sealed pool deck annually to look for signs of wear, new cracks, or moisture issues. Regular cleaning every month and touch-up sealing every 2-3 years will help maintain the deck’s appearance and protective qualities.
Can I seal my pool deck in direct sunlight?
It is not advisable to apply sealer in direct sunlight or when temperatures are below 50°F. Choose a cooler time of day for application to avoid issues with sealer performance and adhesion.
Recommended
- Pool Deck Coating: Protecting And Beautifying Surfaces
- How To Resurface Pool Deck For Lasting Results
- 7 Essential Pool Deck Renovation Tips For Florida Homes
- What Is Deck Resurfacing? Transforming Poolside Spaces
- Hoe kunststof deuren reinigen voor optimale uitstraling
- Pool Refinishing Windermere FL
- Pool Renovation Winter Park FL
- Swimming Pool Remodeling The Villages FL
