
Every American pool owner knows that surface damage can turn a backyard retreat into an expensive headache. With over 32 million residential pools across the United States, maintaining a smooth plaster finish is critical for both safety and aesthetics. Accurately assessing and repairing plaster problems prevents leaks, injuries, and bigger repair bills down the line. This guide lays out each step clearly so any American homeowner can restore their pool surface with confidence.
Table of Contents
- Step 1: Assess Damage And Drain Pool
- Step 2: Prepare Surface And Remove Loose Plaster
- Step 3: Mix And Apply Pool Plaster Patch
- Step 4: Smooth, Cure, And Inspect The Repair
Quick Summary
| Key Takeaway | Explanation |
|---|---|
| 1. Inspect for Damage | Conduct a thorough visual inspection for cracks, chips, and discoloration before repairs. |
| 2. Properly Drain Pool | Follow environmental guidelines to drain water safely and prevent contamination. |
| 3. Prepare Surface Ready | Systematically remove loose plaster to create a clean, bondable surface for new plaster. |
| 4. Mix Plaster Accurately | Ensure a smooth, lump-free plaster mix by following manufacturer’s instructions precisely. |
| 5. Monitor Curing Process | Mist the repair area and inspect during filling to ensure the plaster cures properly. |
Step 1: Assess Damage and Drain Pool
Before repairing pool plaster, you need to carefully evaluate the damage and properly prepare the pool surface by draining it. This crucial first step ensures you can accurately diagnose and address any underlying issues with your pool’s interior finish.
Start by performing a comprehensive visual inspection around your pool. Look for telltale signs of damage like cracks, chips, discoloration, or areas where the plaster seems to be separating from the pool surface. Pay special attention to high-stress zones near steps, edges, and corners where structural wear often first appears. Check for potential leaks using the water level test recommended by the City of Mesa, which helps distinguish between normal evaporation and actual damage.
Compare these common pool plaster issues to understand their risks and best detection signs:
| Issue Type | Appearance | Potential Risk |
|---|---|---|
| Cracks | Thin, jagged lines | Water loss, structure |
| Chips | Small missing pieces | Surface roughness, injury |
| Discoloration | Stains, fading | Chemical imbalance, aesthetics |
| Separation | Bulges, hollow sound | Leak, major repairs needed |
When you’re ready to drain the pool, follow proper procedures to avoid potential complications. Carefully discharge water into your home’s sewer clean-out as recommended by the City of Phoenix to prevent environmental contamination and ensure safe water disposal. Use a submersible pump and monitor the drainage process closely to prevent water from backing up into your property.
Pro Tip: Before draining, take detailed photographs of all damaged areas. These images will serve as a valuable reference when discussing repair strategies with pool professionals and help you track the exact location and extent of plaster damage.
Step 2: Prepare Surface and Remove Loose Plaster
After draining your pool, you will now focus on preparing the surface and systematically removing any loose or damaged plaster. This critical preparation stage sets the foundation for a successful pool repair by creating an ideal surface for new plaster application.
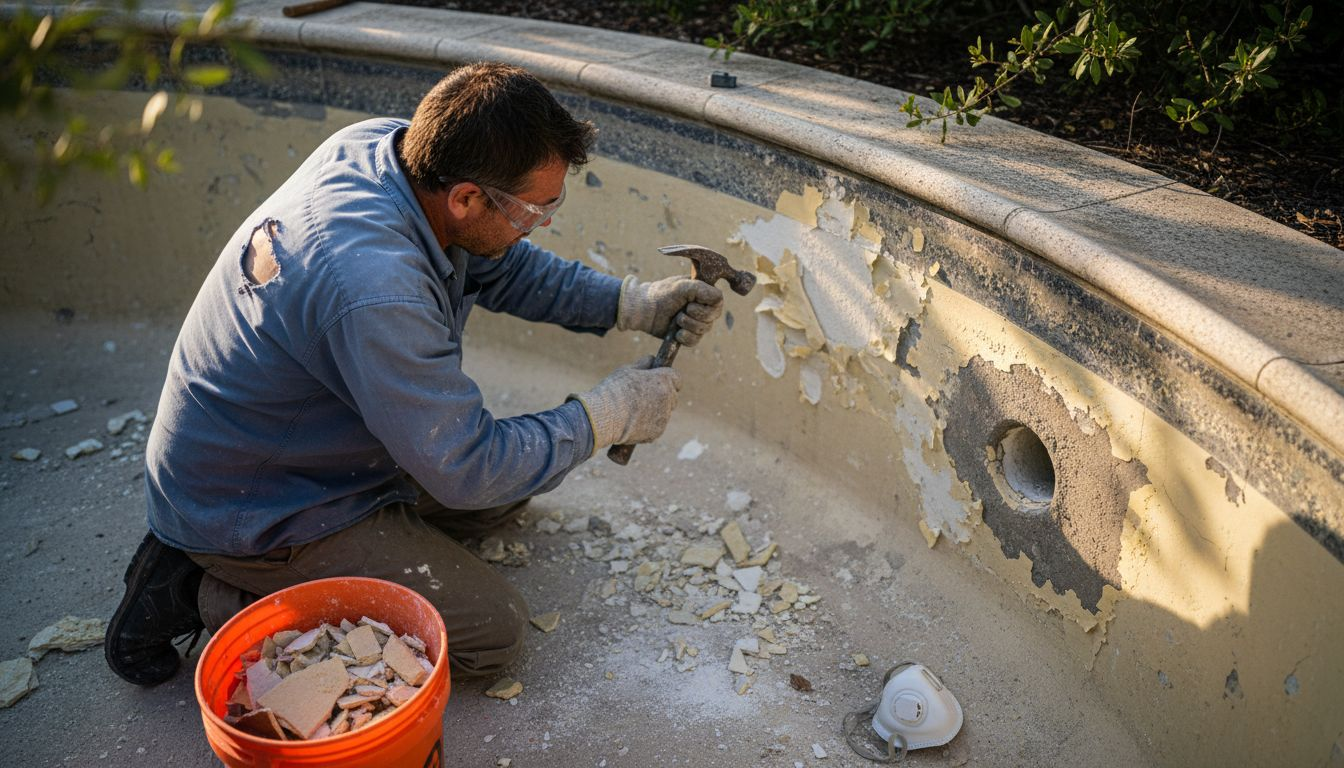
Following the preparation guidelines from the University of South Carolina, begin by thoroughly cleaning the pool surface. Remove all loose plaster fragments, debris, and foreign materials using specialized tools like chisels, hammers, and wire brushes. Work methodically across the entire pool surface, tapping gently to identify areas where plaster has separated from the underlying concrete. Your goal is to create a rough, clean surface that will provide a strong mechanical bond for the new plaster.
When removing old plaster, use protective gear like safety glasses and heavy gloves. Work in small sections, carefully chipping away damaged areas without causing additional harm to the pool structure. Consider techniques recommended by the General Services Administration for surface preparation, which emphasize thorough cleaning and creating a sufficiently rough surface for new material application.
Pro Tip: Vacuum the pool surface thoroughly after removing loose plaster to eliminate all dust and small debris. This extra step ensures a clean base that will help your new plaster adhere more effectively and last longer.
Step 3: Mix and Apply Pool Plaster Patch
Now that you have prepared the pool surface, it is time to mix and apply the pool plaster patch. This critical step requires precision and care to ensure a smooth, durable repair that seamlessly blends with the existing pool surface.
Following the application guidelines from the University of South Carolina, begin by selecting a high-quality pool plaster mix specifically designed for underwater repairs. Carefully measure the water and powder components according to the manufacturer’s instructions, mixing thoroughly to create a smooth, lump-free consistency. The key is achieving a uniform texture that will spread easily and bond strongly to the prepared surface.
Drawing from the preparation techniques recommended by the Gulf Shores Recreation Center, start applying the plaster patch using a pool trowel. Work methodically, spreading the mixture in thin, even layers across the damaged area. Ensure you completely fill any cracks or holes, using gentle pressure to eliminate air pockets and create a smooth, level surface. Pay close attention to the edges of the repair area, blending the new plaster seamlessly with the surrounding pool surface to create an invisible repair.
Pro Tip: Work in small sections and keep your trowel clean between applications. Wipe the trowel with a damp cloth after each pass to prevent dried plaster from creating uneven texture or bumps in your repair work.
Step 4: Smooth, Cure, and Inspect the Repair
With the plaster patch applied, you now enter the crucial final stages of repair where proper smoothing, curing, and careful inspection will determine the long-term success of your pool restoration project. This step transforms your repair work from a basic patch to a professional-looking finish.
Following the curing guidelines from the University of South Carolina, begin by carefully smoothing the plaster patch with your pool trowel. Use gentle, consistent strokes to eliminate any remaining imperfections and create a surface that blends seamlessly with the surrounding pool interior. Pay special attention to the edges of the repair area, ensuring a smooth transition that will be virtually invisible once the pool is filled.
According to the University of South Carolina’s project specifications, the curing process requires patience and careful monitoring. Begin filling the pool gradually with water, keeping the newly patched surfaces consistently damp. This is especially critical in hot weather conditions, where rapid drying can compromise the plaster’s integrity. Inspect the repair area carefully during filling, looking for any signs of cracking, separation, or uneven texture. Allow the patch to cure completely before resuming normal pool use, which typically takes about a week depending on weather conditions and the specific plaster mix used.
Pro Tip: Use a spray bottle to keep the patched area lightly misted during the first 24 to 48 hours, preventing premature drying and promoting a stronger, more durable repair.
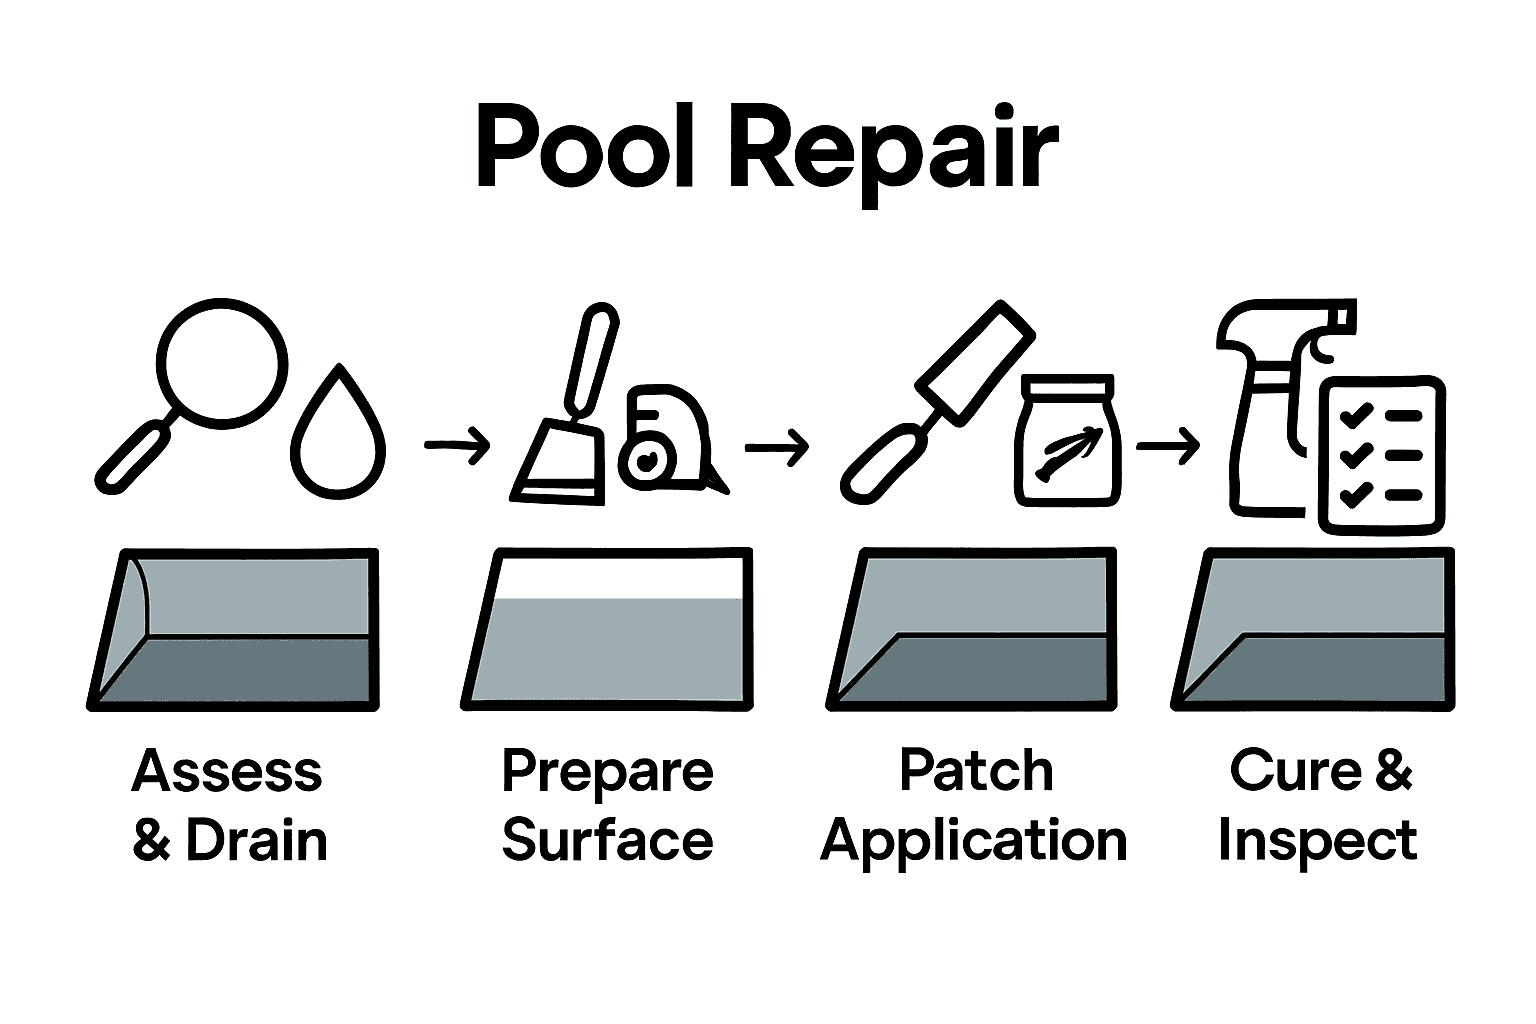
Here is a summary of pool plaster repair steps and the primary purpose of each:
| Step | Main Task | Purpose |
|---|---|---|
| Assess & Drain | Inspect, drain pool | Identify and access damage |
| Prepare Surface | Remove loose plaster | Create clean, bondable surface |
| Mix & Apply | Apply plaster patch | Fill damage, restore surface |
| Smooth & Cure | Finish and monitor | Ensure durability, seamless blend |
Restore Your Pool with Expert Plaster Repair Solutions
If you have noticed cracks, chips, or discoloration in your pool plaster following your own inspection and patching attempts you understand how challenging achieving a seamless repair can be. The detailed steps of assessing damage, removing loose plaster, and carefully applying a patch require precision and experience to ensure durability and long-term success. Common frustrations include plaster separation and premature curing issues that can reduce your pool’s aesthetic and structural integrity.
At Classic Marcite we specialize in professional pool resurfacing and restoration services that address these exact challenges. With over 35 years of trusted craftsmanship serving Orlando and Jacksonville we provide high-quality pool plaster repair and resurfacing solutions that stand the test of time. Whether you need expert plaster patching or a full pool resurfacing our licensed and insured team uses dependable materials and expert techniques customized to your pool’s specific needs.

Do not let minor plaster damage turn into costly structural problems. Experience peace of mind through trusted professionals who deliver seamless pool finishes that blend perfectly and last longer. Visit Classic Marcite today to learn how our dedicated team can restore your pool’s beauty with durable plaster repairs and remodeling. Take the first step now and protect your investment before the damage worsens by scheduling a consultation with us.
Frequently Asked Questions
How do I assess damage to my pool plaster before patching?
Start by performing a thorough visual inspection of the pool’s interior. Look for signs of cracks, chips, discoloration, or separation that could indicate underlying issues needing attention.
What is the best way to drain my pool safely for plaster repair?
Use a submersible pump to carefully drain the pool water. Discharge the water into your home’s sewer clean-out to ensure safe disposal and prevent environmental contamination.
How do I remove loose plaster from my pool surface?
Thoroughly clean the pool surface using chisels, hammers, and wire brushes to chip away damaged plaster. Focus on creating a rough surface free of debris to enhance the bond with the new plaster.
What are the steps to mix and apply the plaster patch correctly?
Follow the manufacturer’s instructions to measure and mix the plaster components to a smooth consistency. Apply the mixture with a pool trowel, ensuring to fill all damaged areas and blend the edges seamlessly with the surrounding surface.
How long does it take for the plaster patch to cure properly after application?
The plaster patch typically requires about a week to cure fully, depending on weather conditions. Keep the patched area lightly misted for the first 24 to 48 hours to prevent premature drying and improve durability.
What should I do if I see signs of cracking after filling the pool?
Carefully inspect the repair area for cracks or separation as you fill the pool. If you notice any issues, you may need to consult a professional for further assessment and potential rework.
